Schedules
From VersaVision Support
Schedules is where a user will setup the start and end time of a shift and breaks.
Schedules are used for Contact, Modules, Reports and Dashboards. Multiple Schedules can be setup to account for the needs of each segment.
This page will concentrate on Adding, Editing, Duplicating, Deleting and Setting a Schedule as the Default.
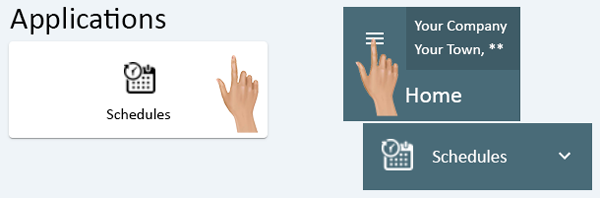
Schedules can be accessed via the Home page menu or the Schedules icon.
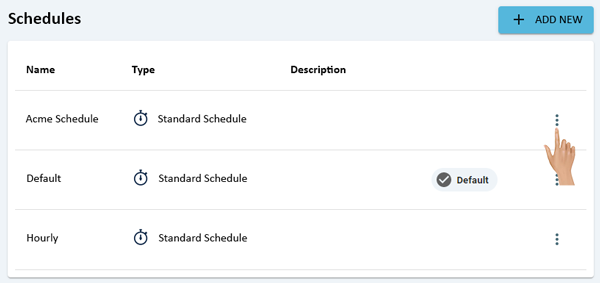
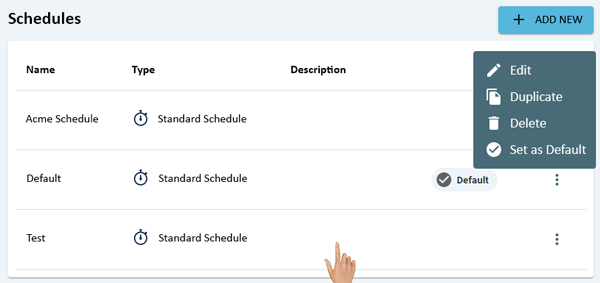
On the Schedules page, click on the 3 dot menu for the Schedule the needs to be edited.
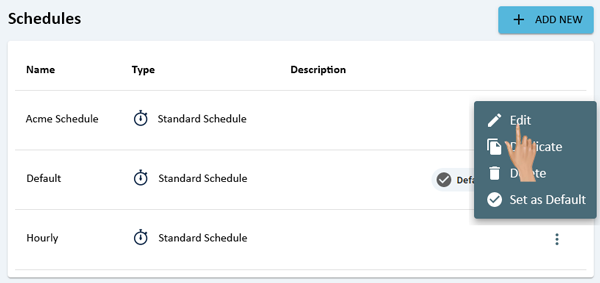
Select Edit from the pop-up menu.
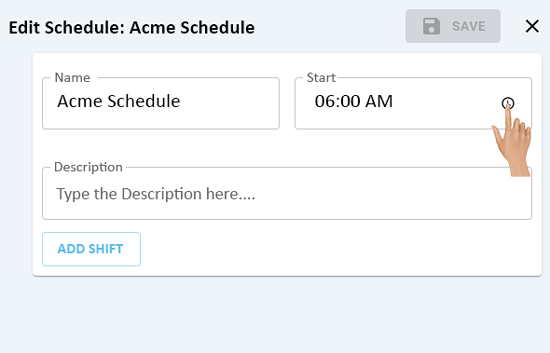
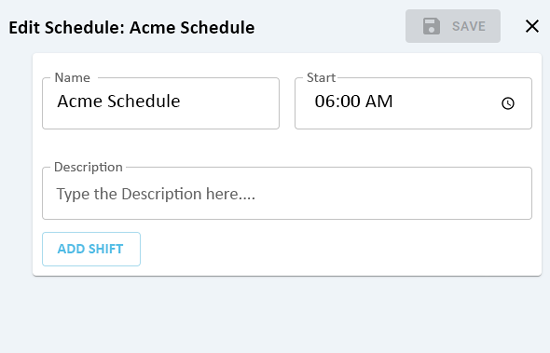
The Edit Schedule page will load, click in the Name field to edit the name of the Schedule.
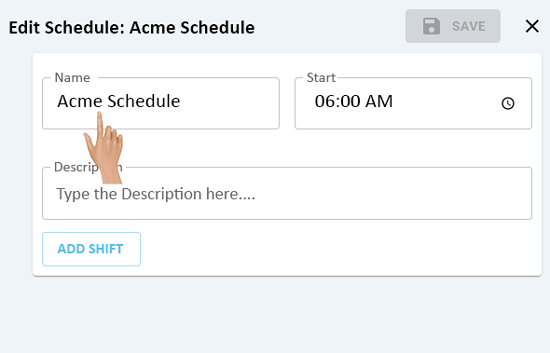
Click on the Clock Icon in the Start field to change the starting time of the Schedule.
Click in the Description field to enter a description for the Schedule. This will show on the Schedules list, this is an optional field.
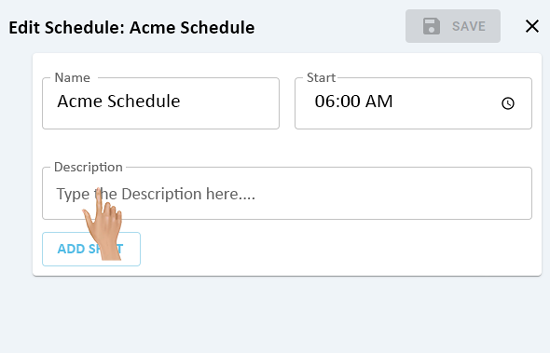
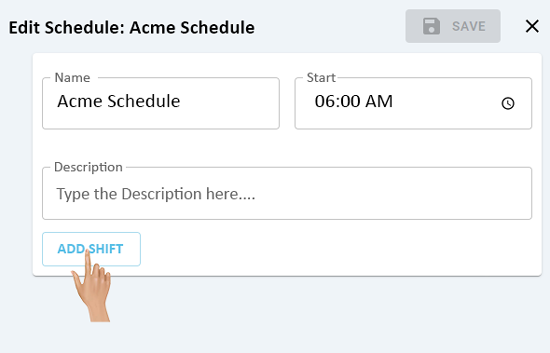
Click on the Add Shift button to Add a New Shift to the Schedule.
Click on the Shift Name field to change the name of the Shift.
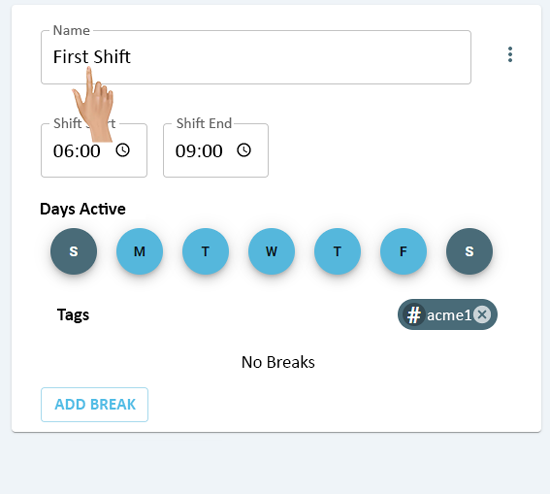
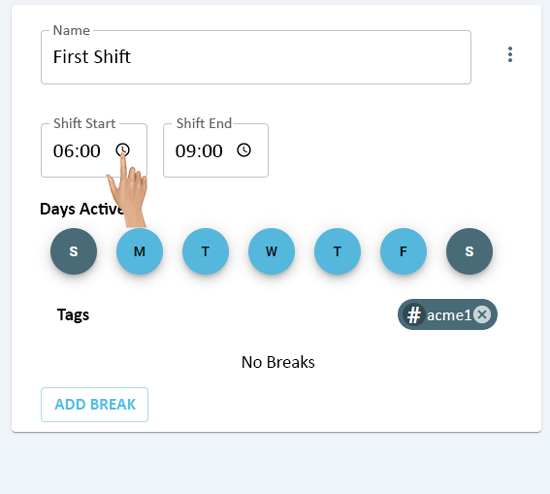
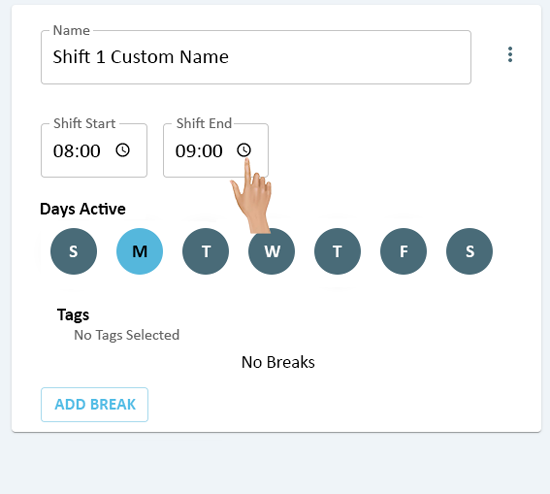
Click on the Clock Icon in the Shift Start field to change the starting time of the shift.
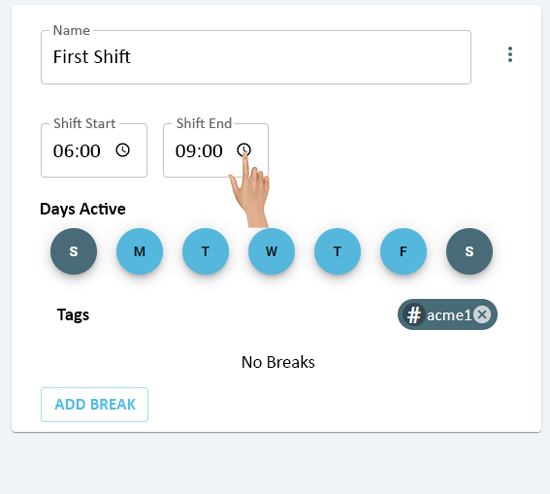
Click on the Clock Icon in the Shift End field to change the ending time of the shift.
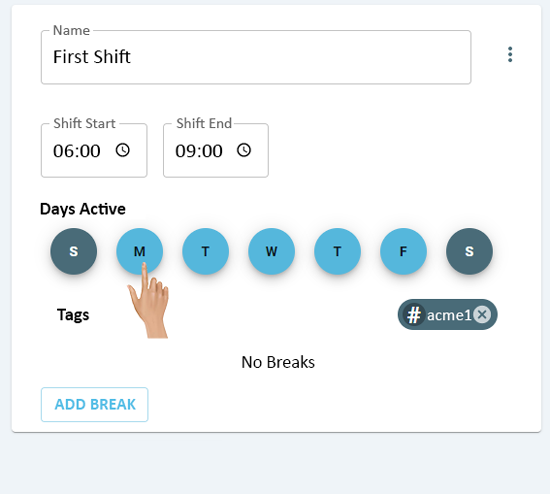
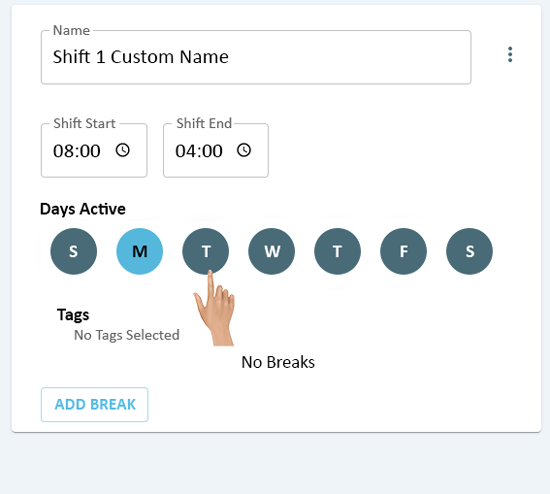
Click on the individual Day Icons in the Days Active to either enable or disable a day of the week for the Shift.
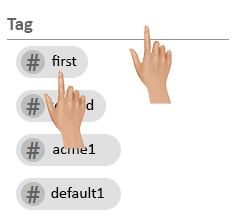
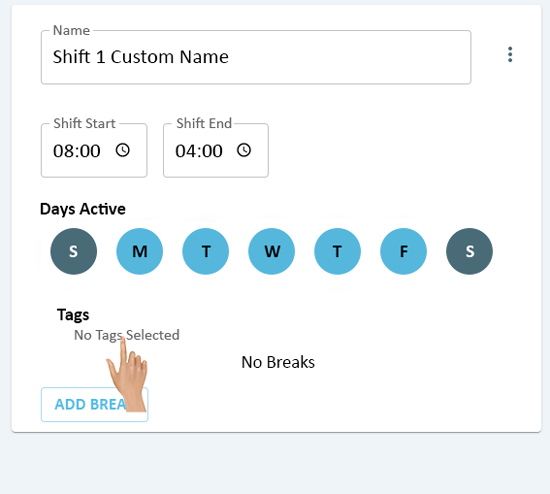
Click on the Tags Text to add a tag for the Shift.
The user can either select an existing tag from the list or enter a new tag.
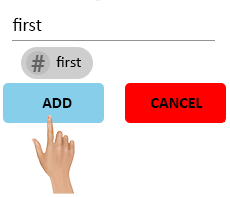
Once a tag has been entered or selected, click on the Add button.
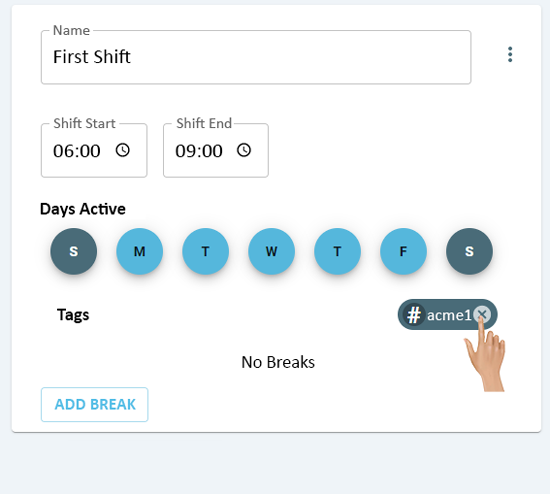
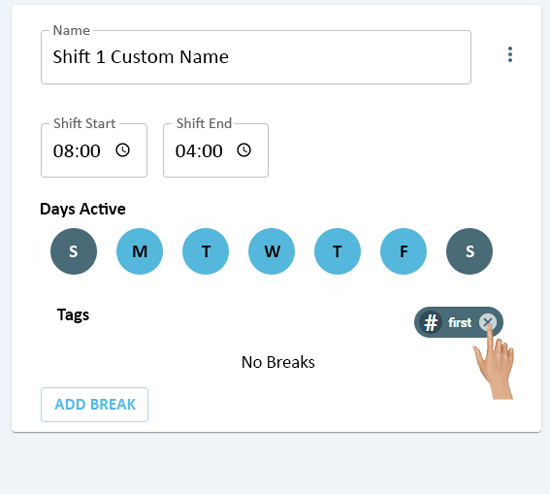
To remove a tag from a Shift, click on the "X" on the appropriate tag icon.
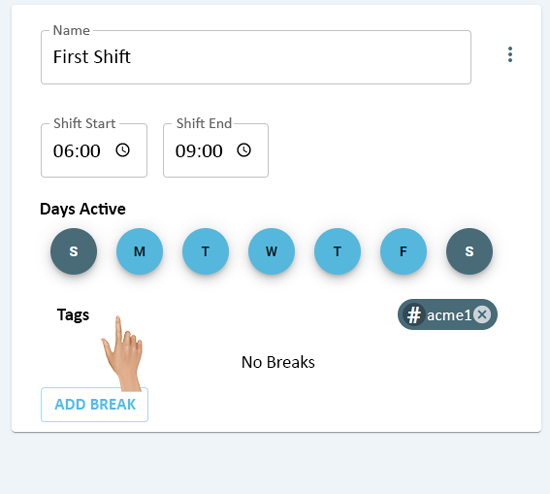
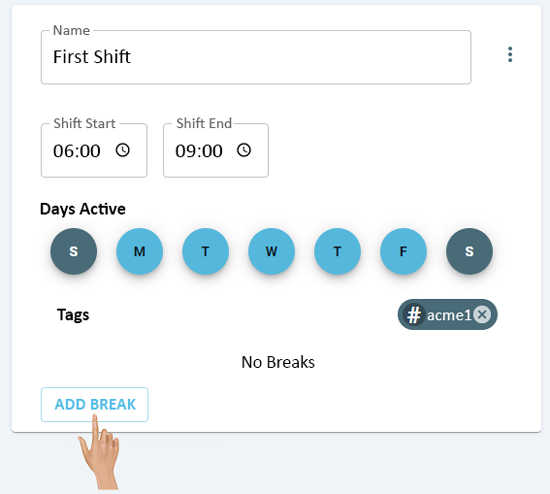
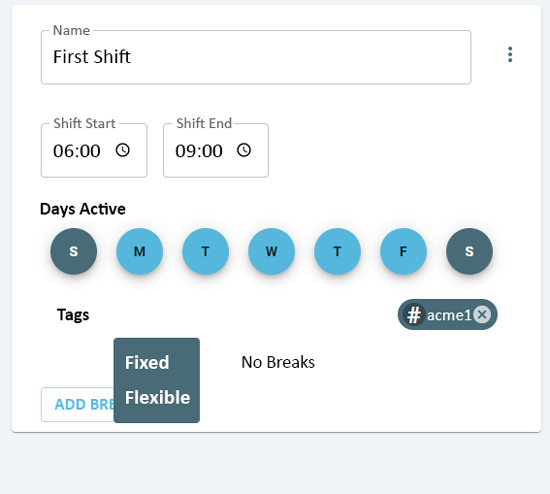
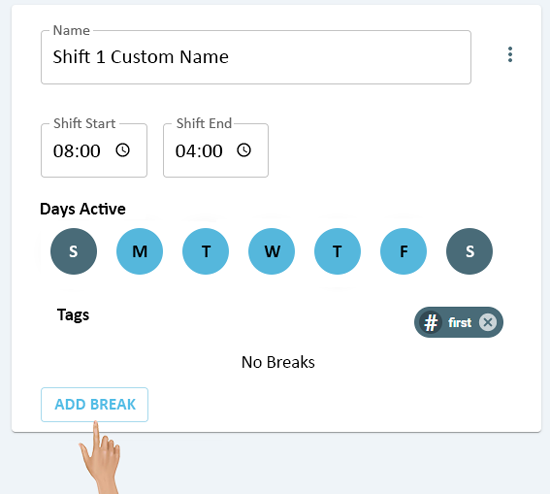
Click on the Add Break button to add a break to the Shift.
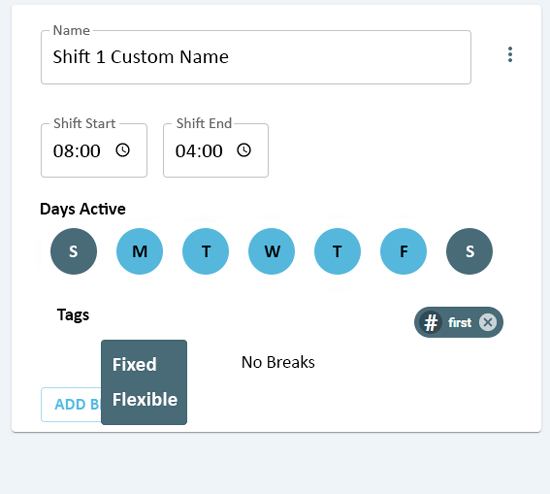
Select either a Fixed or Flexible break from the pop-up menu.
- Fixed Break - this is a break that will occur at the same time everyday and never change.
- Flexible Break - this is a break where the Operator has the ability to take the break at any time during the shift.
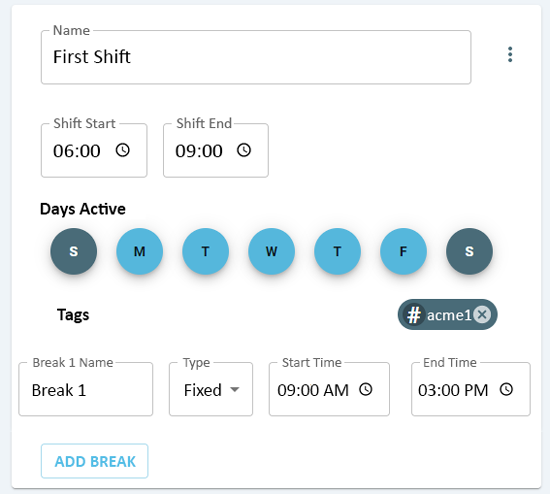
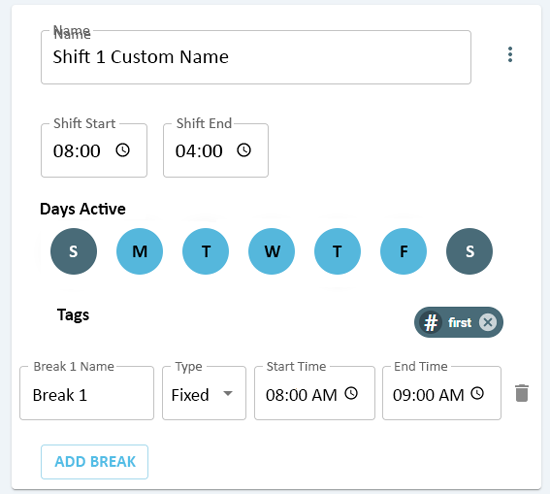
If a Fixed Break has been added to the Shift, the user will see the following fields.
- Break Name - click in this field to change the name of the Break.
- Type - this field will show as Fixed. Click on the down arrow in the field to change the break the Flexible.
- Start Time - click on the Clock Icon to change the starting time of the Break.
- End Time - click on the Clock Icon to change the ending time of the Break
- Delete - click on the Delete Icon to remove a Break from the Shift.
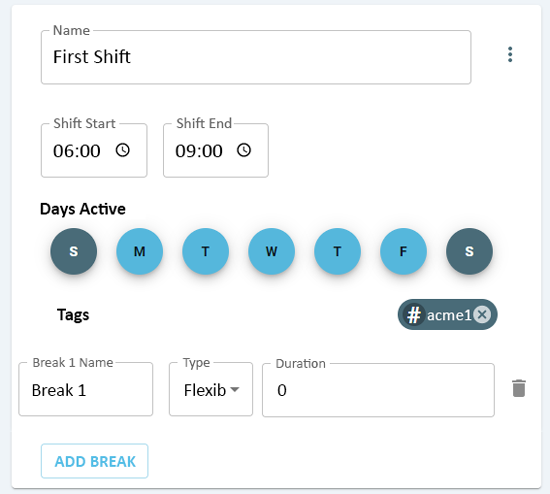
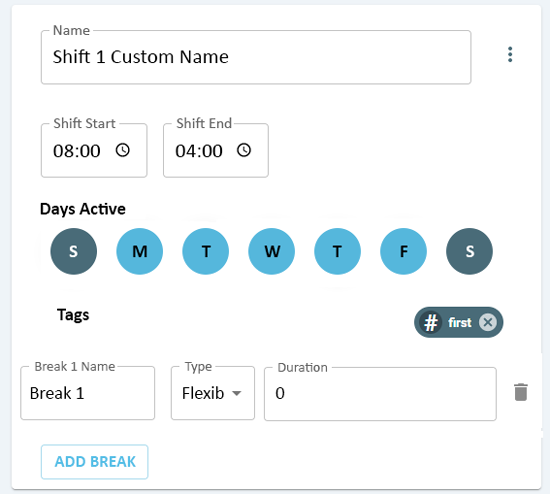
If a Flexible Break has been selected to the Shift, the user will see the following fields.
- Break Name - click in this field to change the name of the Break.
- Type - this field will show as Flexible. Click on the down arrow in the field to change the break the Fixed.
- Duration - click in this field to change the amount of Minutes for the duration of the break.
- Delete - click on the Delete Icon to remove the Break from the Shift.
To remove a Shift from a Schedule, click on the 3 dot menu next to the Shift Name field.
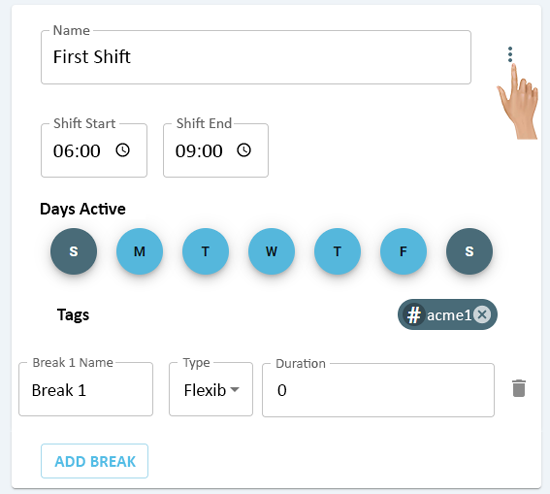
Select Delete from the pop-up menu.
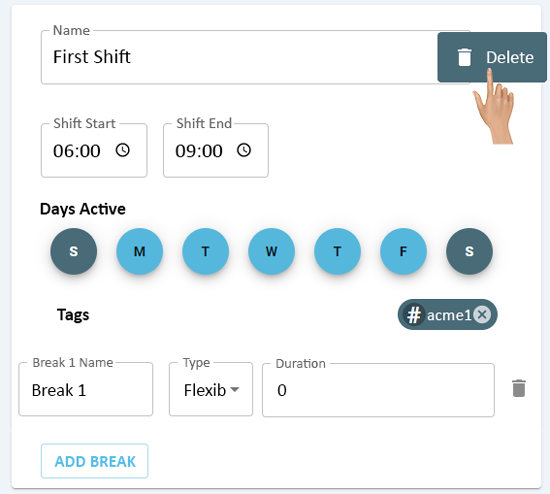
The Shift that was selected to be removed will no longer show on the Schedule.
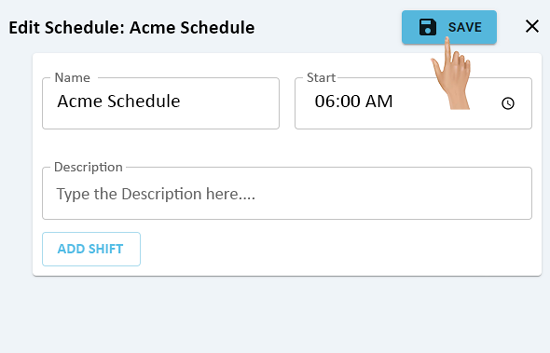
Select the Save button at the top of the page to save the changes made to the Schedule.
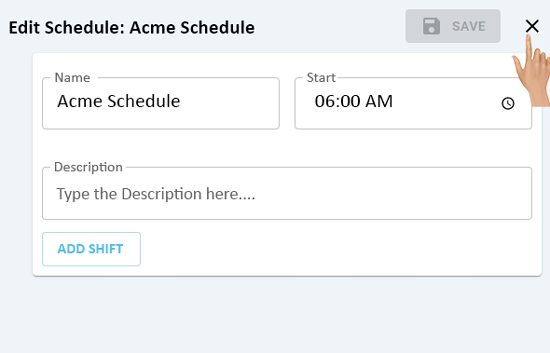
Select the "X" next to the Save button to exit the Schedule edit menu and return to the Schedules List.
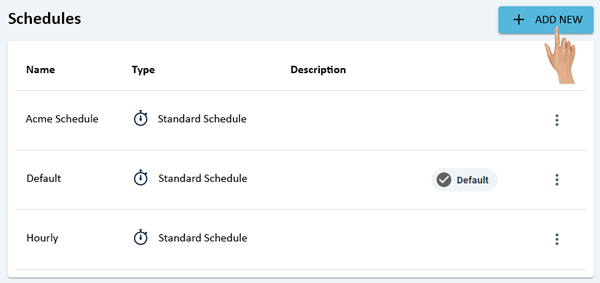
On the Schedules page, click on the Add New button at the top of the Schedules list.
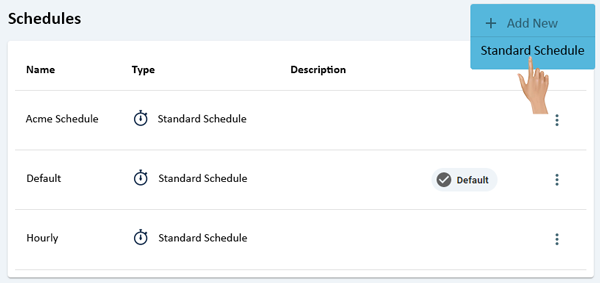
Select Standard Schedule from the pop-up menu.
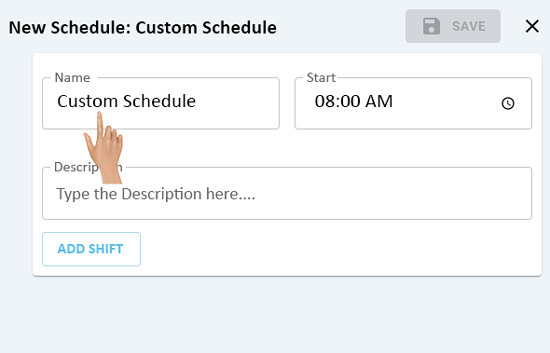
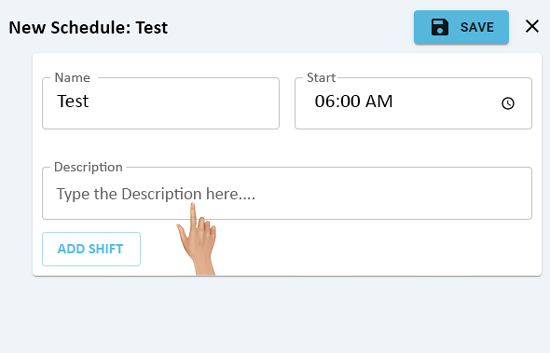
The New Schedule page will load, click in the Name field to enter a name for the Schedule.
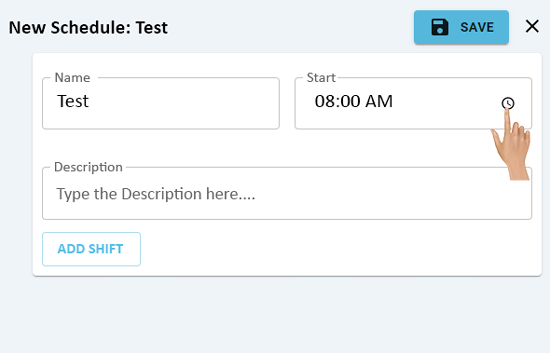
Click on the Clock Icon in the Start field to enter the starting time of the Schedule.
Click in the Description field to enter a description for the Schedule. This will show on the Schedules list, this is an optional field.
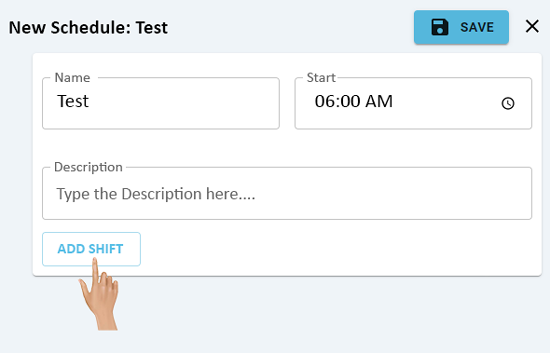
Click on the Add Shift button to Add a Shift to the Schedule.
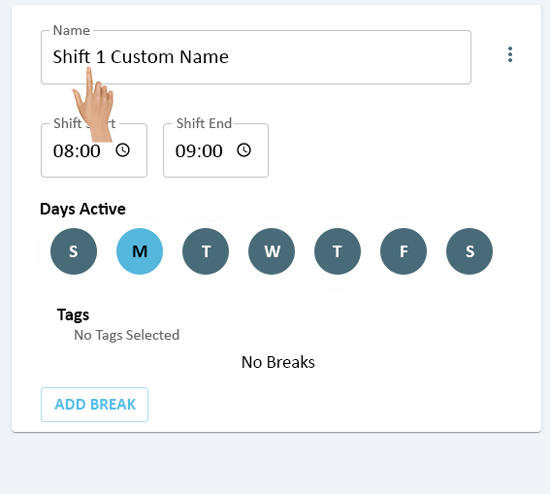
Click on the Shift Name field to enter a name for the Shift.
Click on the Clock Icon in the Shift Start field to enter the starting time of the Shift.
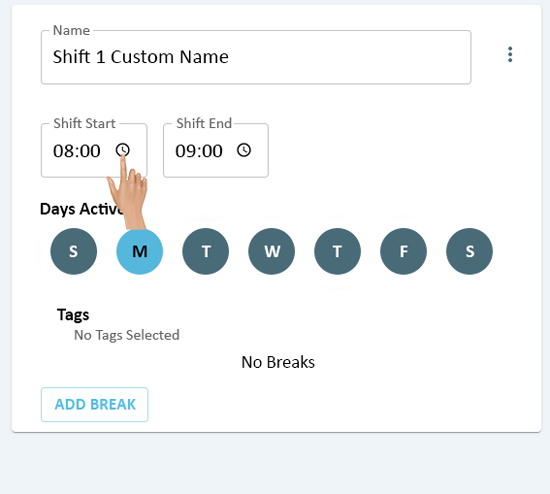
Click on the Clock Icon in the Shift End field to enter the ending time of the Shift.
Click on the individual Day Icons in the Days Active to either enable or disable a day of the week for the Shift.
Click on the Tags Text to add a tag for the Shift.
The user can either select an existing tag from the list or enter a new tag.
Once a tag has been entered or selected, click on the Add button.
To remove a tag from a Shift, click on the "X" on the appropriate tag icon.
Click on the Add Break button to add a break to the Shift.
Select either a Fixed or Flexible break from the pop-up menu.
- Fixed Break - this is a break that will occur at the same time everyday and never change.
- Flexible Break - this is a break where the Operator has the ability to take the break at any time during the shift.
If a Fixed Break has been selected to the Shift, the user will see the following fields.
- Break Name - click in this field to enter an name for the Break.
- Type - this field will show as Fixed.
- Start Time - click on the Clock Icon to enter the starting time of the Break.
- End Time - click on the Clock Icon to enter the ending time of the Break
- Delete - click on the Delete Icon to remove the Break.
If a Flexible Break has been selected to the Shift, the user will see the following fields.
- Break Name - click in this field to enter an name for the Break.
- Type - this field will show as Flexible.
- Duration - enter the amount of Minutes for the duration of the break.
- Delete - click on the Delete Icon to remove the Break.
Add additional Shifts to the Schedule by clicking on the Add Shift button and following the same steps listed above.

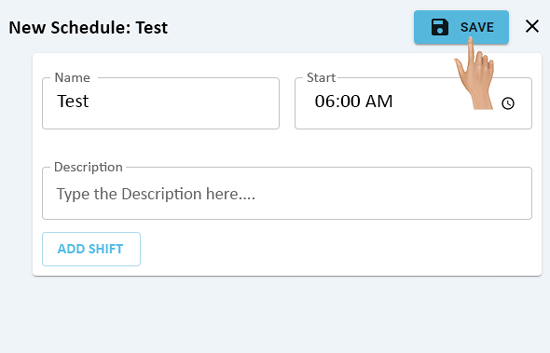
After all Shifts have been added to the Schedule, click on the Save button at the top of the page.
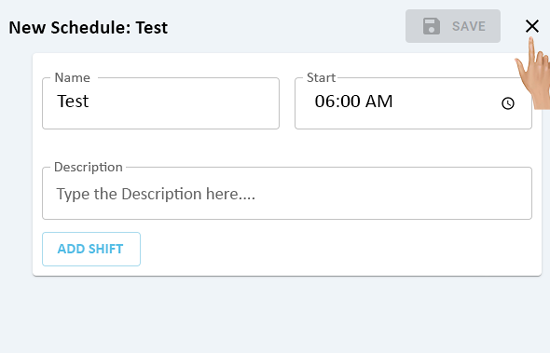
Select the "X" next to the Save button to exit the Schedule edit menu and return to the Schedules List.
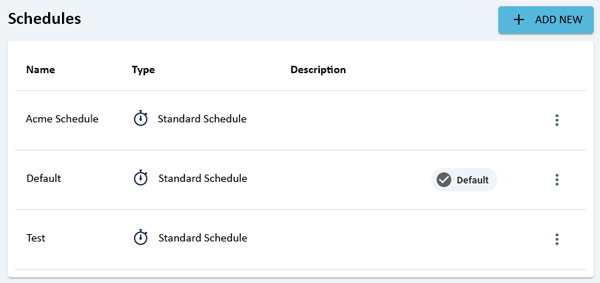
The New Schedule that was added will now show in the Schedules List.
On the Schedules page click on the 3 dot menu for the Schedule that needs to be duplicated.

Select Duplicate from the pop-up menu.
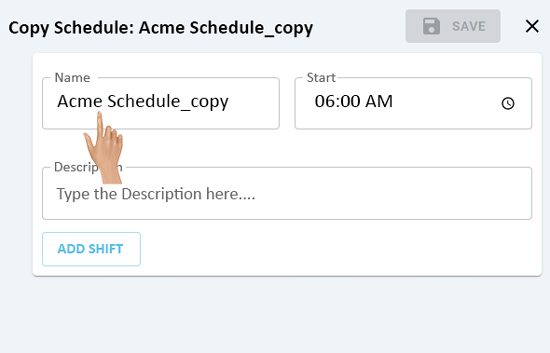
The Copy Schedule page will load. Click in the Shift Name field and enter a name for the duplicated Schedule.
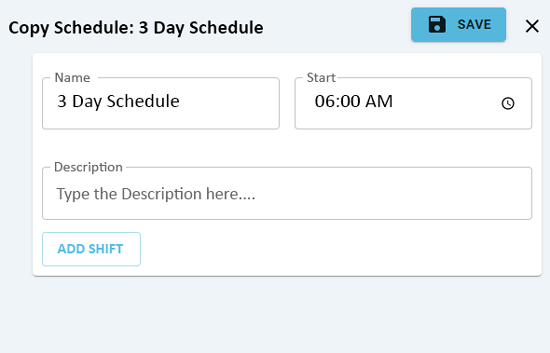
Change/Edit any other property for the Schedule that is needed.
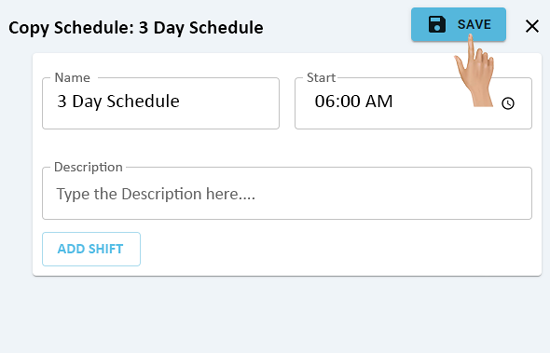
Select the Save button once all changes have been made to the Schedule.
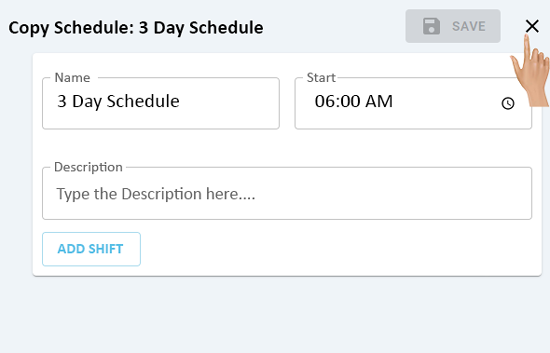
Select the "X" next to the Save button to exit the Schedule edit menu and return to the Schedules List.
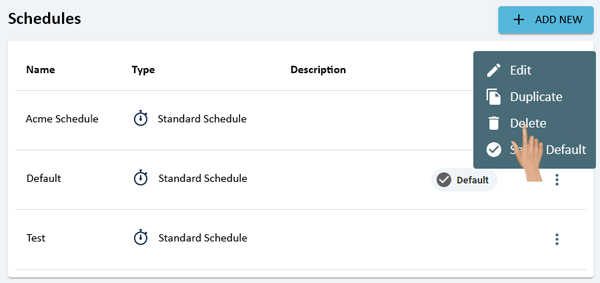
On the Schedules page, click on the 3 dot menu for the Schedule the needs to be removed.

Select Delete from the pop-up menu.
A confirmation window will show on the screen. Select Delete to remove the Schedule. Select Cancel to keep the Schedule.

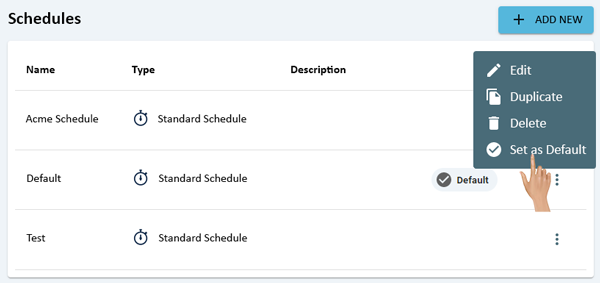
On the Schedules page, click on the 3 dot menu for the Schedule the needs to be made the System Default.

Select Set as Default from the pop-up menu.
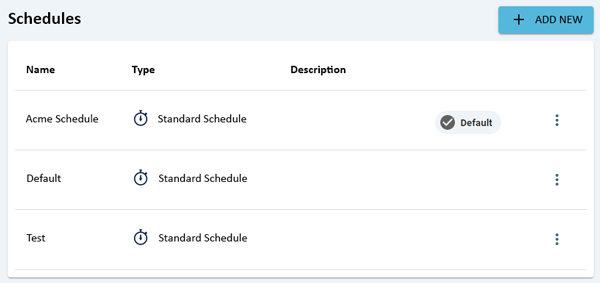
On the Schedules list, the Schedule that was selected to be the Default will now have a Default Tag icon.

|