Communications - Contacts
From VersaVision Support
![]()
Communications is where everything connected to messaging in the system is setup. There are multiple components inside Communications, this page is focused on the Contact component.
A Contact is a person that is going to receive communications by 1 or more methods. Each system will have different methods of communication depending on the setup.
This page will concentrate on Viewing, Editing, Adding, Deleting and Testing a Contact.
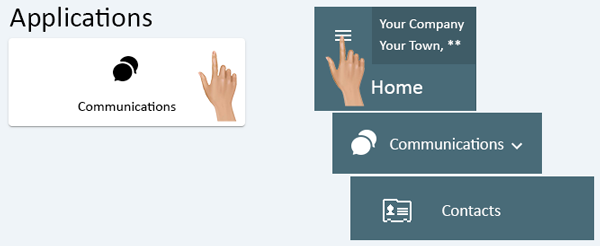
Communications can be accessed via the Home page menu or the Communications icon. Once Communications has been selected - select Contacts from the menu.
|
|
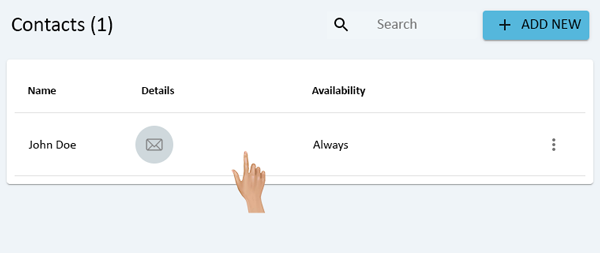
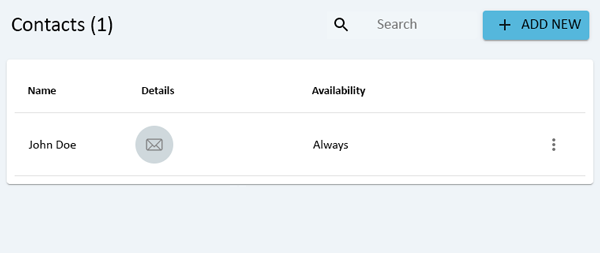
On the Contacts page there will be a list of all the Contacts setup in the system. Click anywhere on the row of a Contact to view the properties.
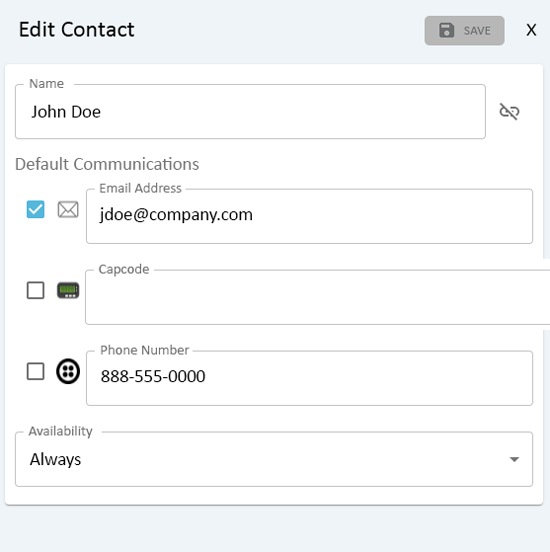
On the right side of the Contacts list an Edit Contact window will load.
The Contacts Name, all established methods of communication, and Availability will be displayed.
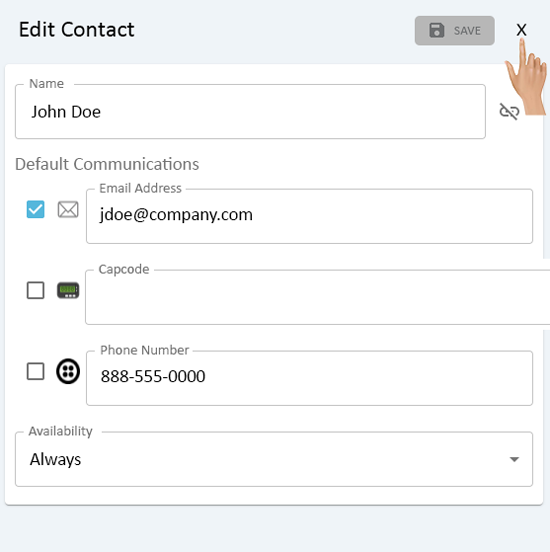
To close the Edit Contact window, click on the "X" in the right corner next to the Save button.
|
|
On the Contacts page there will be a list of all the Contacts setup in the system. Click anywhere on the row of the Contact that needs to be edited.
On the right side of the Contacts List an Edit Contact window will load. Click in the Name field to edit the Contacts name.
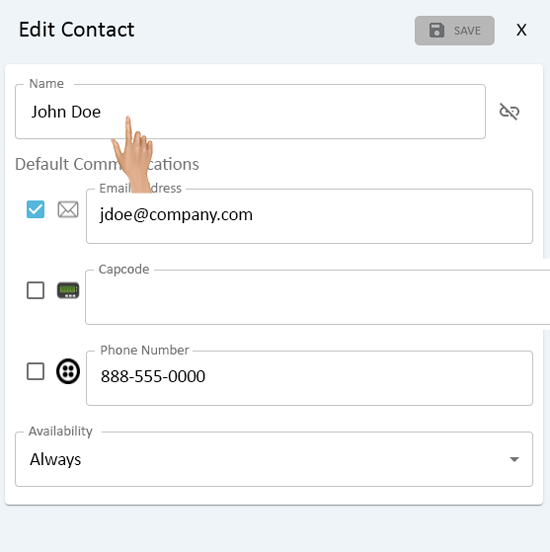
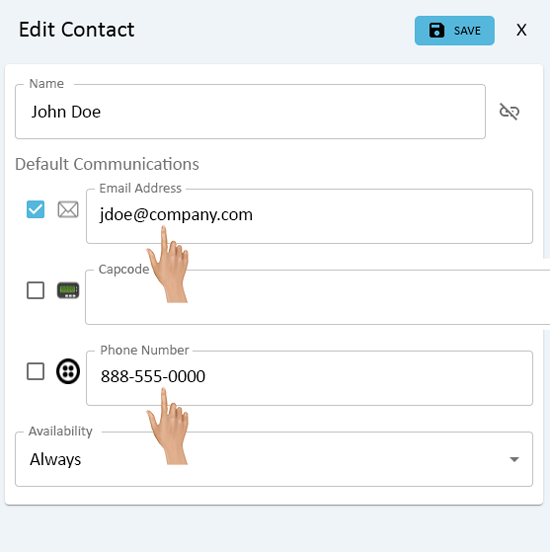
Below the Name will be all of the established methods of communication. Any method can be edited by clicking on the field and editing the information.
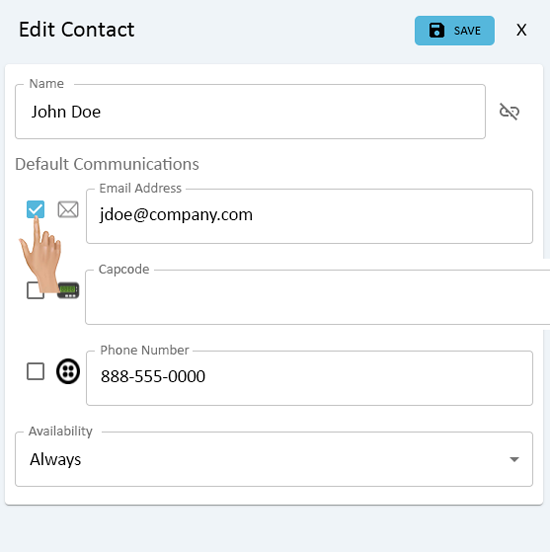
Next to each communication method is a checkbox that designates which method of communication the system should use by default. This Default Communication can be changed by selecting or deselecting the box.
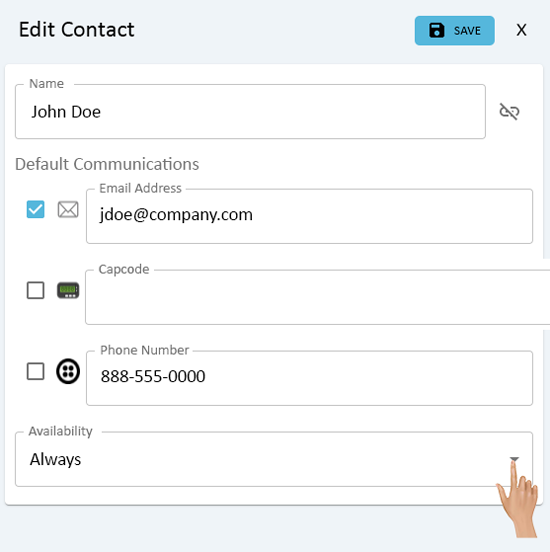
Below the Communication Methods is the Availability for the Contact. This is where the user defines when the contact should receive communications.
By default, Availability is set to Always. This means the system will send communications 24 hours a day everyday.
To change the Availability for a Contact, click on the down arrow in the Availability field.
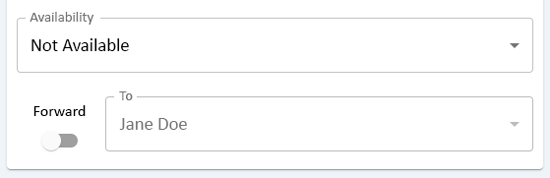
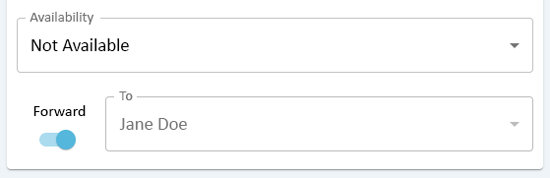
Selecting Not Available means the Contact will never be sent communications. There is an option to enable Forwarding to another contact.
To enable forwarding, toggle the switch on and select a Contact from the drop down list in the To field.
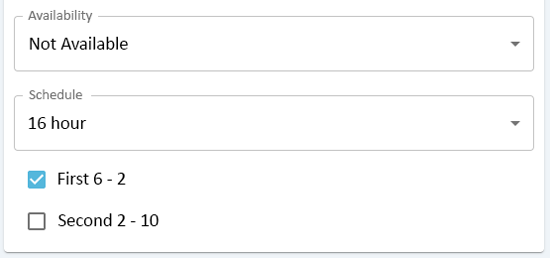
Selecting During Selected Shifts means the Contact will be sent communications during a specific shift(s) in a schedule.
The user will need to select the correct Schedule and check mark the appropriate shift(s) that apply to the Contact.
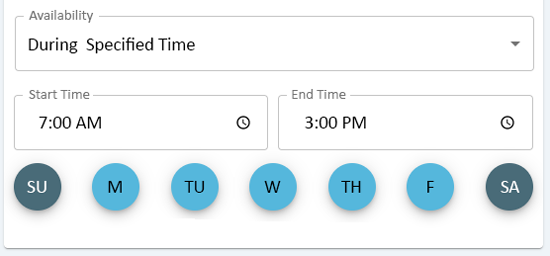
Selecting During Specified Time means the Contact will be sent communications during a defined day and time.
The user will need to select the correct Start & End time as well as the Day(s) that apply to the Contact.
Once all of the changes have been made, click on the Save button in the top right corner of the window.
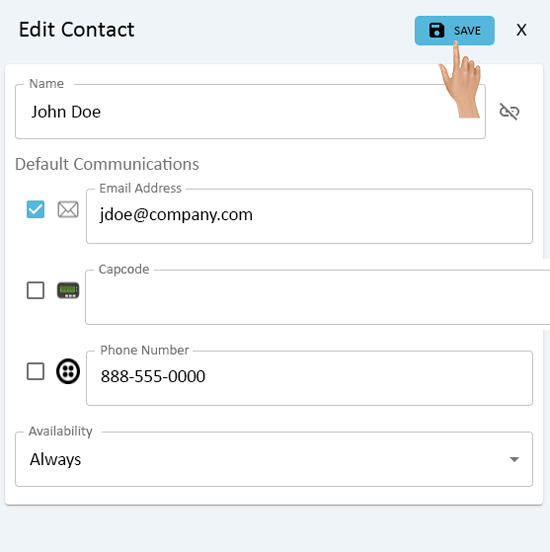
To close the Edit Contact window, click on the "X" next to the Save button.

Any changes made to the Contact will be reflected in the Contacts List.
|
|
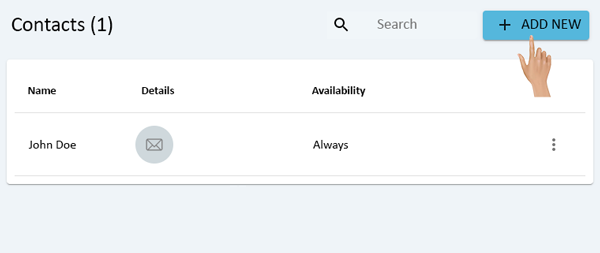
On the Contacts page click on the Add New button.
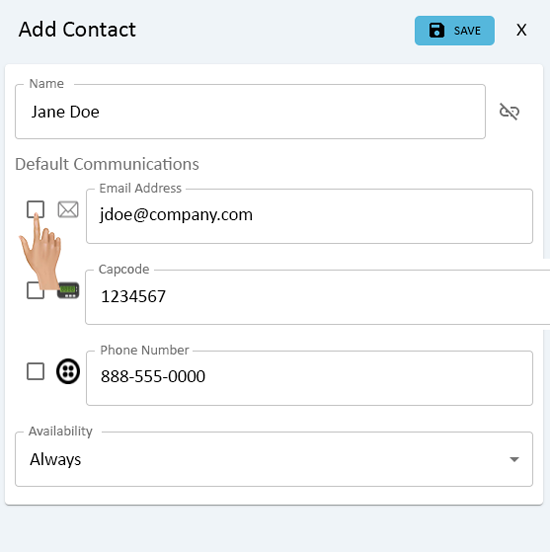
On the right side of the Contacts List an Add Contact window will load. Click in the Name field to enter a name for the Contacts.

Below the Name will be all of the available methods of communication. Click in the field of the appropriate method and enter the information for the Contact.
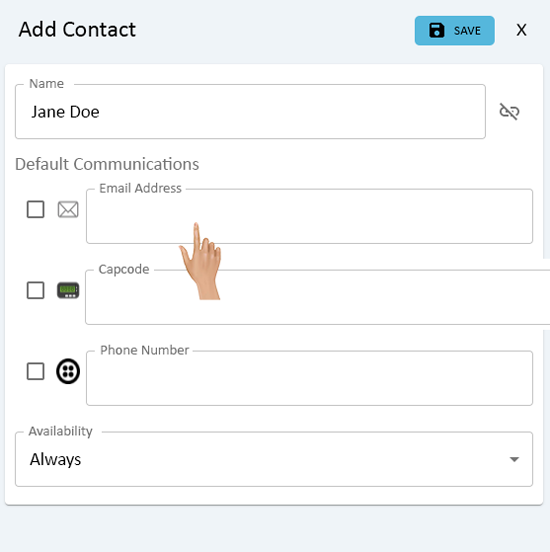
Next to each communication method is a checkbox that designates which method of communication the system should use by default. This Default Communication can be setup by selecting the box.
Multiple methods can be selected as Default.
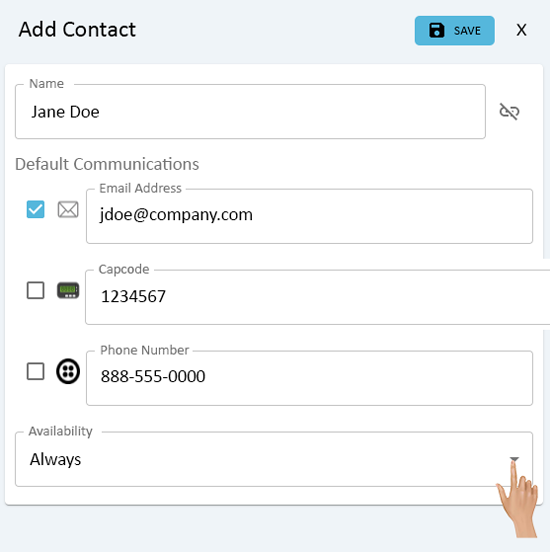
Below the Communication Methods is the Availability for the Contact. This is where the user defines when the contact should receive communications.
By default, Availability is set to Always. This means the system will send communications 24 hours a day everyday.
To change the Availability for a Contact, click on the down arrow in the Availability field.
Selecting Not Available means the Contact will never be sent communications. There is an option to enable Forwarding to another contact.
To enable forwarding, toggle the switch on and select a Contact from the drop down list in the To field.
Selecting During Selected Shifts means the Contact will be sent communications during a specific shift(s) in a schedule.
The user will need to select the correct Schedule and check mark the appropriate shift(s) that apply to the Contact.
Selecting During Specified Time means the Contact will be sent communications during a defined day and time.
The user will need to select the correct Start & End time as well as the Day(s) that apply to the Contact.
Once all of the information has been entered, click on the Save button in the top right corner of the window.
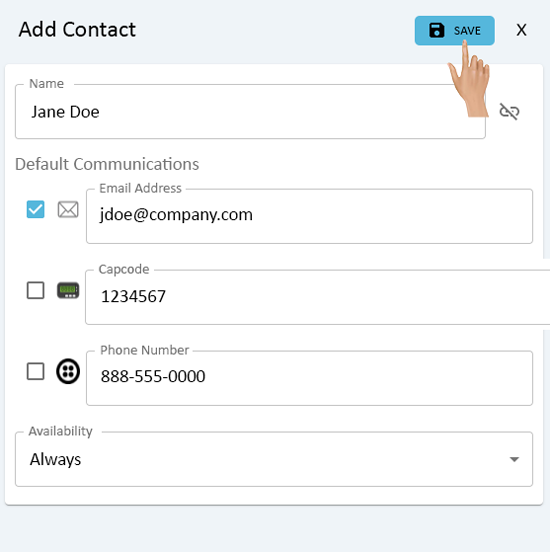
To close the New Contact window, click on the "X" next to the Save button.

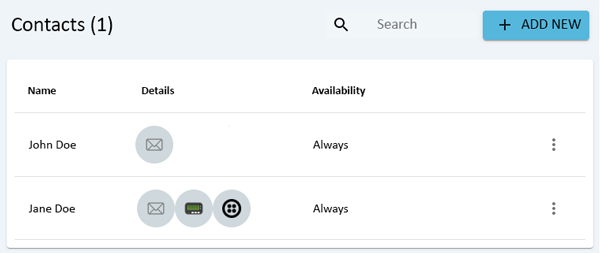
The New Contact will show in the Contacts List.
|
|
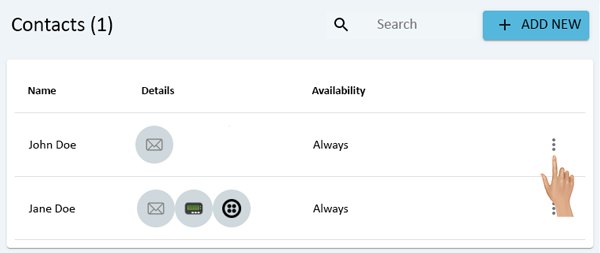
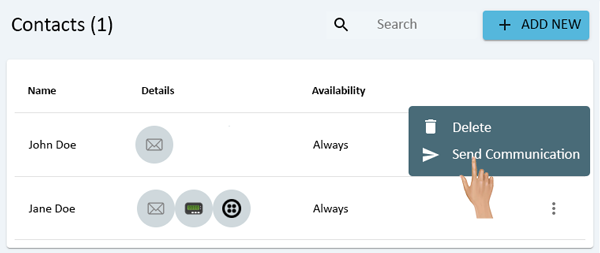
On the Contacts page click on the 3 dot icon in-line with the Contact that needs to be removed.
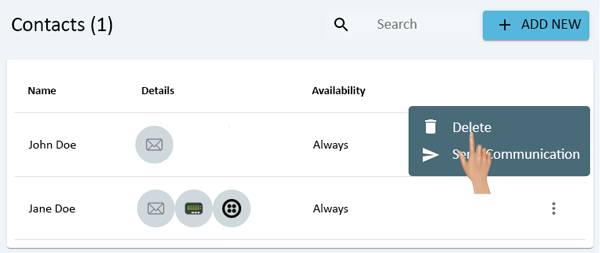
Select Delete from the pop-up menu.
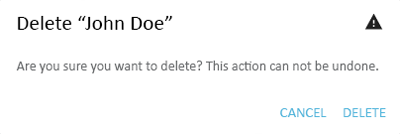
A confirmation window will show on the screen. Select Delete to remove the Contact. Select Cancel to keep the Contact.
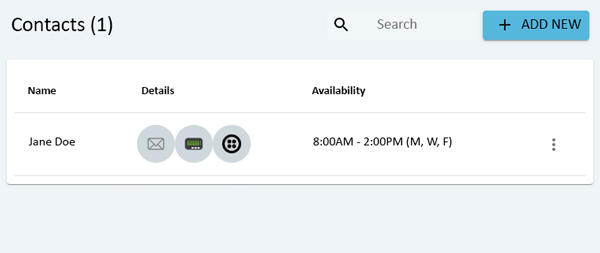
If Delete was selected, the Contact will no longer show in the Contacts List.
|
|
On the Contacts page click on the 3 dot icon in-line with the Contact that needs to be tested.
Select Send Communication from the pop-up menu.
A Message screen will load. Type in the test message to be sent to the Contact.

Select the Send Message button to test the Contact.

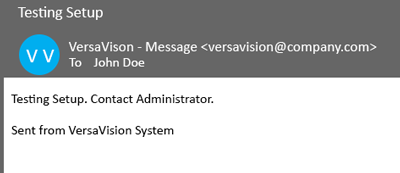
If the Contact is setup correctly, the Contact should get the test message via their Default Communication method within 60 seconds.
Below is an example of an email test message.

|
|

|