Tickets - Mobile App
From VersaVision Support
Tickets is a part of the system where users can input notes, upload files and collaborate with other users.
In the Mobile App, users can perform all the functions available on the PC side plus additional functions.
NOTE: The phone/mobile device must be using a wireless connection to the same network the VersaCall computer/server is connected to.
This page will concentrate on adding, editing, commenting, attaching a file, closing and creating tickets for active alerts.
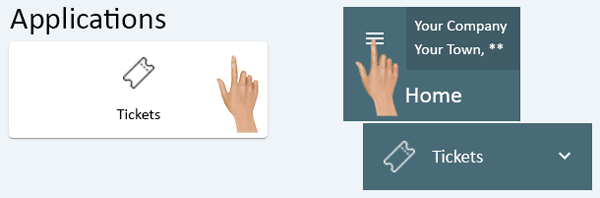
Tickets can be accessed via the Home page menu or the Tickets icon under Applications.
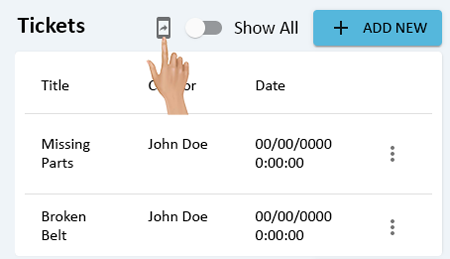
On the Tickets page click on the Phone icon.
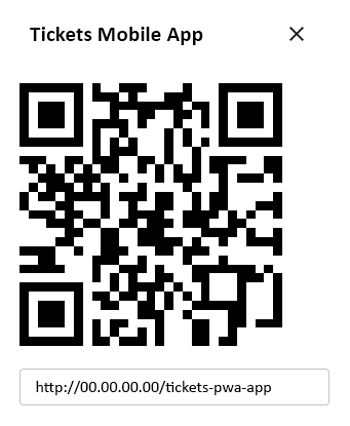
Scan the QR Code from a mobile device or use the web address in a web browser.
|
|
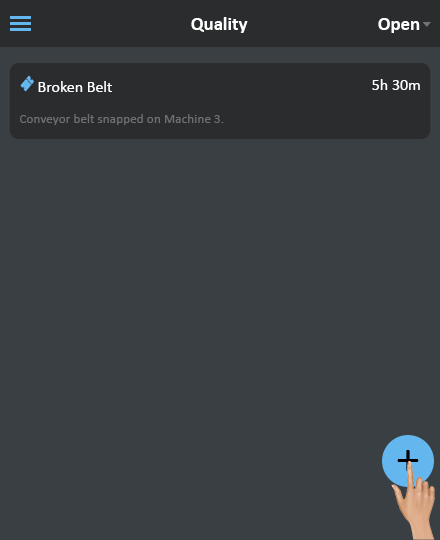
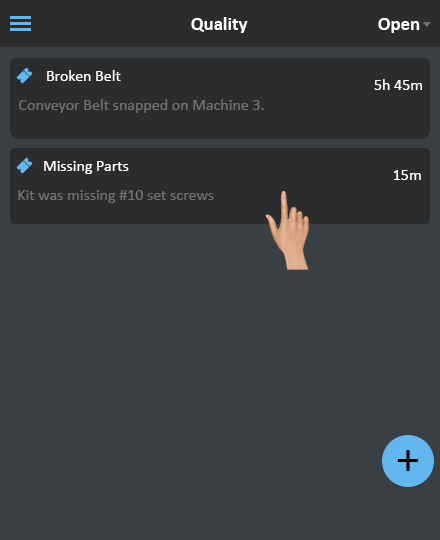
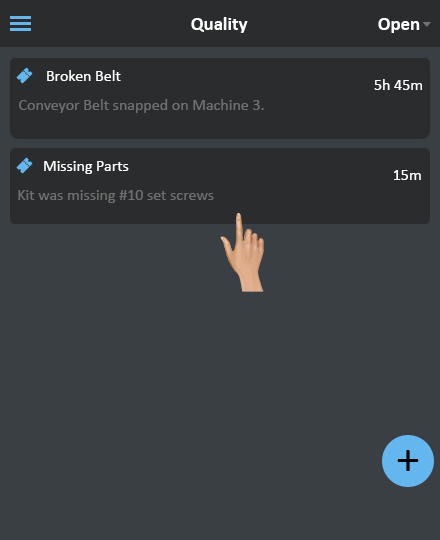
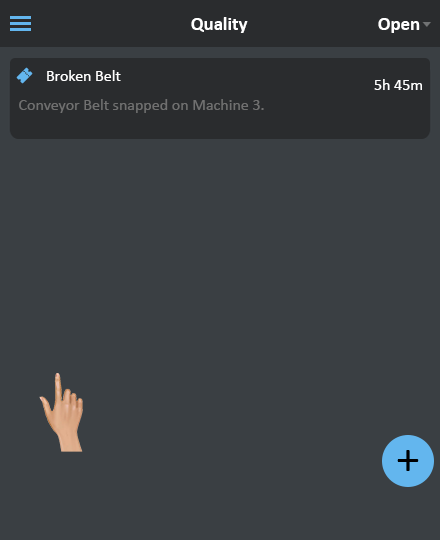
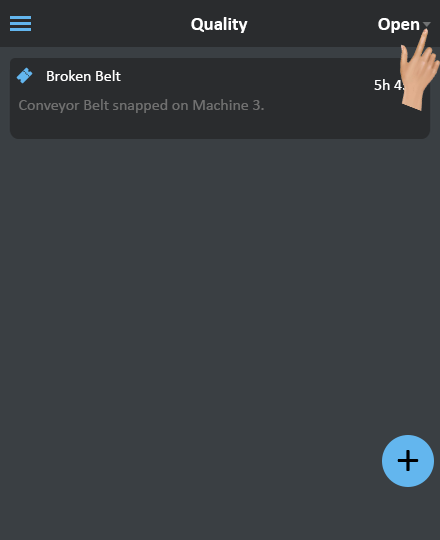
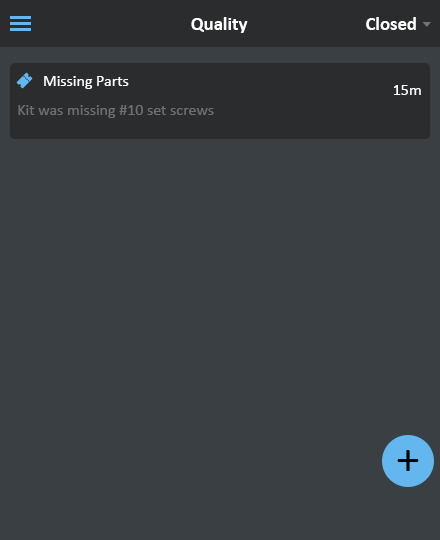
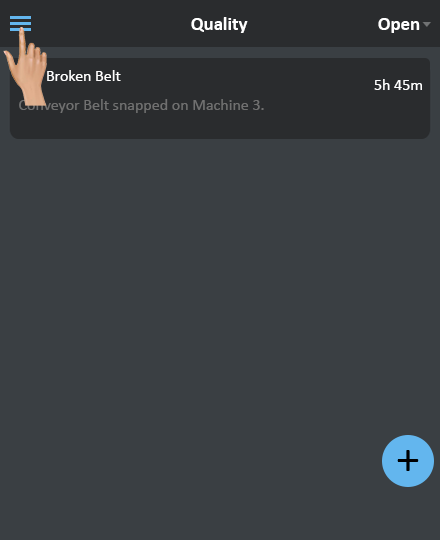
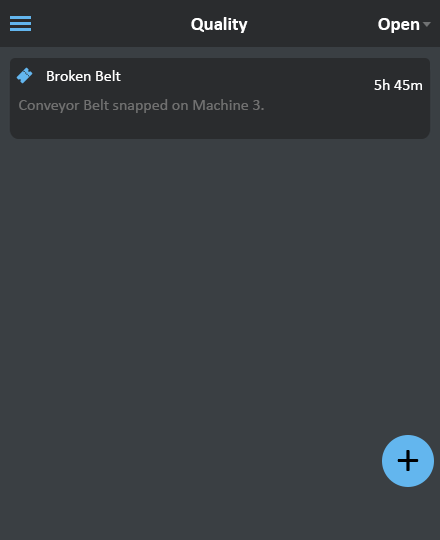
The Mobile App is focused on Quality issues. When the App is opened the user will see a Quality heading.
All tickets will be visible regardless of type. Click on the Add (Plus Icon) button at the bottom right side of the screen.
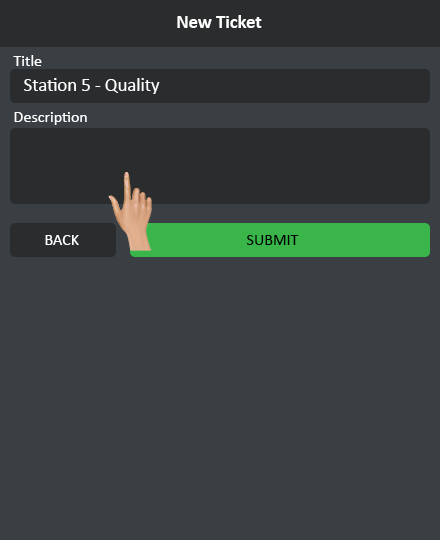
A New Ticket window will load, click in the Title field to enter a name/title for the ticket.
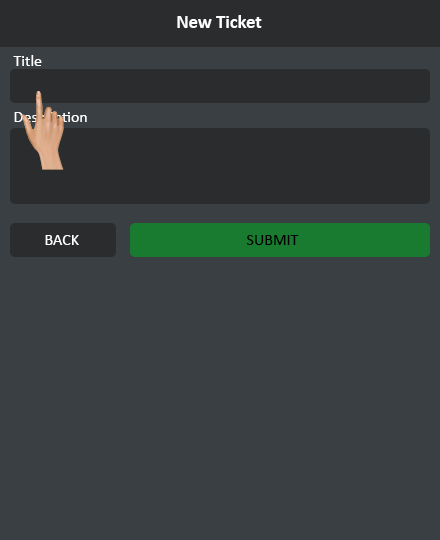
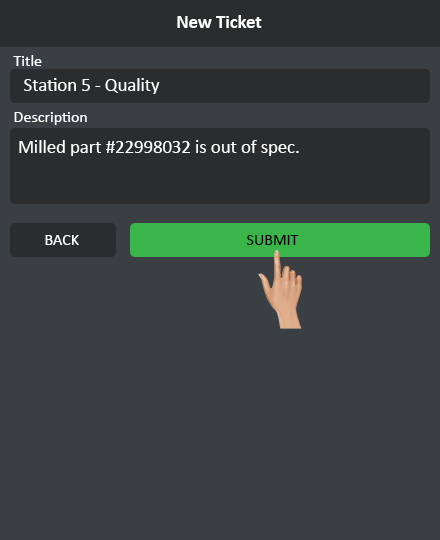
Click in the Description field to enter a description for the ticket.
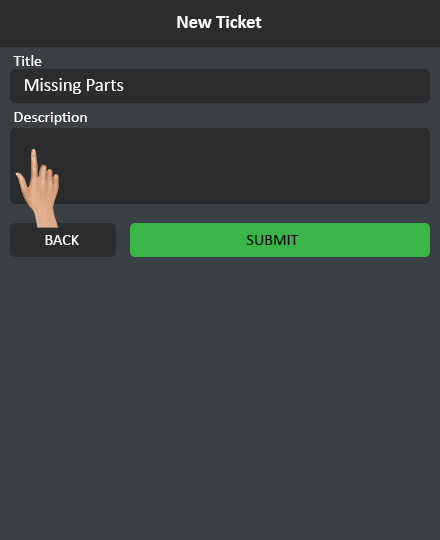
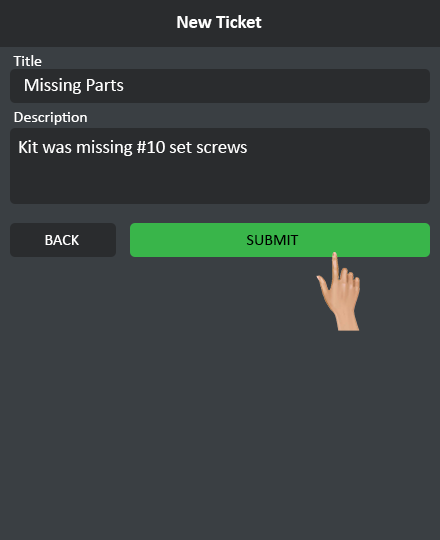
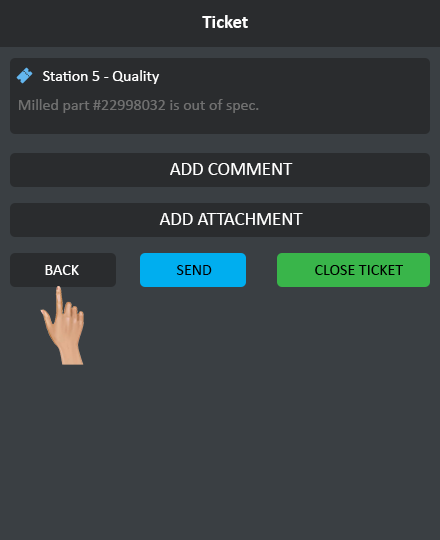
Select the Submit button to save the Ticket to the system and access additional options.
See the "Comment" and "Attachment" sections of this page for more information.
Select the Back button to return to the Tickets list.

|
|
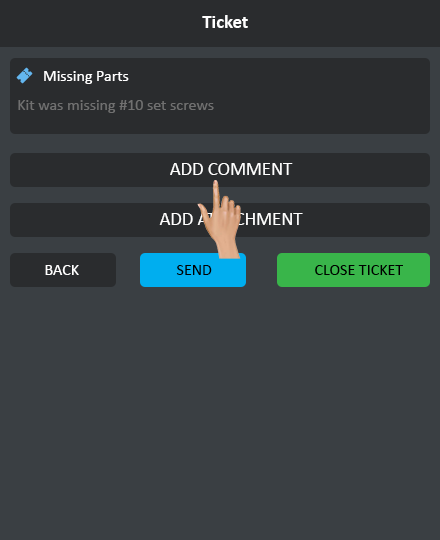
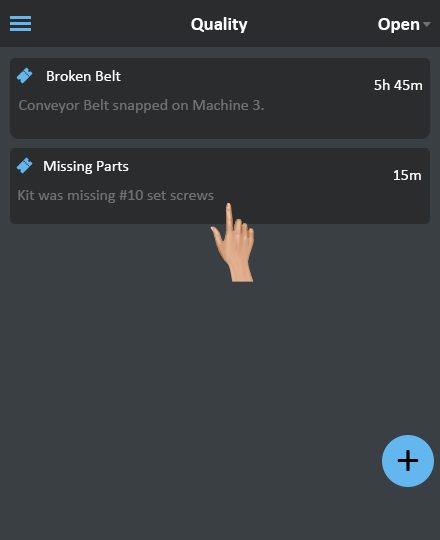
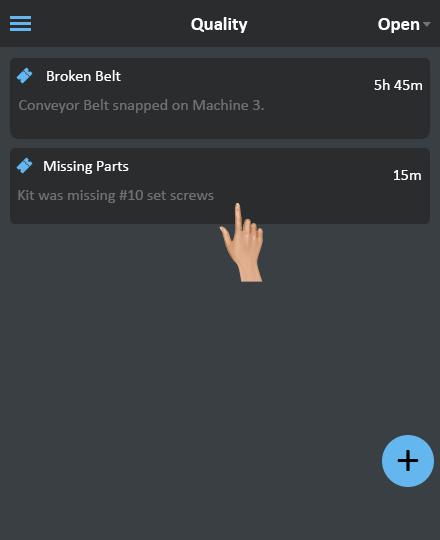
To Comment on an Open Ticket select the ticket from the Tickets list.
The Ticket window will load - click on the Add Comment button.
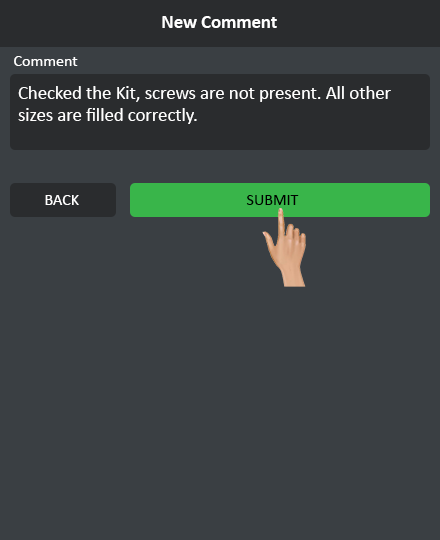
The New Comment window will load. Select the Comment field and type in the information needed. Select the Submit button.
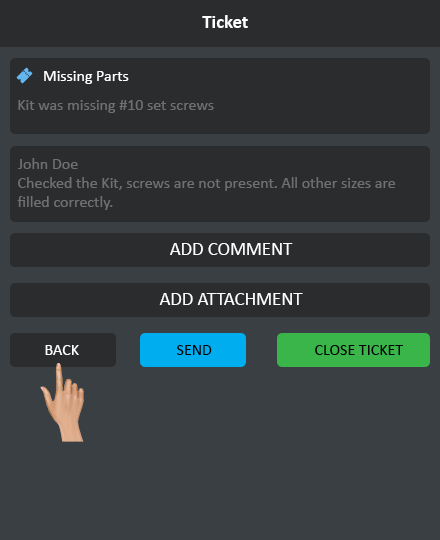
The Ticket window will reload showing the Comment above the Add Comment button. Select the Back button to return to the Tickets List.
|
|
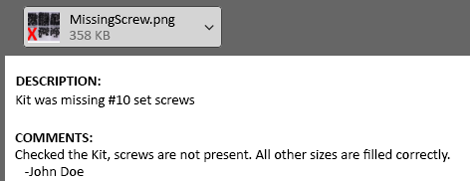
Users can add files to Tickets at any time. Select the Ticket from the Tickets list.
The Ticket window will load, click on the Add Attachment button.
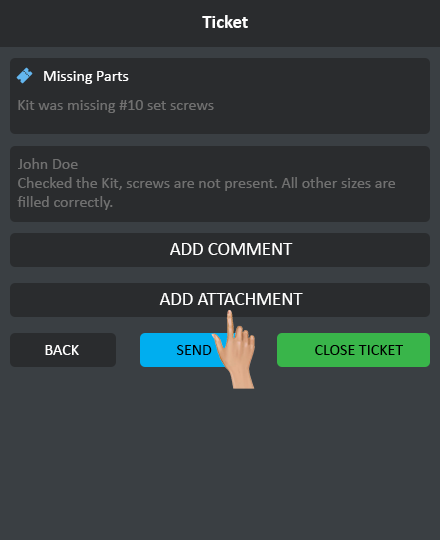
Click on the Attachment button.
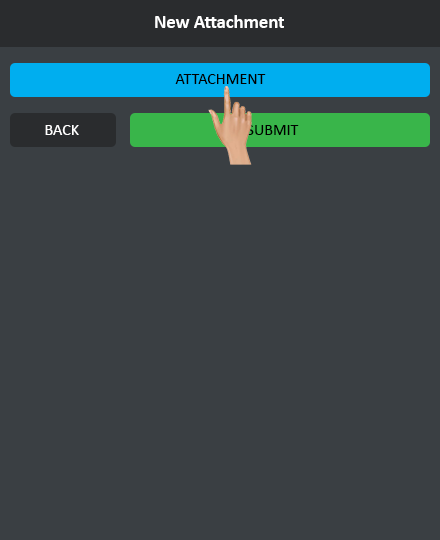
Using the File Browser on the Mobile device, navigate to the file that needs to be uploaded.
Certain devices will allow the user to take a picture and upload it to the ticket in real-time.
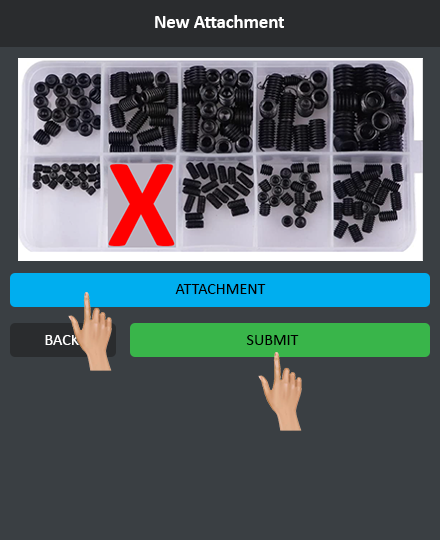
Select the file or take a picture. A preview of the image will show in the New Attachment window after it is selected.
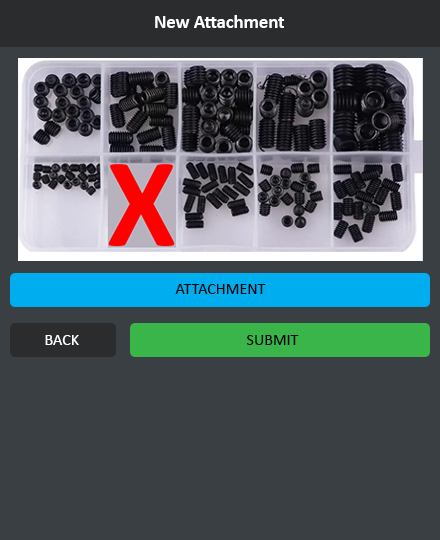
If the Image is correct, select the Submit button. If the image is incorrect, select the Attachment button to take another photo or select a different image.
The Ticket page will reload showing a thumbnail of the file or picture submitted/uploaded. Click on the Back button to return to the Tickets list.
|
|
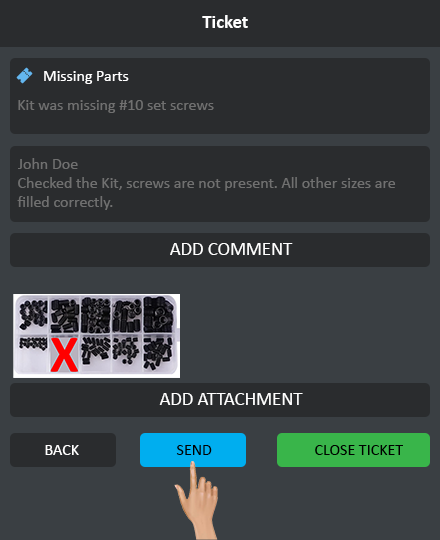
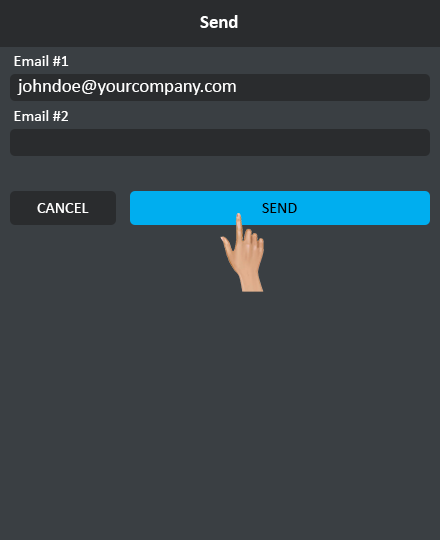
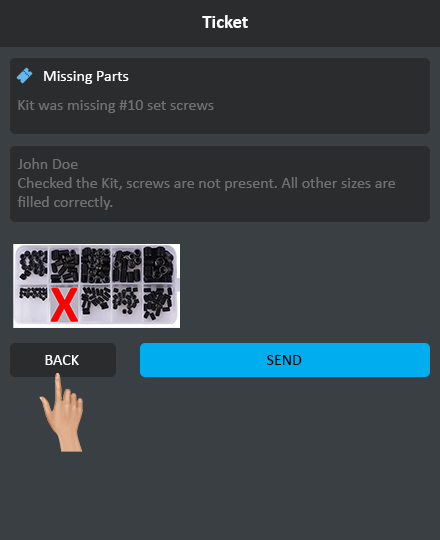
Users can send all of the Ticket information and attached files to an email address inside the Mobile App.
Select the Ticket from the Tickets List.
Click on the Send button.
An email entry window will load, select the Email #1 field.
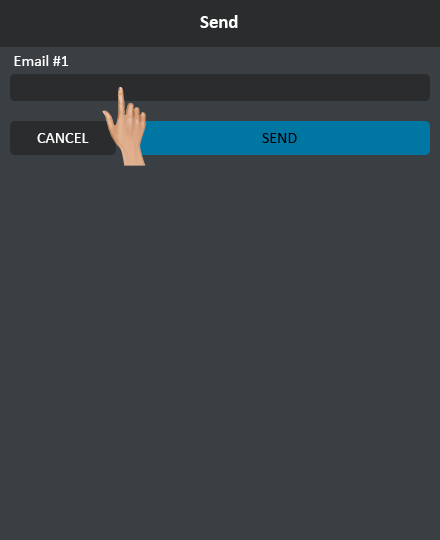
Enter the email address that is to receive Ticket information.
An additional Email field will automatically load below. Additional Email fields will load for each new address entered.
Once all of the email addresses have been entered, select the Send button.
All of the email recipients will get an email message from the VersaVision system.

Inside the email users will be able to see the Title, Description, Comments and Attachments.
|
|
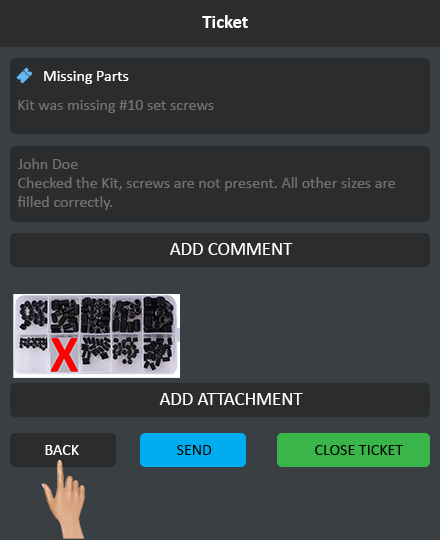
Users can Close a Ticket that is open at any time. Select the Ticket from the Tickets List.
The Ticket window will load, select the Close Ticket button.
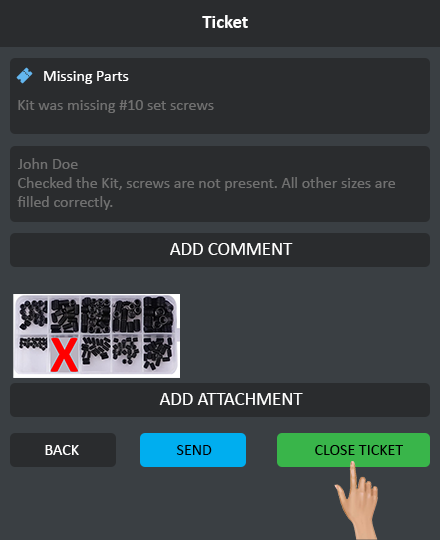
The Ticket window will reload, showing all entered information. The Add Comment, Add Attachment and Close Ticket buttons will no longer be available.
Select the Back button to return to the Tickets List.
On the Open Tickets List, the Closed Ticket will not longer be visible.
|
|
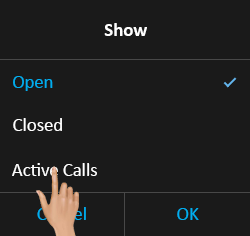
On the Tickets List, click on the drop down arrow in the top right corner of the screen.
The Show pop-up will load on the screen. Select the Open option.
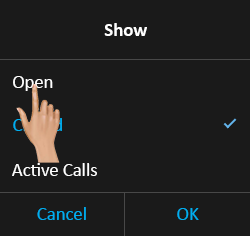
The Open option will show in blue text and have a checkmark. Select the OK button.
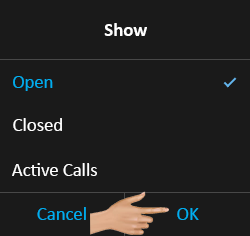
The Tickets list will refresh and reload showing only the Open tickets.

|
|
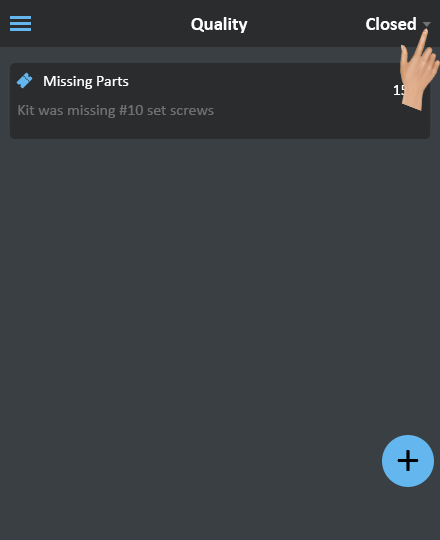
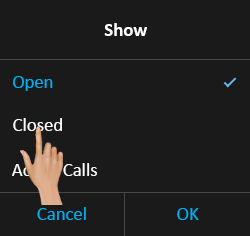
On the Tickets List, click on the drop down arrow in the top right corner of the screen.
The Show pop-up will load on the screen. Select the Closed option.
The Closed option will show in blue text and have a checkmark. Select the OK button.
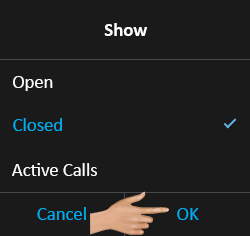
The Tickets list will refresh and reload showing only the Closed tickets.
|
|
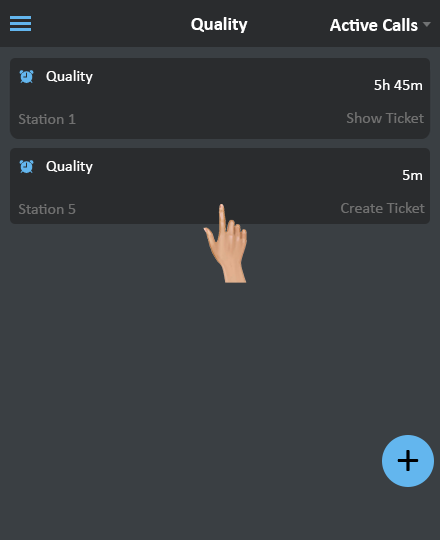
The Mobile App allows the user to view all active alerts that have been tagged as Quality.
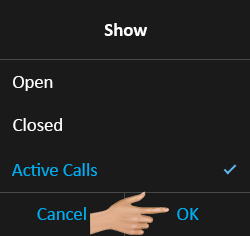
Click on the down arrow in the top right corner of the screen.

The Show pop-up will load on the screen. Select the Active Calls option.
The Active Calls option will show in blue text and have a checkmark. Select the OK button.
The Tickets list will refresh and reload showing only Active Alerts tagged as Quality.
Any alerts that have existing tickets will have "Show Ticket" displayed under the elapsed time.
Any alerts that do not tickets will have "Create Ticket" displayed under the elapsed time. See the next section on this page for information on Creating a Ticket from an Active Alert.

|
|
The Mobile App allows the user to create a new Ticket from an Active Alert.
Ensure the Active Calls filter has been enabled on the Tickets List. Select the alert that needs to have a Ticket created.
The New Ticket window will load. The Title will automatically populate with the Location Name and Alert Name.
Select the Description field to add a description to the ticket.
Select the Submit button to save the Ticket to the system and enable additional options.
The Ticket will refresh enabling the Add Comment, Add Attachment, Send and Close Ticket functionality.
See the appropriate section for the option required. Select the Back button to return to the Tickets List.
|
|
The Mobile App allows the user to switch the log in/user when needed. Select the 3 line icon in the top left corner of the screen.
Select the Sign Out button.
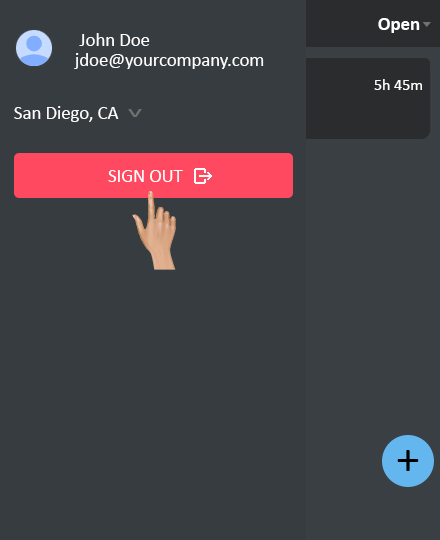
The user will be logged out and the log in screen will load.
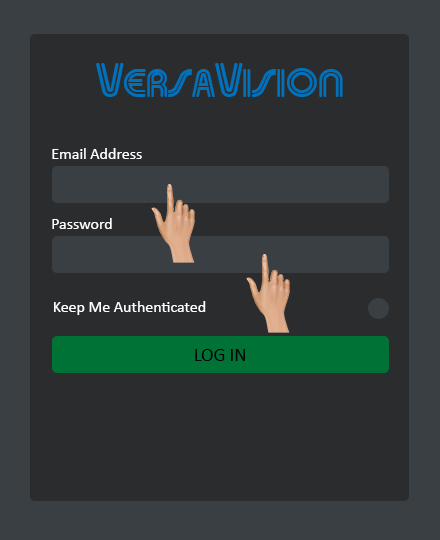
Enter the user email address and password that needs to sign into Mobile App.
After entering the correct email address and password, select the Log In button.
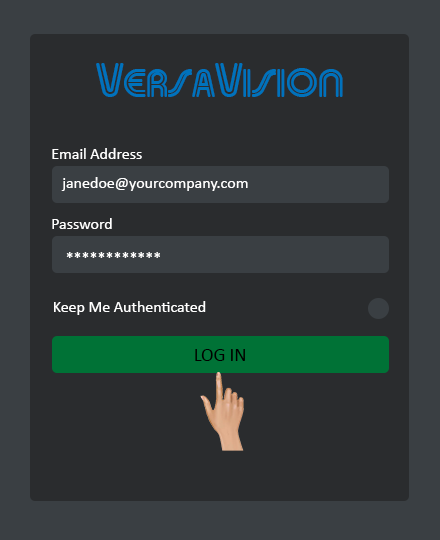
The new user will be brought to the Open Tickets List.
|
|

|