Tickets - PC
From VersaVision Support
Tickets is a part of the system where users can input notes, upload files and collaborate with other user.
Generally, this would be used to document a quality issue or a stoppage that needs to be investigated at a later date. Tickets can be created and edited in the VersaVision software and on a Cell Phone.
This page will concentrate on Adding, Editing, Closing and Deleting Tickets inside the VersaVision software. NOTE: There is a separate page that covers the Cell Phone/Tablet interface.
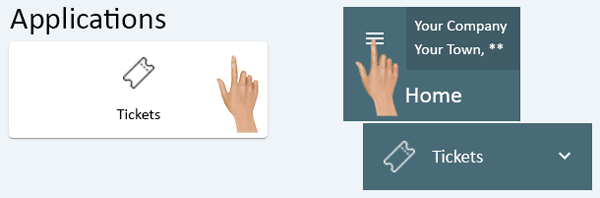
Tickets can be accessed via the Home page menu or the Tickets icon under Applications.
|
|
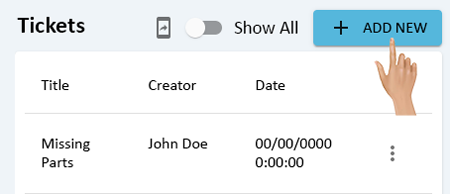
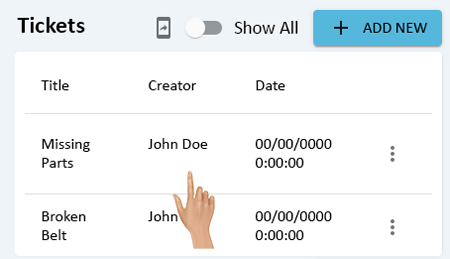
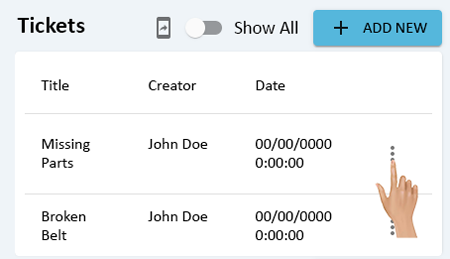
On the Tickets page there will be a list of all the active tickets in the system. All Active Tickets regardless of age will show. Click on the Add New button.
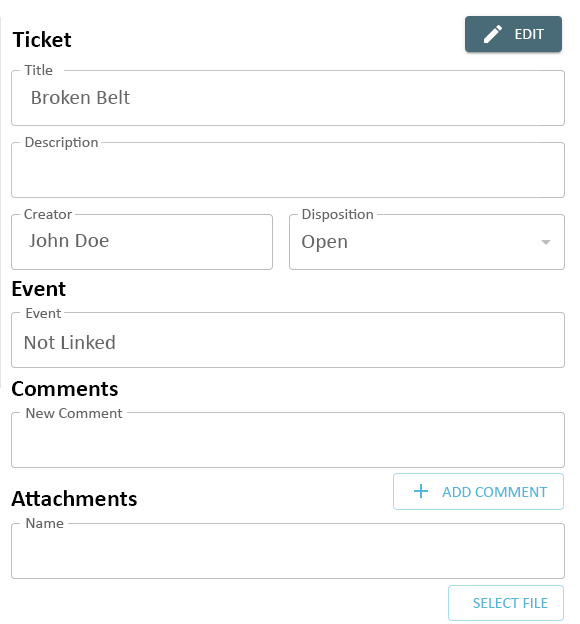
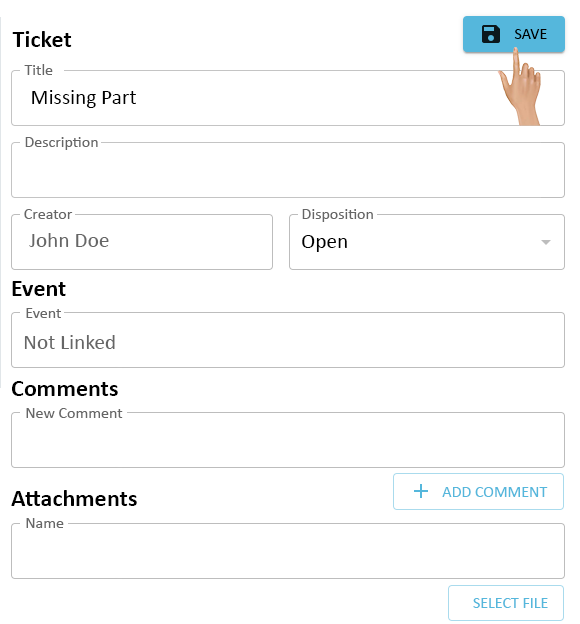
The New Ticket window will load on the right side of the Tickets List. Click in the Title field to add a title/heading for the Ticket.
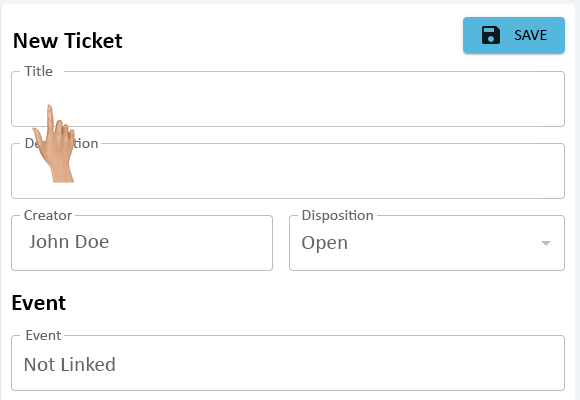
The Creator field will automatically fill with the users name creating the Ticket.
The Disposition field will automatically fill with Open.
The Event field will automatically fill with Not Linked.

Select the Save button to record the Ticket and to enable further options.
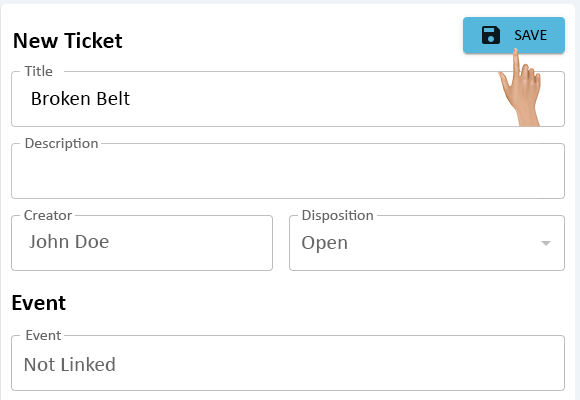
The Ticket will show in the Tickets List.
The Ticket window will refresh showing Edit Ticket options.
Please go to the Editing a Ticket section for instructions.

|
|
To Edit an Open Ticket select the ticket from the Tickets list.
The Ticket window will load on the right side of the Tickets List. Click on the Edit button.
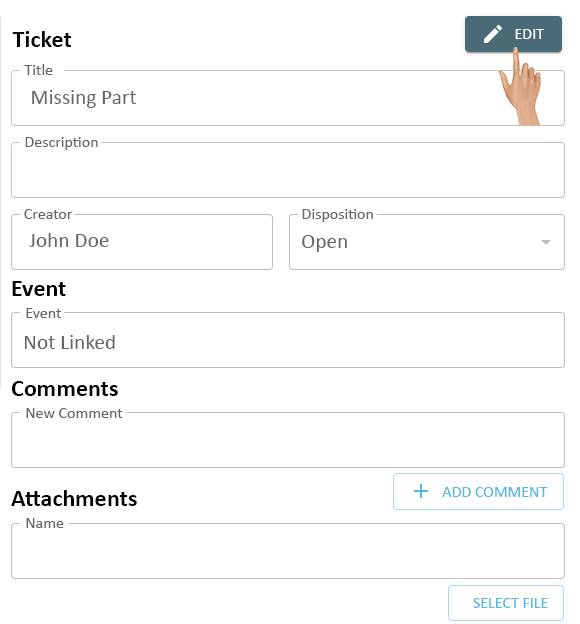
The only fields that are Editable are the Title, Description and Disposition.
Make any changes needed to these fields.
Changing the Disposition from Open to Closed will close out the ticket and archive it. A Ticket should only be Closed when all Comments and Attachments are completed.
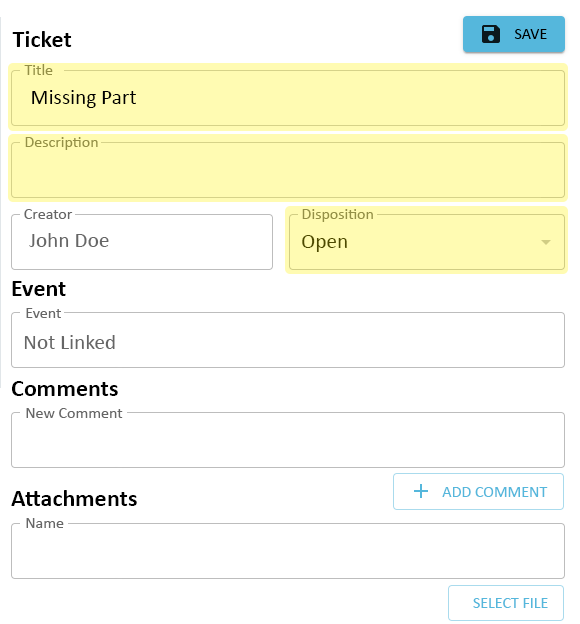
After all Changes have been made, click on the Save button.
|
|
Users can add Comments to Tickets at any time. Select the Ticket from the Tickets list.
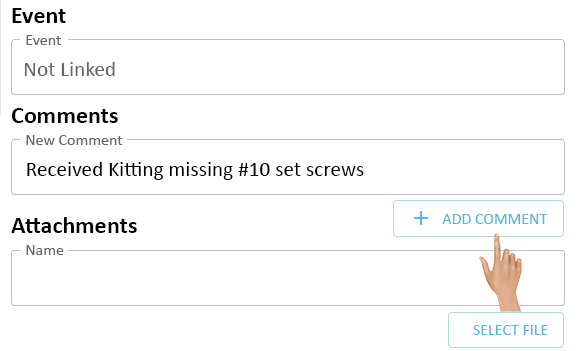
The Ticket window will load on the right side of the Tickets List. Click in the New Comment field.
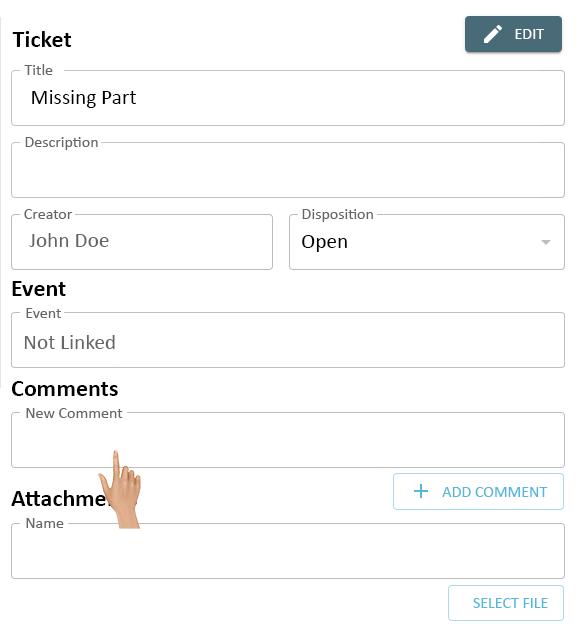
Enter in any Comments required/needed for the ticket. Click on the Add Comment button.
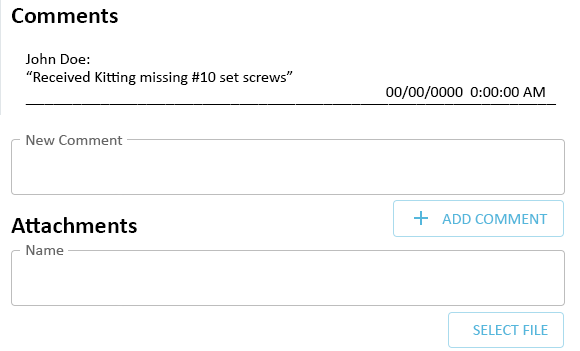
The Ticket will refresh showing the Comment that was saved to the ticket.
Repeat the steps to add more comments to the Ticket.
|
|
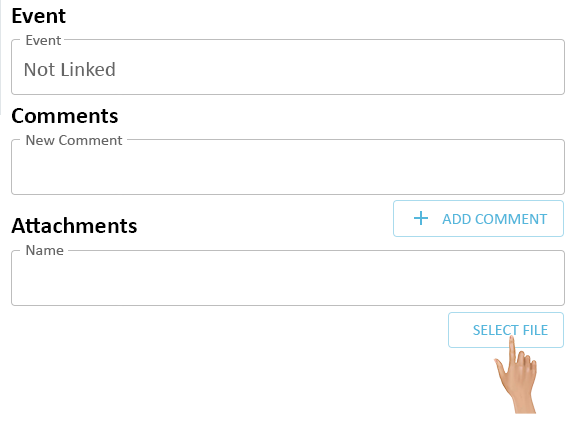
Users can upload Files (Attachments) at any time to a Ticket. Select the Ticket from the Tickets list.
Under the Attachments section click on the Select File button.
A File Explorer will open on the screen. Navigate to the location of the file that needs to be attached.
Double click on the file once it is found.

The File Explorer window will be removed, the Ticket window will reload.
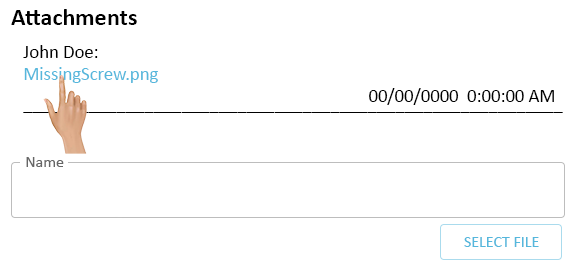
Under the Attachments heading the name of the file selected will appear in the Name field.
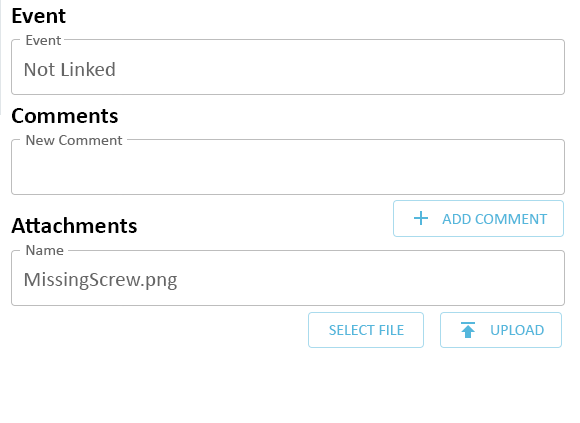
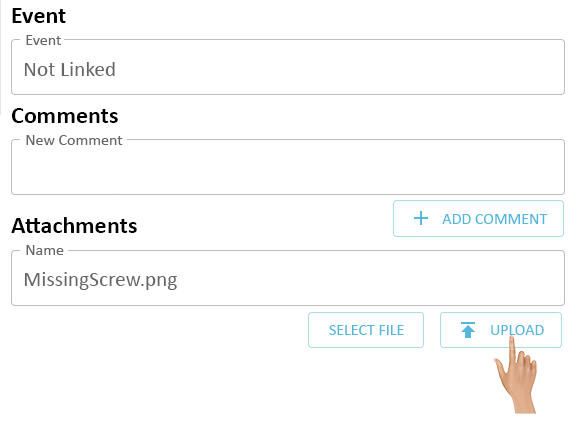
To add the file to the Ticket, click on the Upload button.
The Ticket will refresh showing the User Name, File Name and Data and Time.
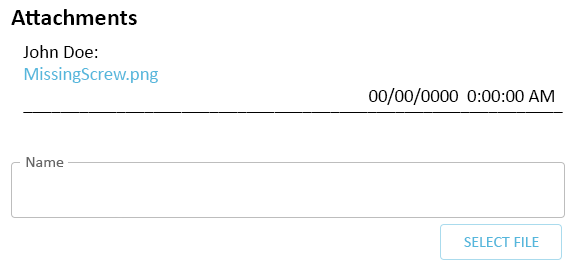
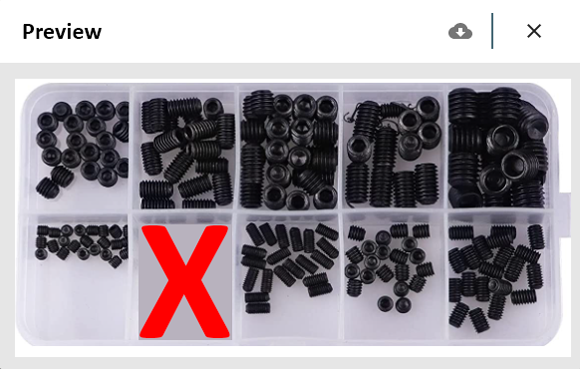
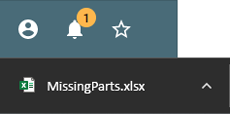
To view and attached file, click on the file name.
When an Image file is selected, a pop-up window will appear showing the image.
When any other type of file is selected, the file will be downloaded.
The user can then open the file with the appropriate application.
|
|
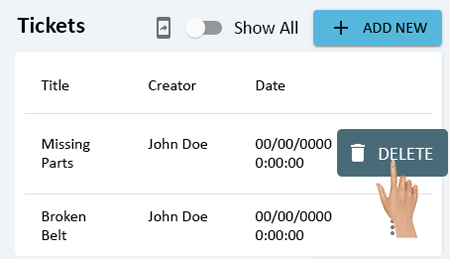
To remove a Ticket from the system click on the 3 dot menu on the Ticket the needs to be removed.
Select Delete from the pop-up menu. The Ticket will be removed, there will not be any warning message.
|
|
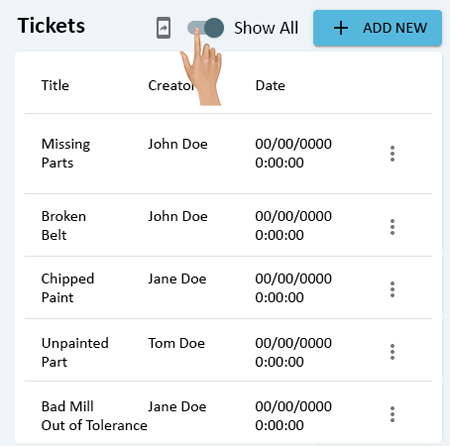
To View all Active and Closed Ticket from the last 30 days, click on the Show All toggle.
The Tickets list will refresh showing Active & Closed Tickets.
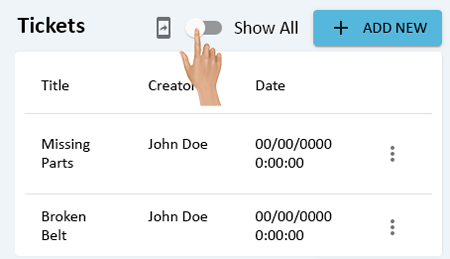
To switch back to viewing all Active Tickets, click on the Show All toggle.
The Tickets list will refresh showing all Active Tickets.

|
|
Tickets can be viewed on a Mobile device at any time. Click on the Phone icon.
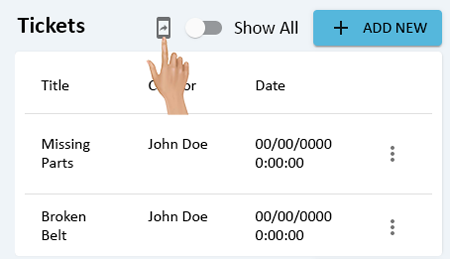
A pop-up screen will load showing a QR code and a web address.
Scan the QR Code with a Mobile device to open the Mobile App Interface.
If the Mobile device does not have a QR Scanner, open a Web Browser and enter the web address shown under the QR Code.
Users can access the Mobile App Interface via a computer by clicking on the web address field below the QR Code.
|
|

|