Modules - Locations
From VersaVision Support
The Module Location page allows the user to create a Location/Station and Assign/Link a Configuration. These Locations will be the specific Operator Interface.
Each Location will have a unique name and be assigned to a Schedule. Locations must be made for both Software and Hardware.
This page explains how to Add, Edit, Copy, Delete and Assign a Location.
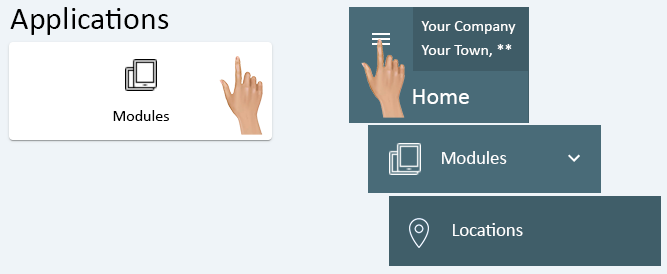
Access Module Locations by selecting the Modules icon from the Applications Quick Menu or by selecting the Menu icon from the Home Page. Once Modules is selected, click on the Location option.
|
|
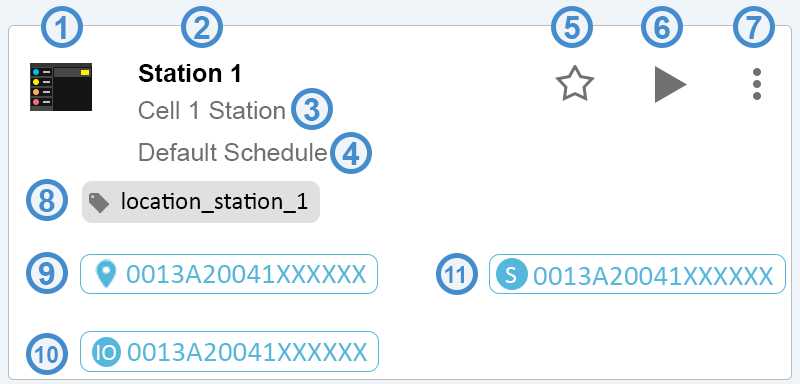
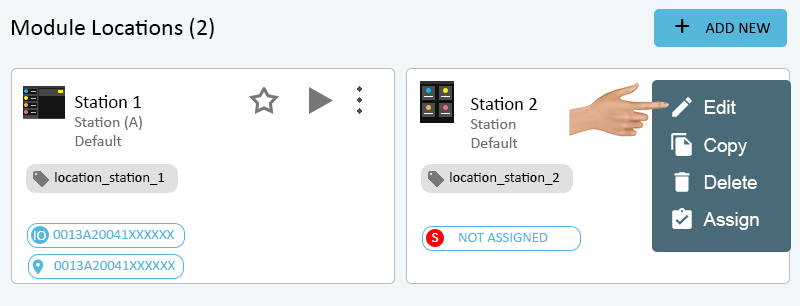
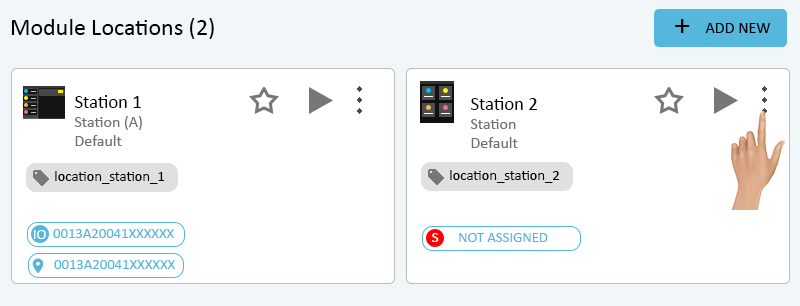
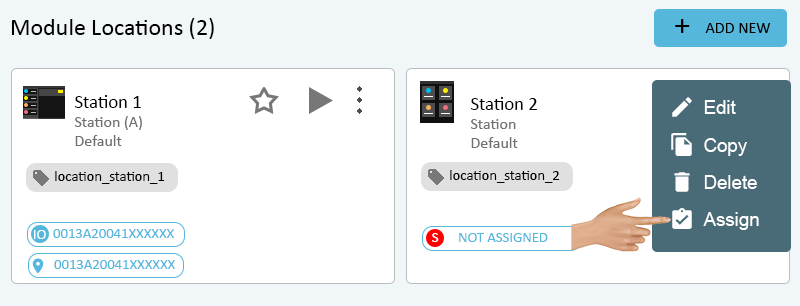
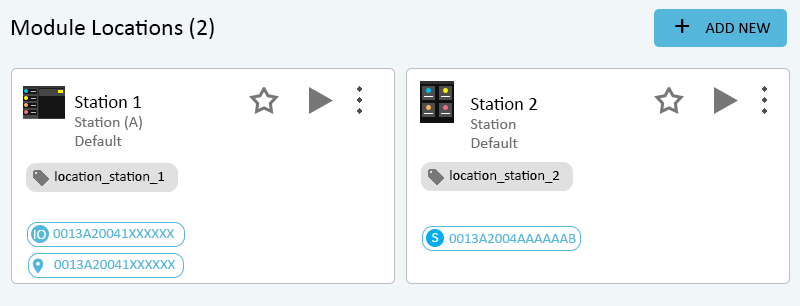
Each Location is represented by a Location Card on the Module Locations page. There are 11 total areas of information on the Location Card.
- 1. Icon - each Module Type has its own specific icon.
- 2. Name - the Location Name will show here.
- 3. Configuration - the Module Configuration that was selected for the Location will show here.
- 4. Schedule - the Schedule selected for the Location will show here.
- 5. Favorite - by default the Favorite Icon (Star) will be an outline meaning it is NOT selected.
- Click on the icon to make the Location as a favorite. This device will now show on the Home Page.
- 6. View - click on the View Icon (Triangle) to launch the Location (Operator Interface) in a web browser.
- 7. Menu - click on the elipsis to gain access the the Location Menu (Edit, Copy, Delete, Assign). These selections are explained in specific sections on this page.
- 8. Location Tag - all Tags associated with the Location will appear here.
- 9. Touch Screen Assignment - when a Mesh Touch Screen (VersaCall Provided) has been assigned to the Location, the Mesh Address will show here.
- 10. I/O Assignment - when an I/O Module has been assigned to the Location, the Mesh Address will show here.
- 11. Stack Light Assignment - when a Stack Light has been assigned to the Location, the Mesh Address will show here.
|
|
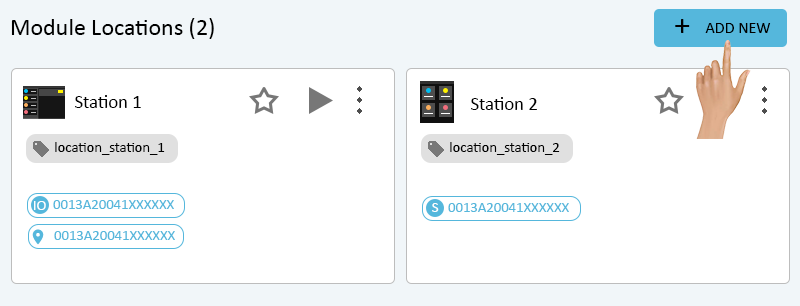
To Add a Location, click on the Add New button in the top right corner of the page.
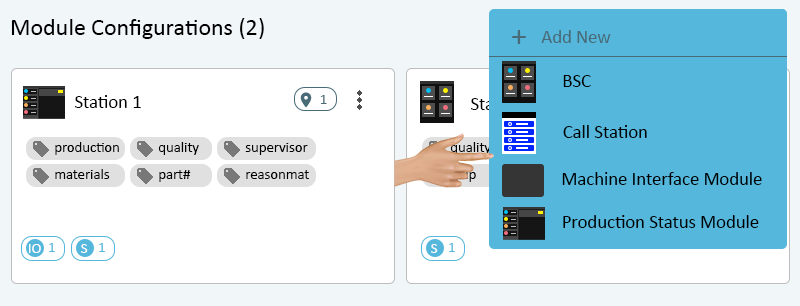
A drop down menu will show with the following options. Select the type of module a Location is being created for.
- BSC - select this option when the user needs to Add a Location for a BSC Configuration.
- Call Station - select the option when the user needs to Add a Location for a Call Station Configuration.
- Machine Interface Module - select this option when the user needs to Add a Location for an I/O Configuration that is NOT connected to a PSM.
- Production Status Module - select this option when the user needs to Add a Location for a Production Status Module Configuration.
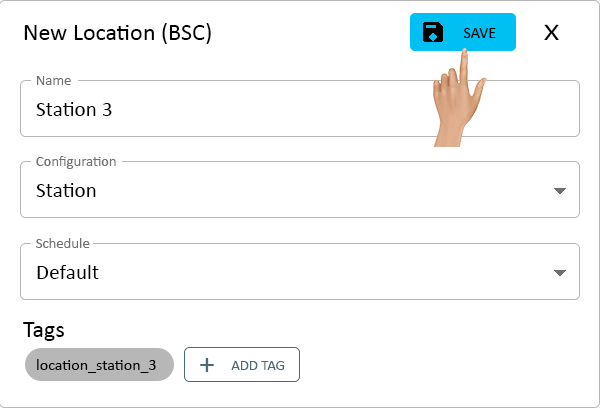
A New Location window will load on the screen - click in the Name field.
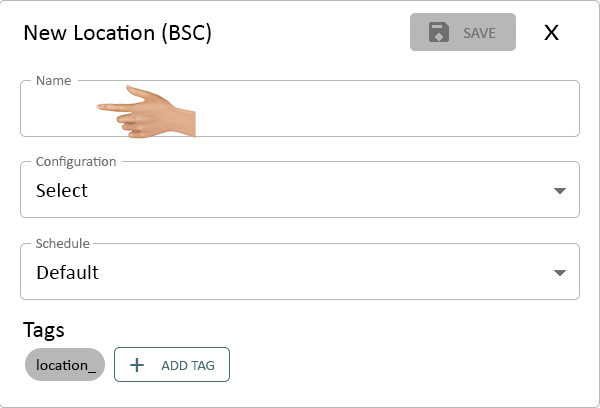
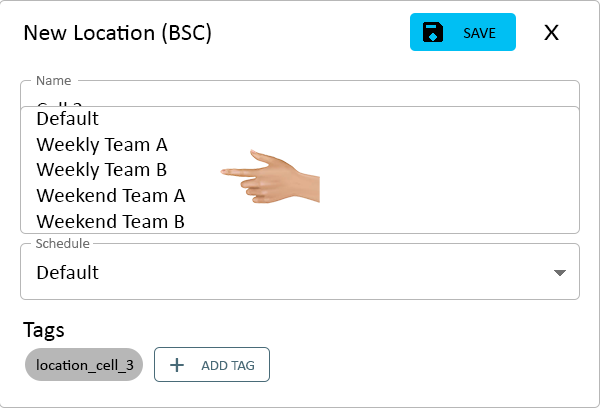
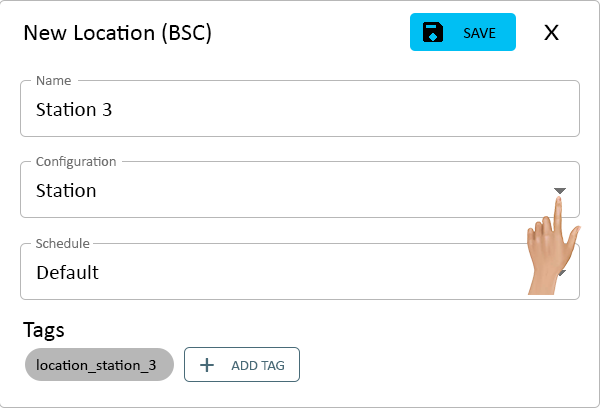
Enter a Name for the Location. This will be the name that shows on the Operator Interface and what is stored in the data base. Click on the down arrow in the Configuration field.
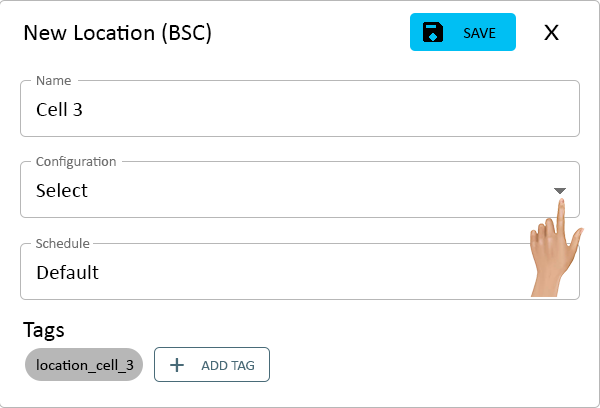
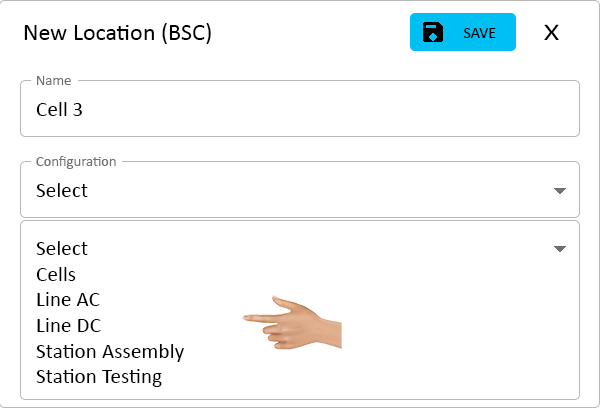
A list of all of the configurations created in the system will show - select the appropriate configuration for the Location being created.
NOTE: The Configurations shown will be filtered by the Module Type selected (Call Station, BSC, PSM, Machine Interface Module).
The Schedule that has been set as the Default will be selected in the Schedule field. To select a different Schedule, click on the down arrow in the Schedule field.
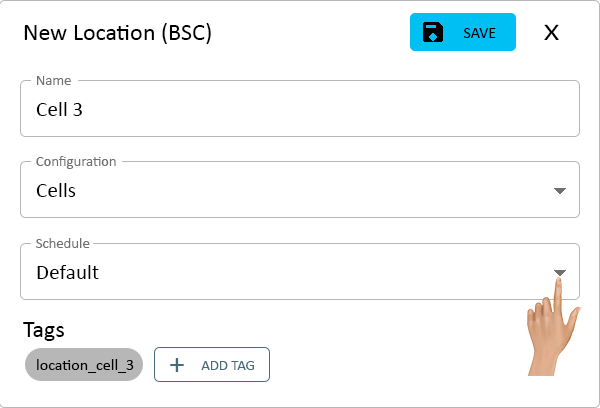
A list of all the Schedules created in the system will show - select the appropriate Schedule for the Location being created.
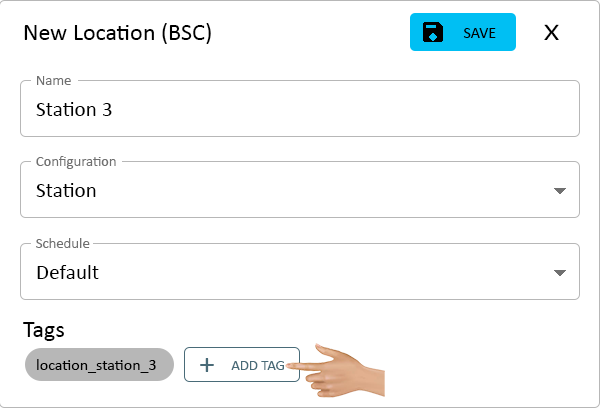
A tag will be automatically created based off of the Name that was entered. To create additional tags, click on the Add Tag button.
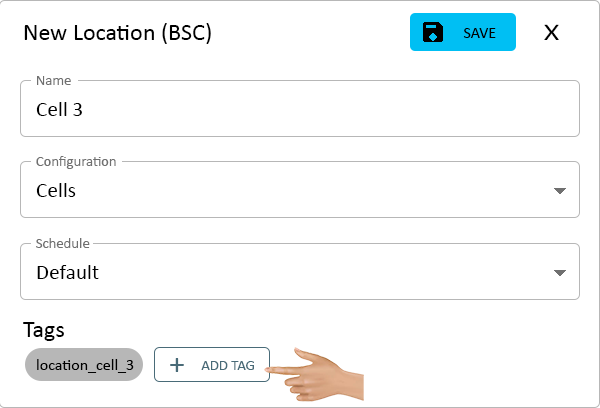
Click Here for information on creating a Tag.
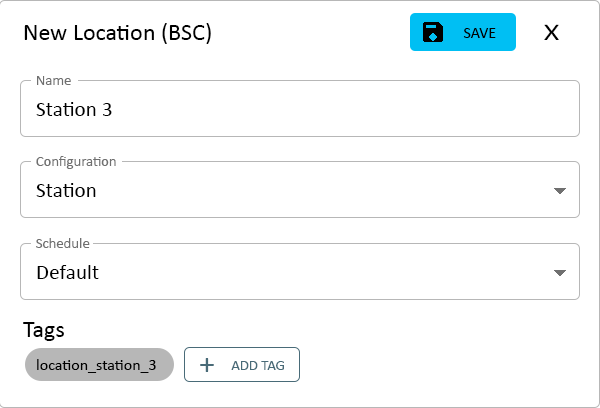
Once all information has been setup, click on the Save button.
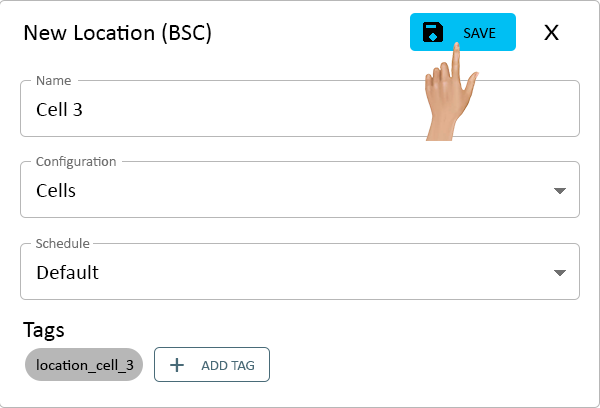
A new Location Card will appear on Module Locations.

|
|
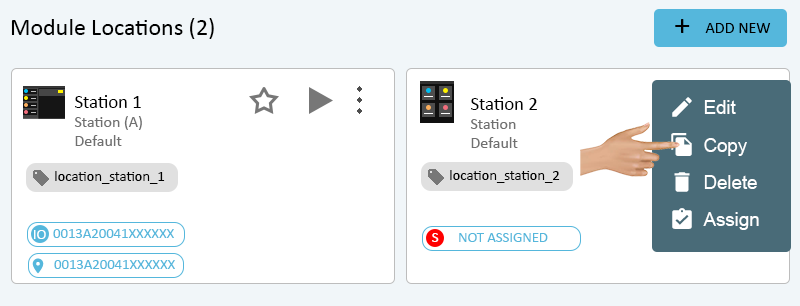
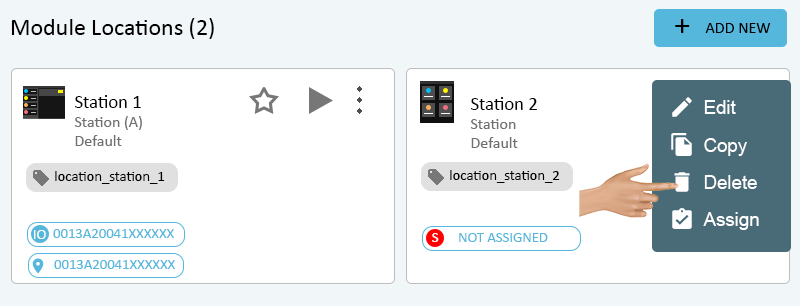
To Edit a Location, click on the elipsis on the Location Card.

Select Edit from the menu.
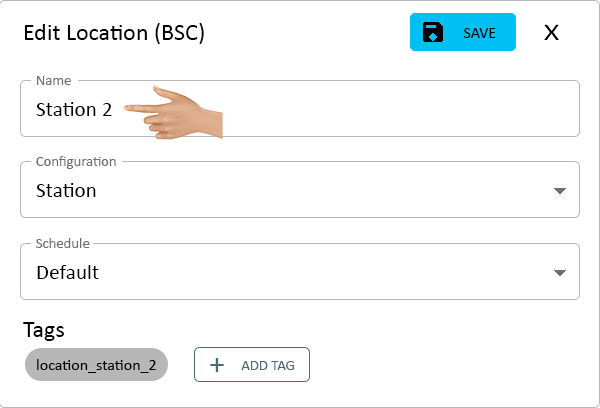
The Edit Location window will load on the screen - click in the Name field to edit the name of the Location.
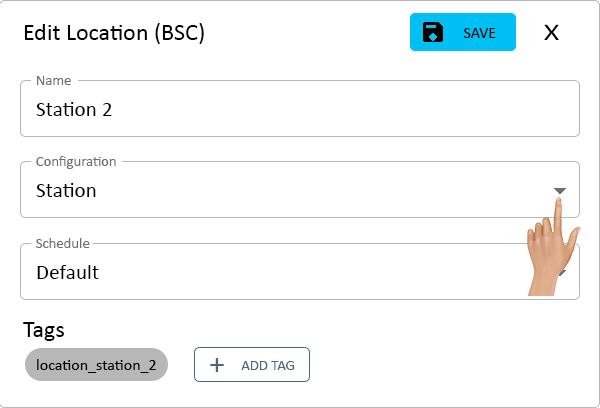
Click on the down arrow in the Configuration field to change the Configruation associated with the Location.
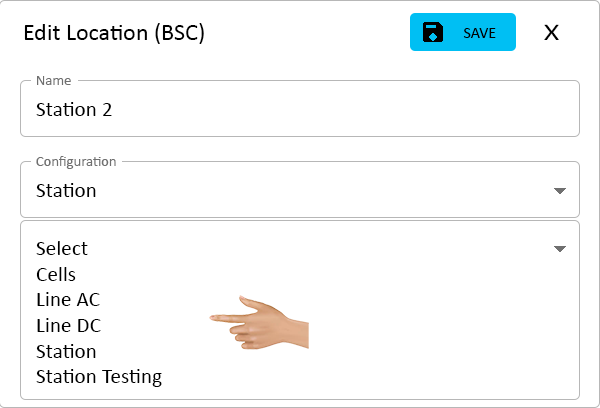
A list of all of the Configurations created in the system will show - select the appropriate Configuration.
NOTE: The Configurations shown will be filtered by the Module Type selected (Call Station, BSC, PSM, Machine Interface Module).
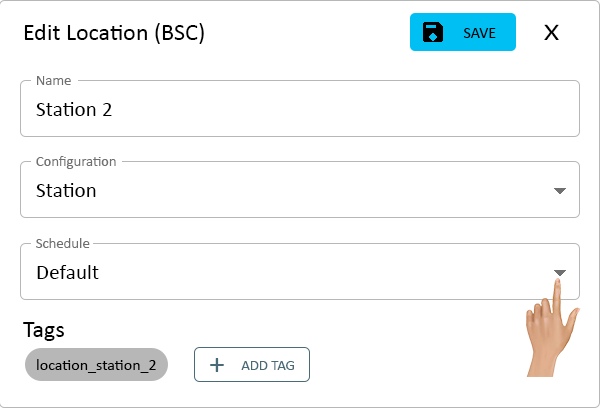
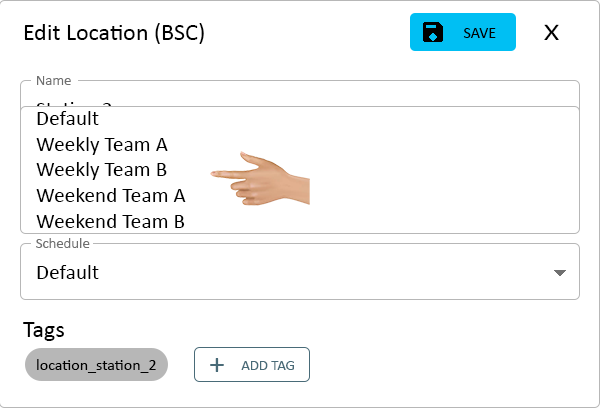
Click on the down arrow in the Schedule field to change the schedule associated with the location.
A list of all the Schedules created in the system will show - select the appropriate Schedule.
Create additional Tags by clicking on the Add Tag button.
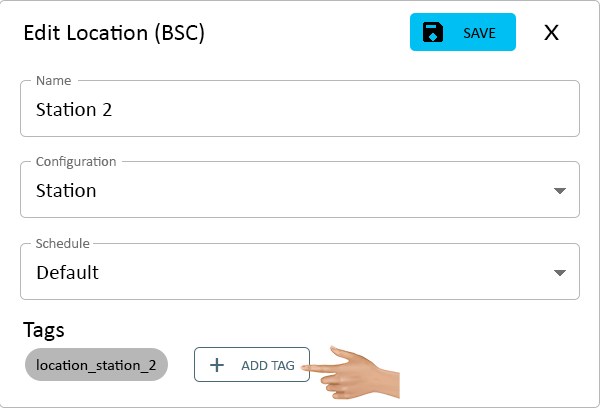
Click Here for information on creating a Tag.
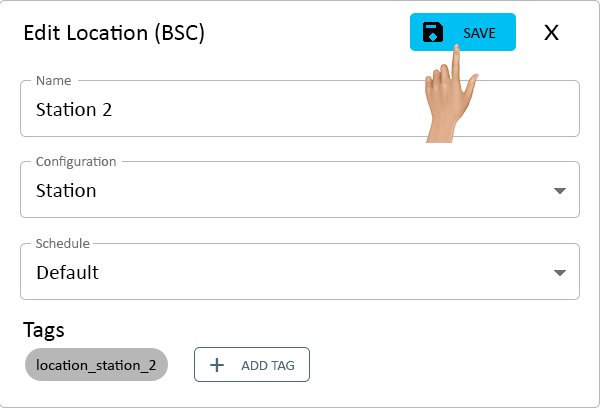
Once all information has been setup, click on the Save button.
|
|
To Copy a Location, click on the elipsis on the Location Card.

Select Copy from the menu.
The New Location window will load on the screen - click in the Name field.
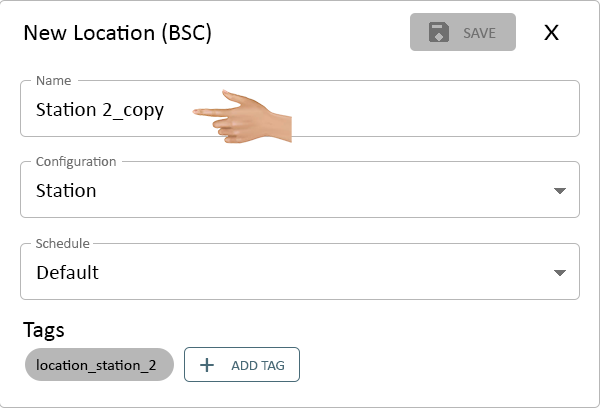
The name of the copied Location will show with "_copy" following. Enter an appropriate Name for the Location.
Click on the down arrow in the Configuration field to change the associated Configuration.
Click on the down arrow in the Schedule field to change the schedule associated with the location.

Create additional Tags by clicking on the Add Tag button.
Click Here for information on creating a Tag.
Once all information has been setup, click on the Save button.
|
|
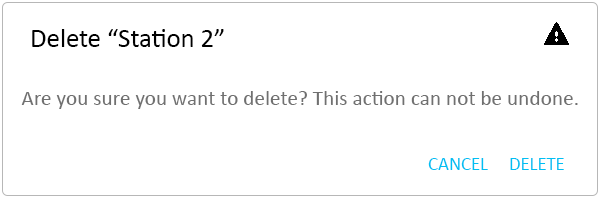
To Delete a Location, click on the elipsis on the Location Card.
Select Delete from the menu.
A confirmation window will load - select "Cancel" to keep the location - select "Delete" to remove the location.
|
|
To Assign a Hardware Device (VersaCall Provided), click on the elipsis on the Location Card.

Select Assign from the menu.
An Assignment window will load with the following fields:
- What - there will only be a drop down menu when a Stack Light or I/O Module has been added as an Expansion.
- Expansions are setup in the Configuration.
- Filter - all Hardware Devices (VersaCall Provided) will have an Mesh Radio Address. Each device will have a label with the Address printed on it.
- The list of addresses will be filtered by the type of location selected (Call Station, BSC, PSM, I/O). Further filter the results by entering the all or part of the Mesh Address of the device.
- Device List - all of the Devices that are available will show in the list based on the location type and any filter that has been entered.
- Any device that has already been assigned will show with a blue tag indicating the Location Name.
- What - there will only be a drop down menu when a Stack Light or I/O Module has been added as an Expansion.
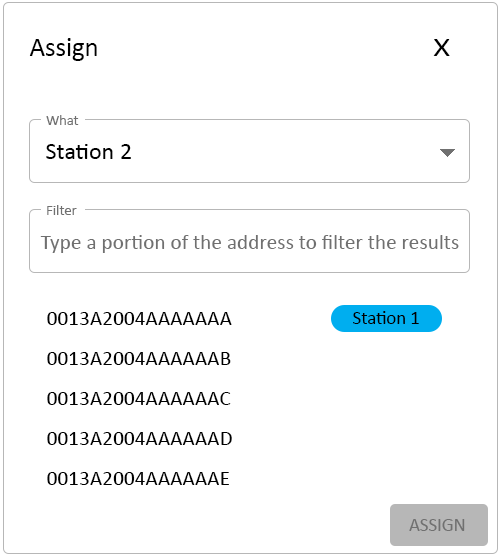
When the correct Device (Mesh Address) is found, click on it so that it is highlighted.
Image below are showing options for a Touch Screen and for a Stack Light.
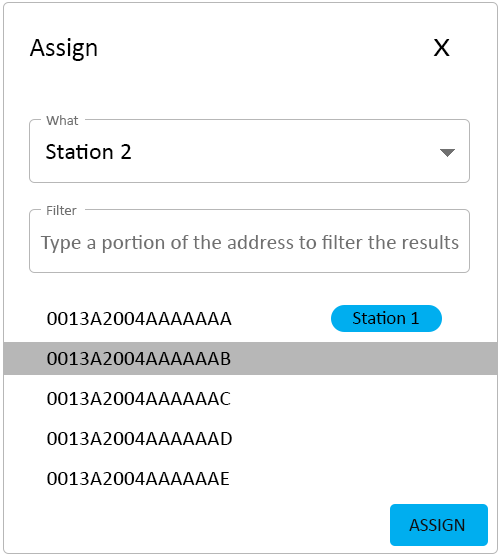
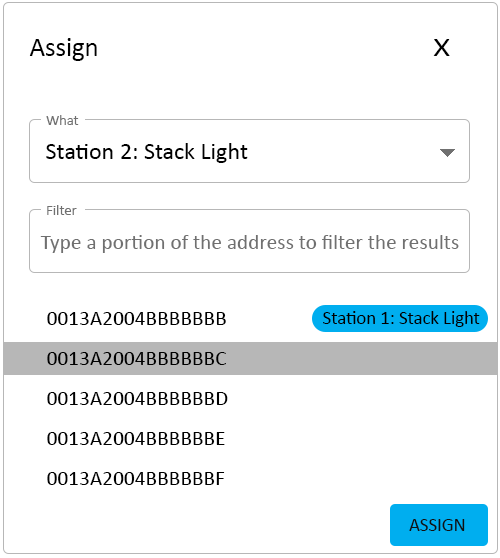
Click on the Assign button at the bottom of the list.
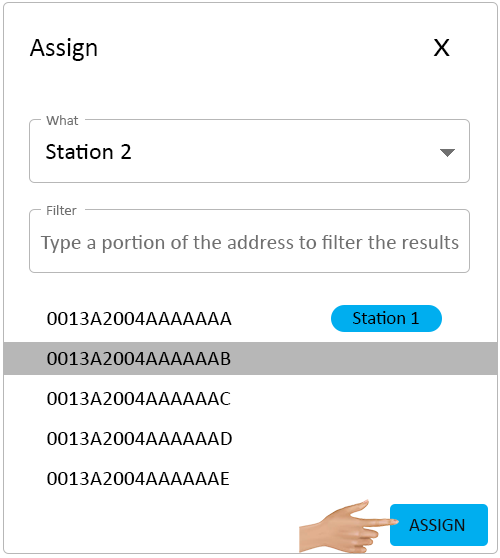
The Location Card will update showing it has been assigned.
|
|

|