Reporting - Export Data
From VersaVision Support
Reporting is where the user can generate reports based on the data collected by the VersaVision software. There are multiple components inside Reporting, this page is focused on the Export Data component.
The Export Data function allows the user to export all data into a spreadsheet.
This page will concentrate on Generating an Excel Workbook.
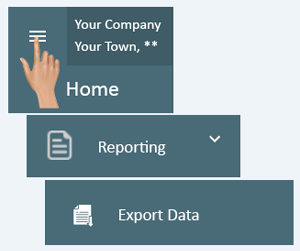
Reporting can be accessed via the Home page menu by expanding Reporting. Once Reporting has been opened - select Export Data from the menu.
|
|
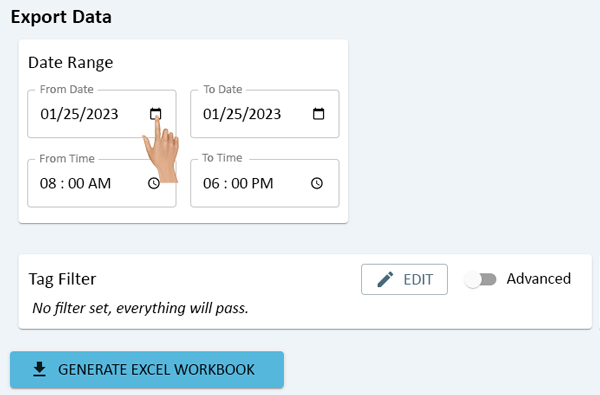
In the Date Range section, there is a From Date & To Date fields. This where the user will define the dates to include on the workbook.
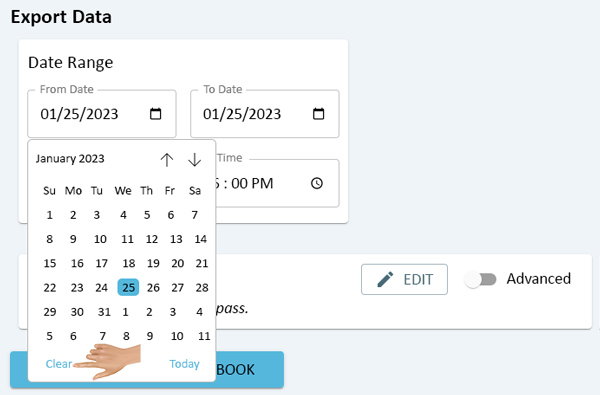
Click on the calendar icon in the From Date field.
To change from the present month, click on the up arrow at the top of the calendar.
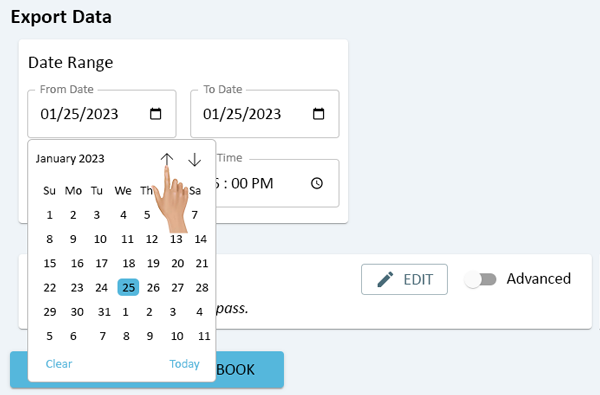
Once the correct month has been selected, click on the specific day.
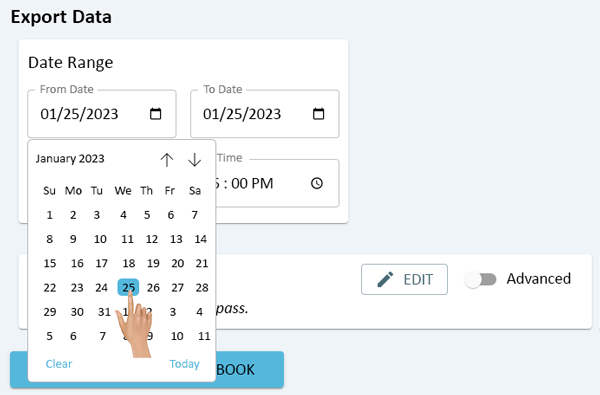
To remove a date that has been selected, click on the Clear option at the bottom left corner of the calendar.
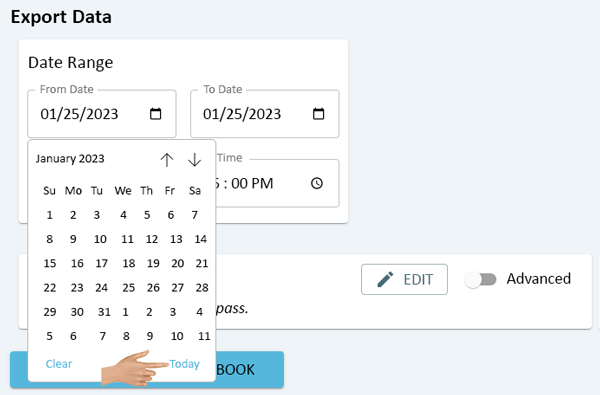
To automatically select the current day, click on the Today option at the bottom right corner of the calendar.
Once the From Date has been setup correctly, click on the calendar icon in the To Date field. Follow the same steps to set the date.

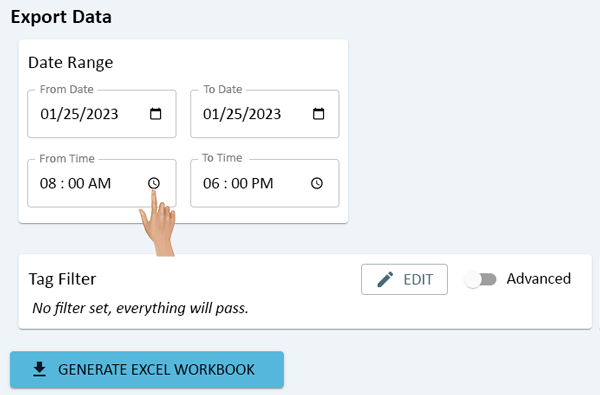
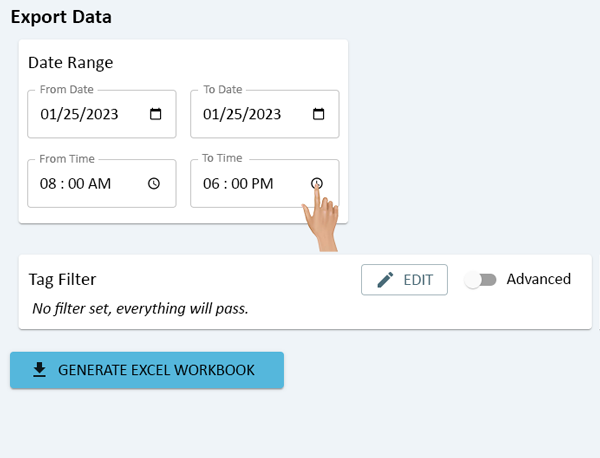
Below the From Date & To Date fields are the From Time & To Time fields. This is where the user can define the time interval for the data.
Click on the clock icon in the From Time field.
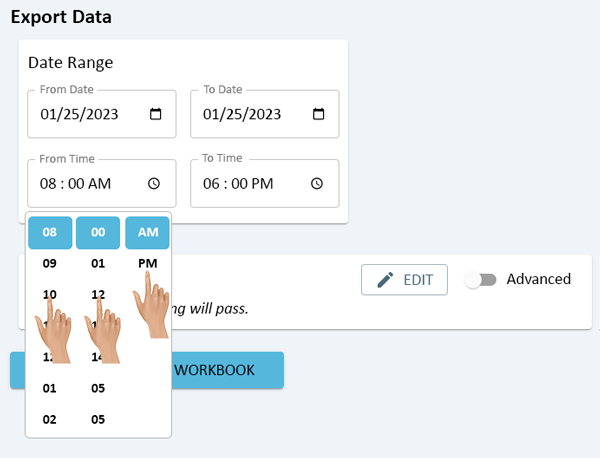
Select the correct Hour, Minute, AM or PM from the drop down menu.
Once the From Time is set correctly, click on the clock icon in the To Time field. Follow the same steps to select the end time.
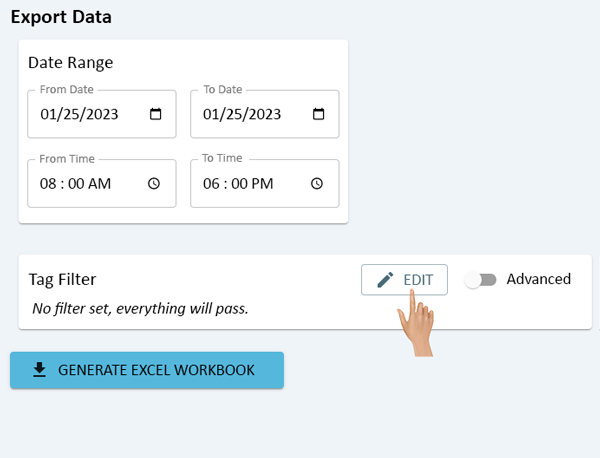
The next section is the Tag filter where the user can define what modules and/or monitoring points are to be included in the workbook.
If the workbook should contain all data, leave the Tag Filter blank (as it is set by default). To set up a filter click on the Edit button.
- For instructions on how to setup a Data Filter, Click Here.
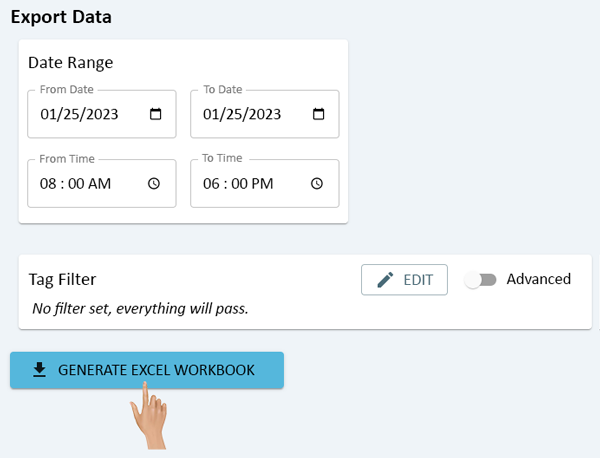
After the Dates and Filters have been setup, click on the Generate Excel Workbook button.
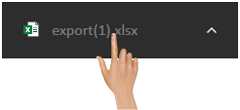
The file will automatically download to your computer. At to bottom of the browser, a file download tab will show. Click on the tab to open the Excel file.
|
|

|