Reporting - Function - Duration
From VersaVision Support
Reporting is where the user can generate reports based on the data collected by the VersaVision software. There are multiple components inside Reporting, this page is focused on the Duration Function.
When the user selects to setup a Mixed or Pie Chart report and selects to add a Data Series, the Function option will be enabled. This Function allows the user to define what type of data will be used in the Data Series.
The Duration Function allows the user to show the total amount of time a Monitoring Point was active. Generally this would be used on a Process or Alert Monitoring Point.
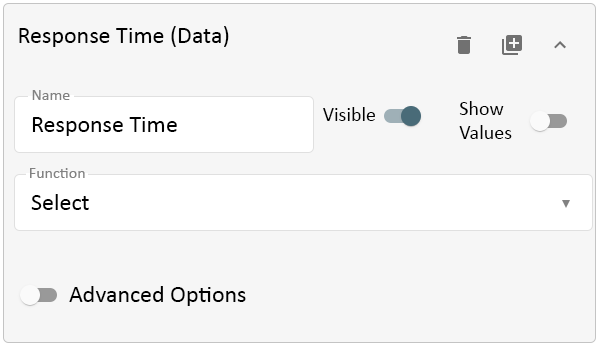
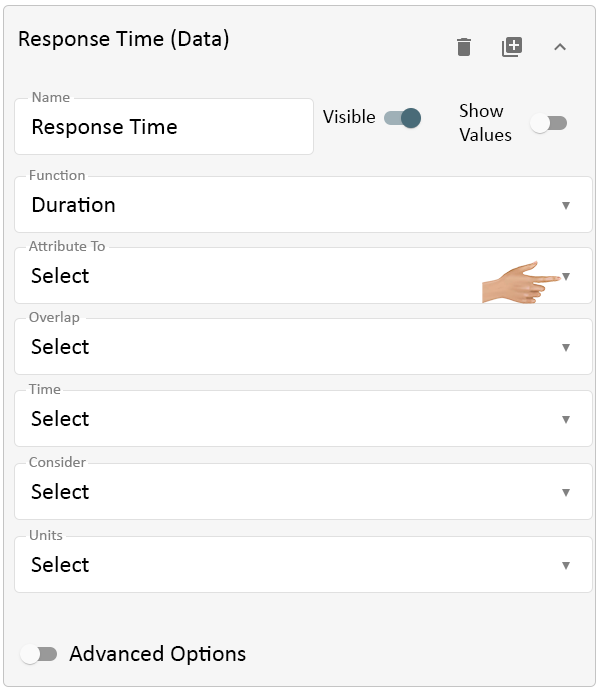
After adding a new report or editing an existing report, the user will need to select or setup a cell with a Data Series selected. When this is selected the Function field will be available.
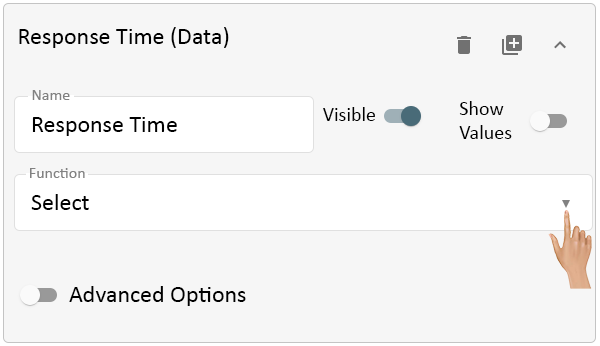
With the Data Series selected, click on the down arrow in the Function field.
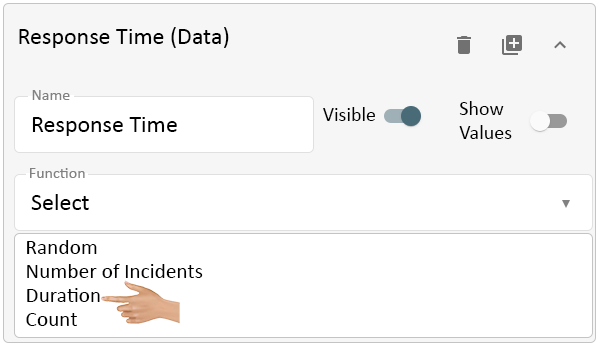
Select Duration from the list.
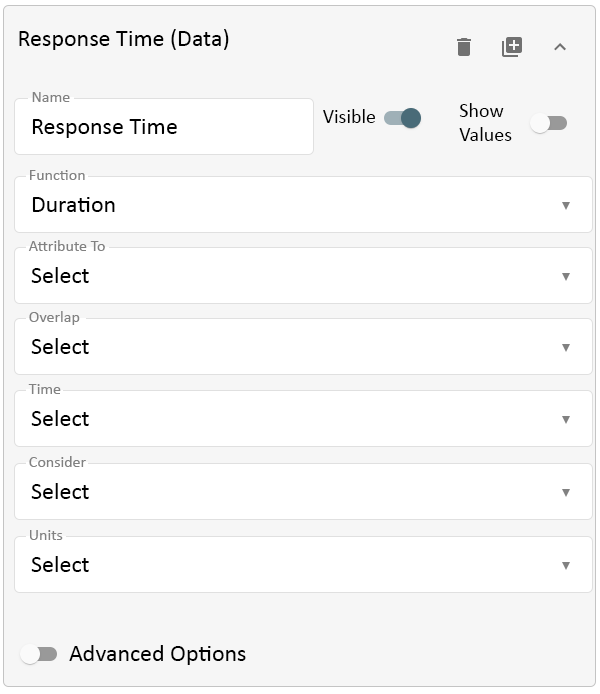
The cell will reload showing 5 additional fields.
- Attribute To - this option is used to tell the system when the time is to be attributed (Chop Up, Start, Respond, End).
- Should the time be attributed to the Start, the Respond, the End or should it be Distributed/Chopped Up.
- Overlap - this option is used to tell the system what to do with Durations that overlap.
- When totaling the Alert duration over multiple Locations, the user can select to total all of the Locations Alert Time or just the Alert time.
- Time - this option is used to specify what total time is to be in the data.
- The Total Duration, the Respond Duration or the Clear duration.
- Consider - this options determines how the Duration time is to be totaled based on the Shift.
- Total All of the Duration time, Total the Duration time that occurred in a shift, Total only Duration time that occurred in a shift omitting Breaks.
- Units - defines what Time unit is to be used/displayed on the report.
- Duration in Seconds, Duration in Minutes or Duration in Hours.
- Attribute To - this option is used to tell the system when the time is to be attributed (Chop Up, Start, Respond, End).
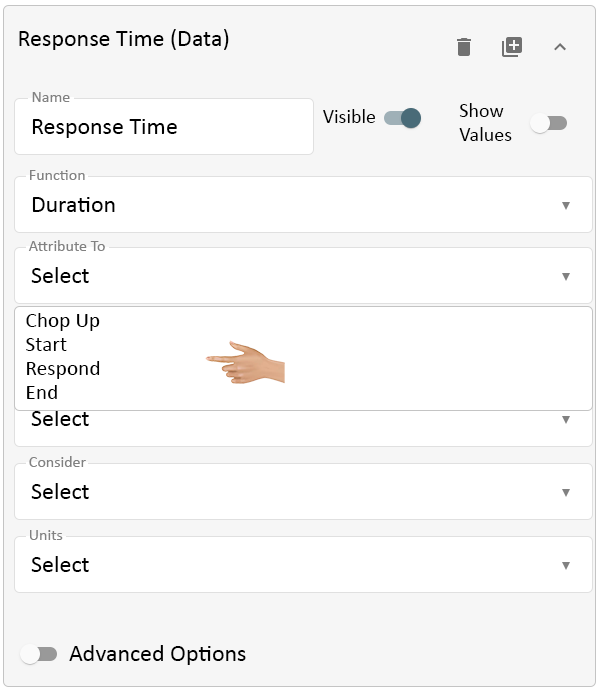
Click on the down arrow in the Attribute To field.
There will be 4 options available - select the appropriate option for the report being created.
- Chop Up - this will split the Duration between all times.
- Start - this will place the Duration time within the Start of the Alert/Process.
- Respond - this will place the Duration time within the Response of the Alert/Process.
- End - this will place the Duration time within the End of the Alert/Process.
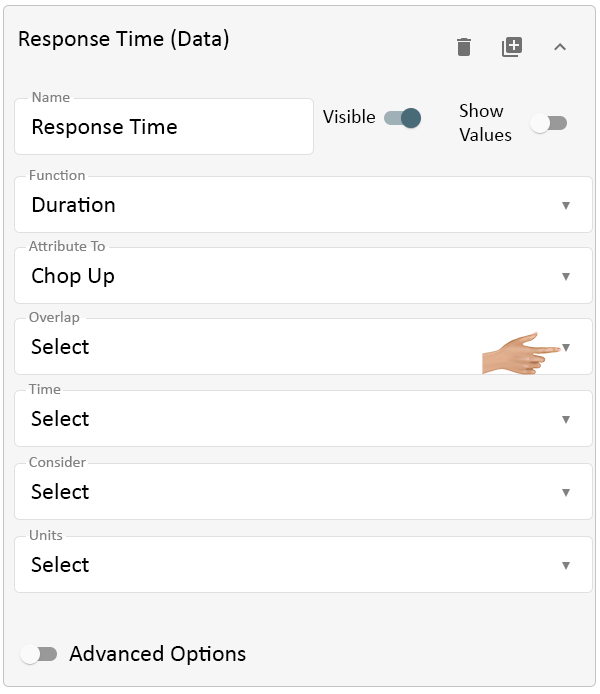
Click on the down arrow in the Overlap field.
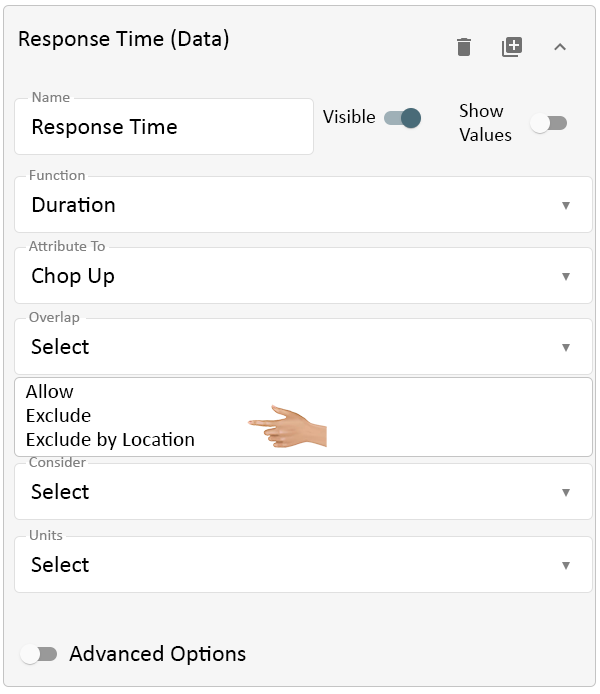
There will be 3 options available - select the appropriate option for the report being created.
- Allow - this will include total Duration regardless of the time overlap.
- Example - get the total duration of 2 Alerts that are active simultaneously. This option will add the total duration of both alerts together.
- Exclude - this will include the total Duration without the overlap.
- Example - get the total duration of 2 Alerts that are active simultaneously. This option will remove the overlap and treat both Alerts as one.
- Exclude by Location - this will exclude the overlap of the total Duration when using multiple locations.
- Example - get the total duration of 2 Alerts that are active simultaneously at 2 different locations. This option will remove the overlap and treat both Alerts as one location.
- Allow - this will include total Duration regardless of the time overlap.
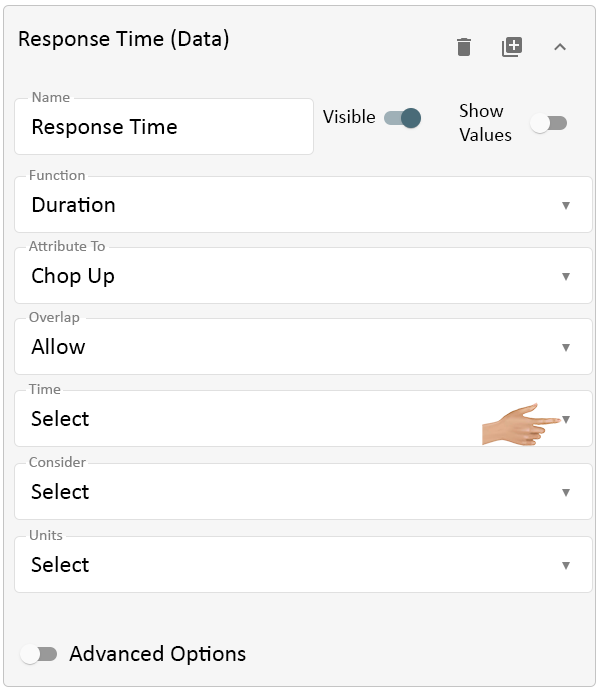
Click on the down arrow in the Time field.
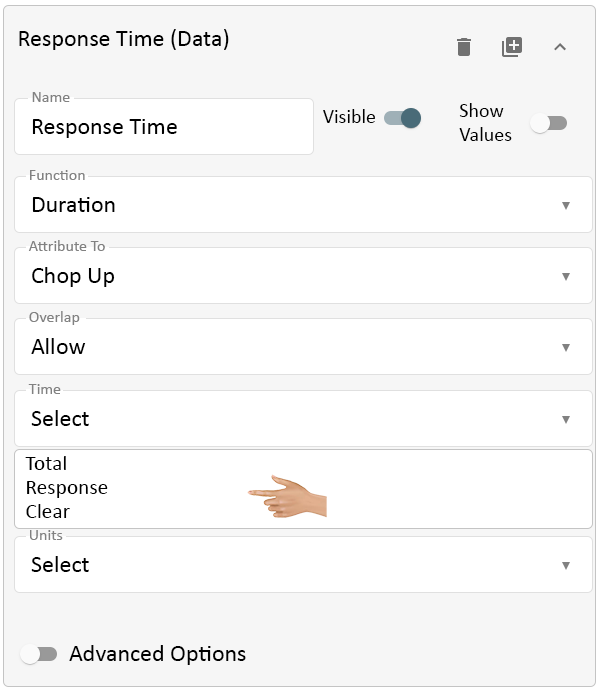
There will be 3 options available - select the appropriate option for the report being created.
- Total - this will include total Duration of the Alert/Process.
- Response - this will include the total Duration from Start to Respond.
- Clear - this will include the total Duration from Respond to Clear.
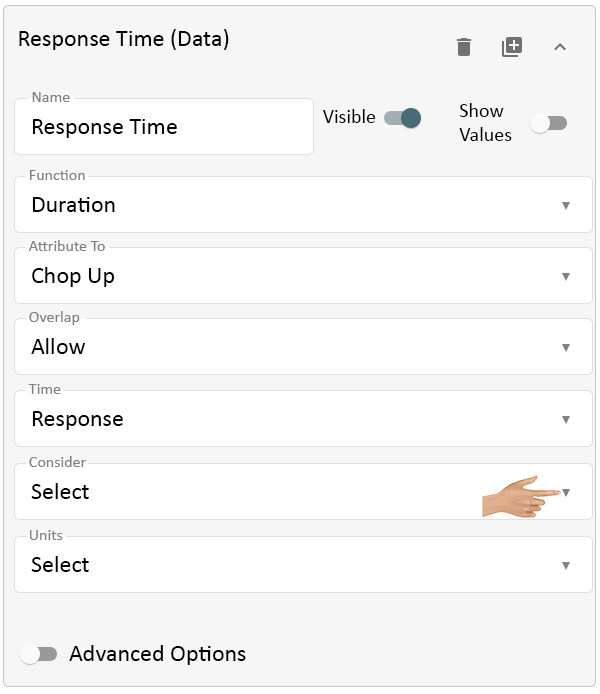
Click on the down arrow in the Consider field.
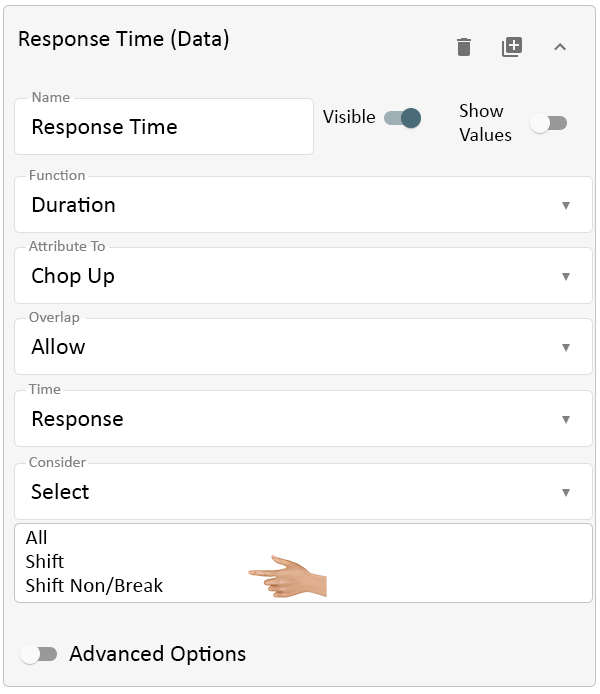
There will be 3 options available - select the appropriate option for the report being created.
- All - this will include the total Duration of the Alert/Process.
- Example - a plant has 1 Shift (7am - 3pm) - an Alert is active after 3pm - this option will include all of the time even the time that occurred outside of the shift.
- Shift - this will include the total Duration within the Shift start & end times.
- Example - a plant has 1 Shift (7am - 3pm) - an Alert is active after 3pm - this option will only include the time that occurred between 7am and 3pm.
- Shift Non/Break - this will include the Duration within the Shift start & end times and remove any Break time.
- Example - a plant has 1 Shift (7am - 3pm) - an Alert is active after 3pm - this option will only include the time that occurred between 7am and 3pm plus it will remove any Break time that occurred.
- All - this will include the total Duration of the Alert/Process.
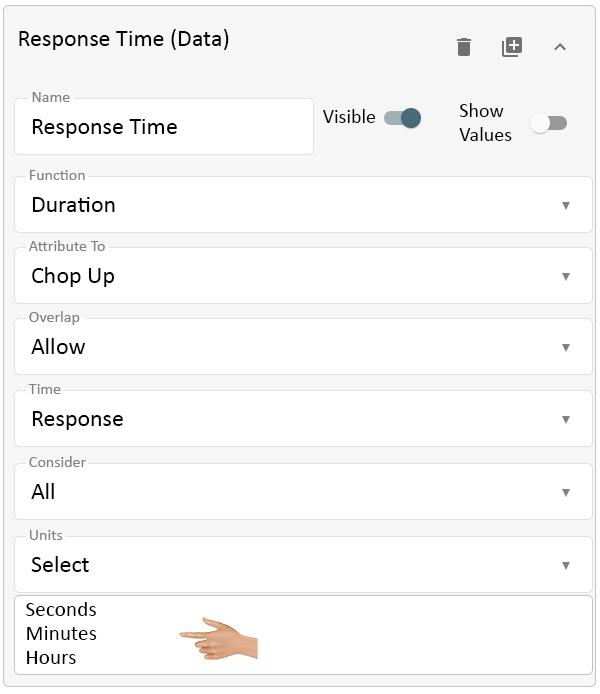
Click on the down arrow in the Units field.
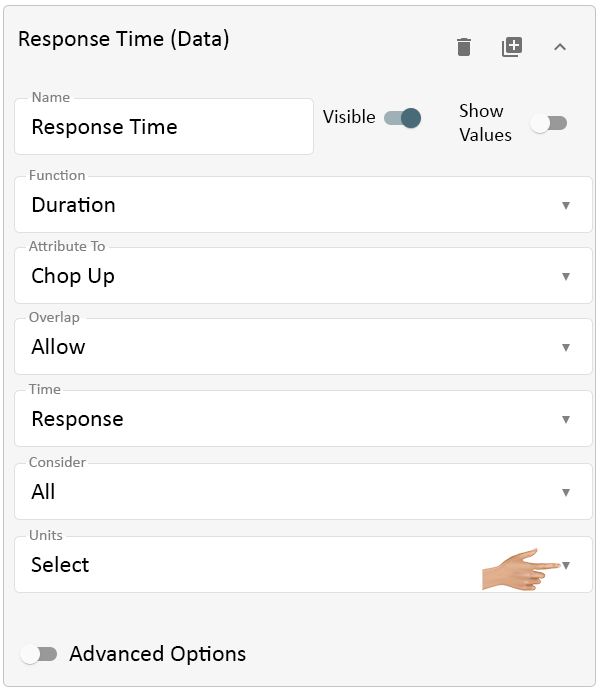
There will be 3 options available - select the appropriate option for the report being created.
- Seconds - this will show the Duration as Seconds on the report.
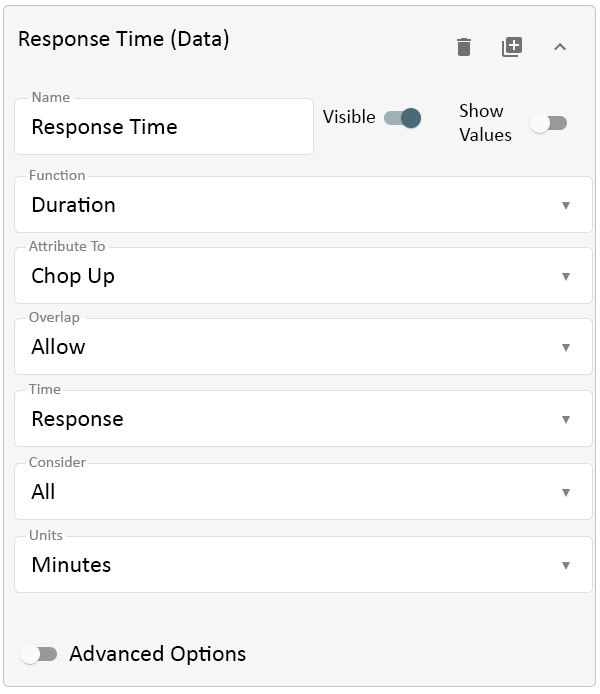
- Minutes - this will show the Duration as Minutes on the report.
- Hours - this will show the Duration as Hours on the report.
For information on Advanced options Click Here

|