Administration - Mesh
From VersaVision Support
Revision as of 12:18, 3 May 2024 by VVSupportAdmin (talk | contribs)
![]()
OVERVIEW
- Administration is used to access important system components. There are multiple components inside Administration, this page is focused on the Mesh component.
- When a system is using VersaCall hardware such as IO Modules, Touch Screens or Wireless Lights, the wireless mesh technology it being used. A Coordinator is required to be connected to the Server. This connection can be through USB or Ethernet.
- This guide does not cover the hardware installation, only the setup after a Coordinator has been connected to the computer vis USB or Ethernet.
NAVIGATION
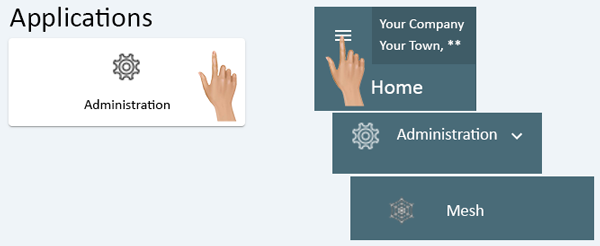
- Administration can be accessed via the Home page menu or the Administration icon. Once Administration has been selected - select Mesh from the menu.
|
|
ADD A USB COORDINATOR
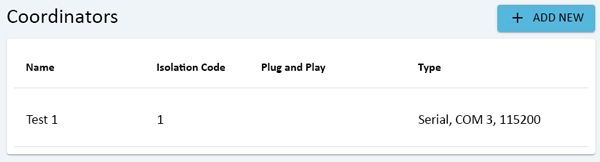
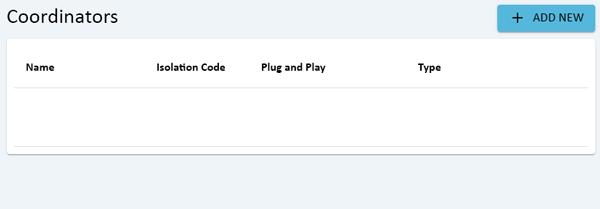
- Select the "Add New" button at the top of the Coordinator list.
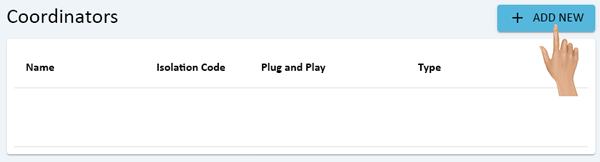
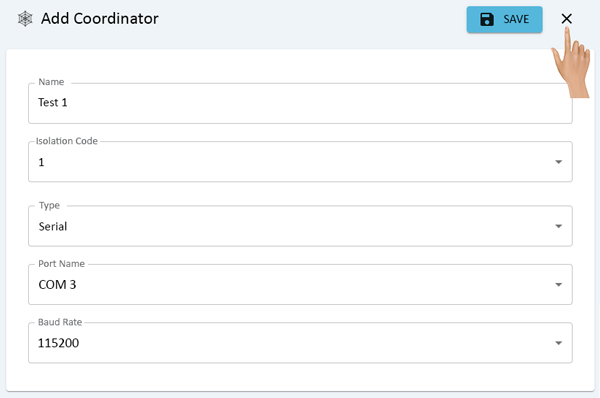
- The Add Coordinator properties window will show on the right side of the Coordinators list.
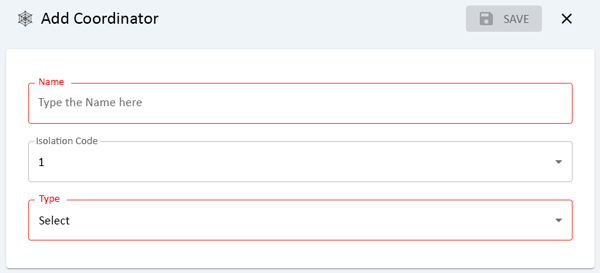
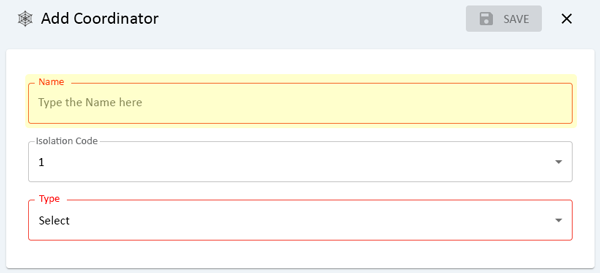
- Click in the Name field and enter a name for the Coordinator.
- On the Isolation Code, leave it set to 1 unless told to change by a VersaCall Technician.
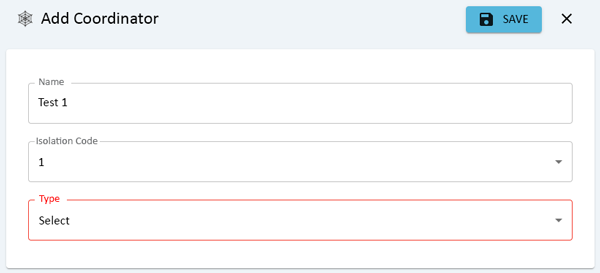
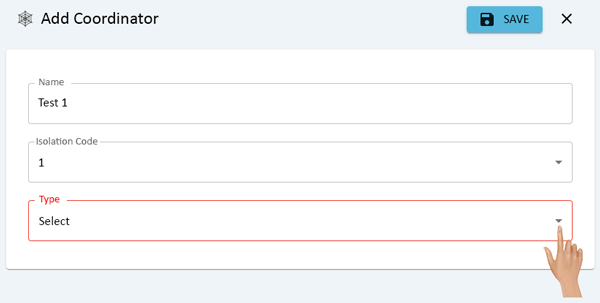
- Click on the down arrow in the Type field, select Serial from the list.
- Click on the down arrow in the Port Name, select the COM Port. If the USB Coordinator is not plugged into the computer, there will be no ports shown.
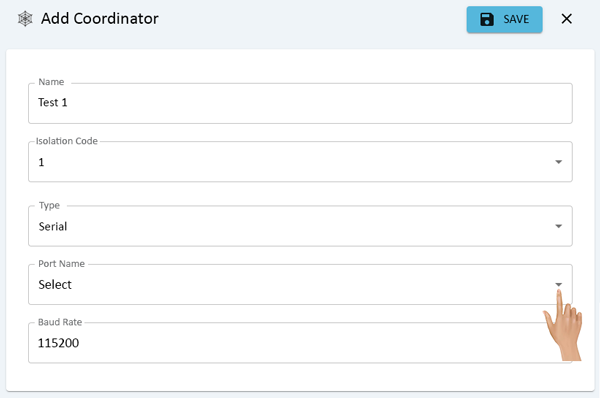
- Leave the Baud Rate field set to 115200 unless told to change by a VersaCall Technician.
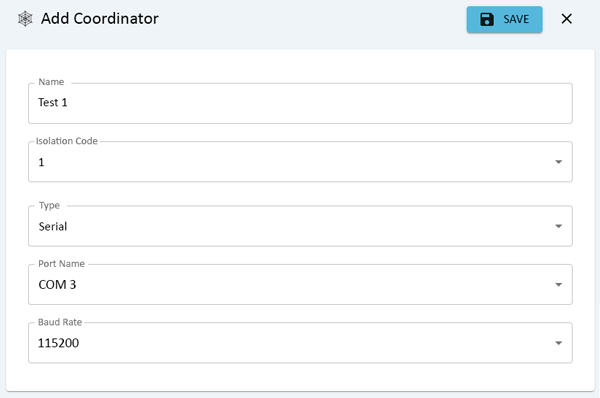
- Once all the settings have been completed, click on the Save button.

- The USB Coordinator added will now show in the Coordinators list.
- Close the Add Coordinator properties window by clicking on the "X" next to the Save button.
|
|
ADD A REMOTE/ETHERNET COORDINATOR
- Installation on Linux (Ubuntu) OS
- Select a Guide Below for Detailed Instructions
 |
 |
 |
 |

|
- Installation on Red Hat (8 or 9) OS
- Select a Guide Below for Detailed Instructions
|
|
|
|
|
|
|
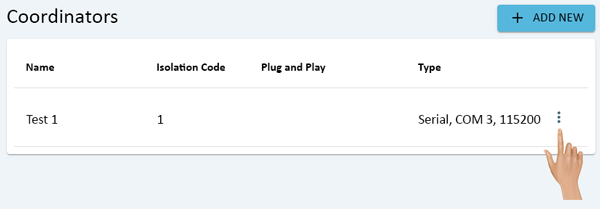
REMOVE/DELETE A COORDINATOR
- Click on the 3 dot menu for the Coordinator that needs to be removed.
- A pop-up window will load, click on the Delete option in the list.
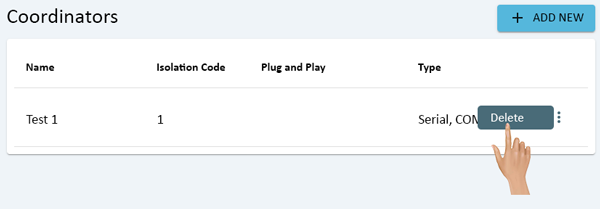
- A warning message will appear on the screen. Select Delete to remove the Coordinator or select Cancel to keep the Coordinator.
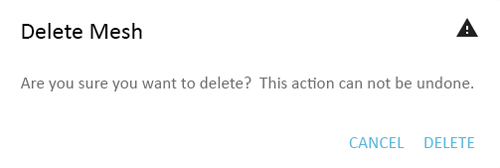
- If Delete was selected, a Success message will appear at the bottom of the screen.

- The Coordinator that was selected for deletion will no longer appear on the Coordinator list.
|
|

|