Sampler - PSM
From VersaVision Support
Samplers are Monitoring Points that can be setup to capture data (Item, Number, Barcode, etc.) and record it along with keeping a tally.
Example: An Operator scans a unit number when the unit is started and/or finished.
This page will provide information on each property required to setup a Sampler.
To access the Sampler setup, the user will need to select an existing Sampler under Monitoring Points or select to Add a new Sampler.


|
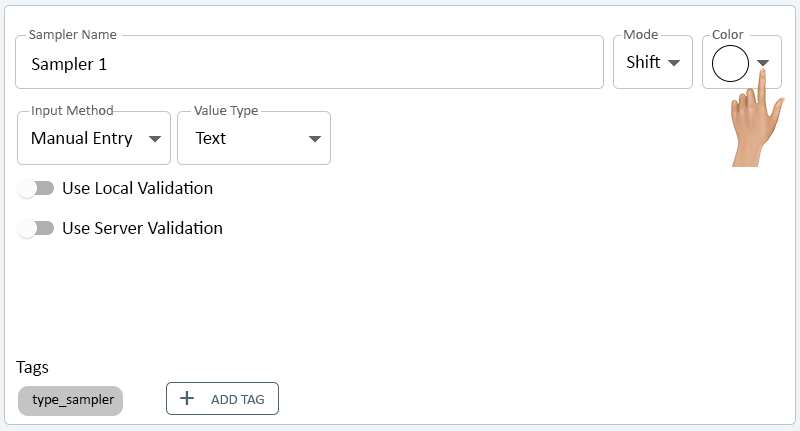
Once a Sampler has been Added or Selected, the Properties will show on the right side of the screen. Click in the Sampler Name field.
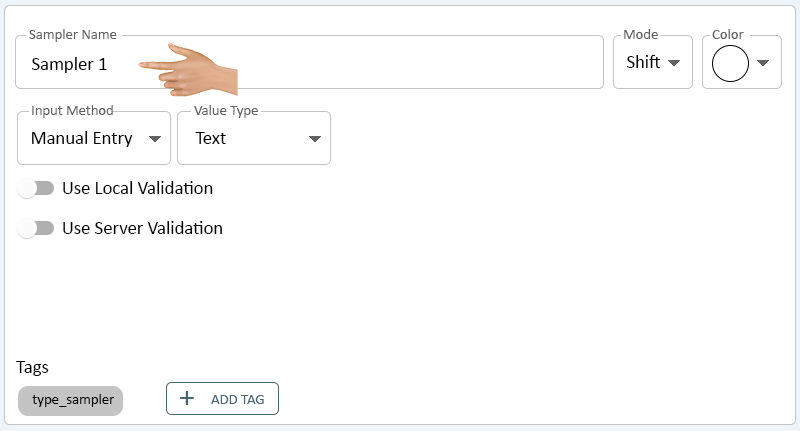
Enter a Name for the Sampler - the name entered will appear on the Operator Interface. Click on the down arrow in the Mode field.
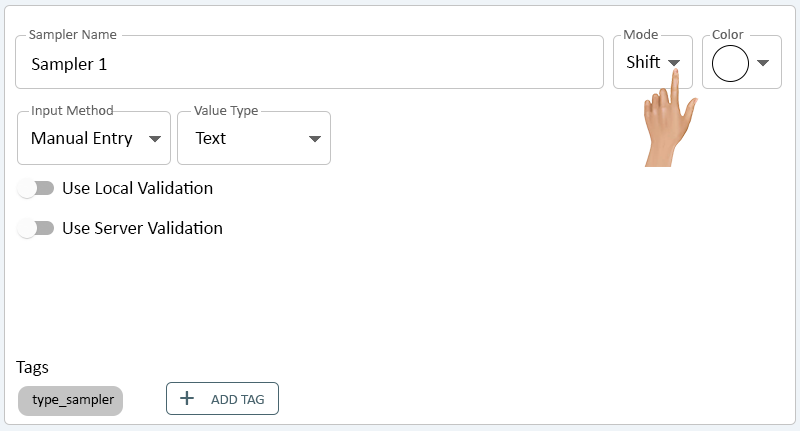
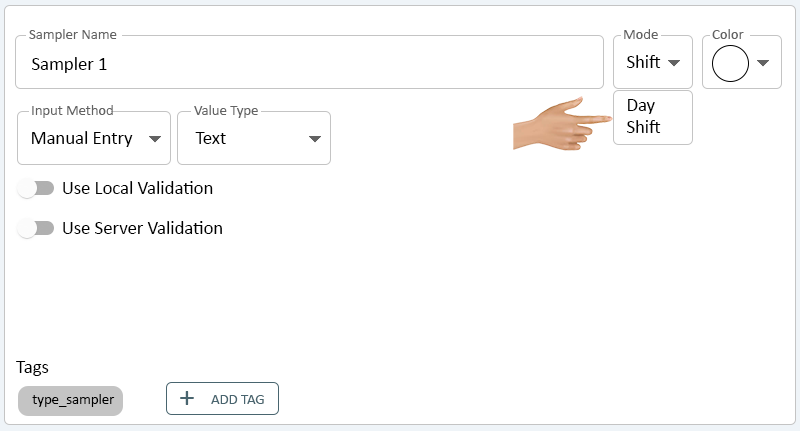
There will be 2 options for the Mode - select the best option for the Sampler being created.
- Shift - selecting the option will reset the Sampler Tally at the end of every Shift.
- Day - selecting this option will reset the Sampler Tally at the end of the Day (midnight).
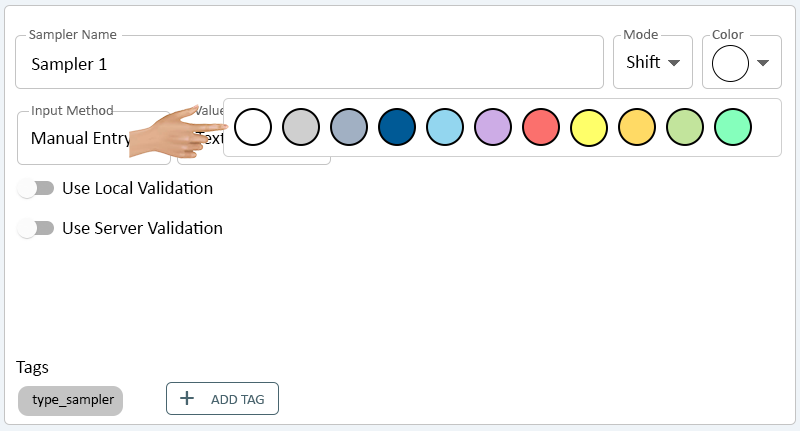
Click on the down arrow in the Color field.
A list of 11 Colors will be available. Select the best Color for the Sampler being created.
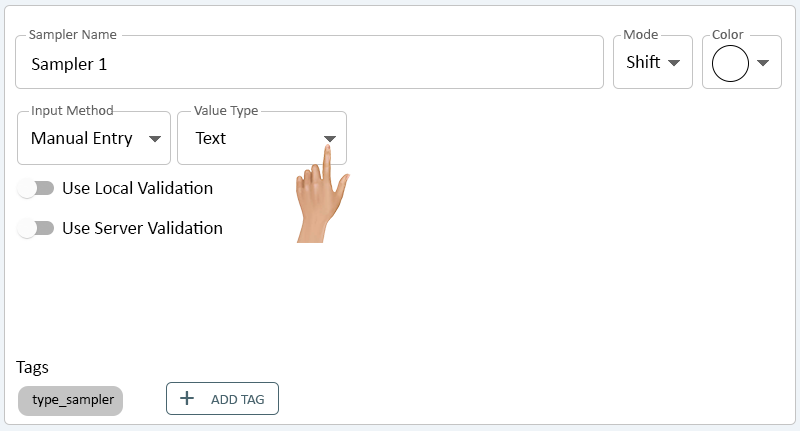
The only selection for the Input Method field is Manual Entry - click on the down arrow in the Value Type field.
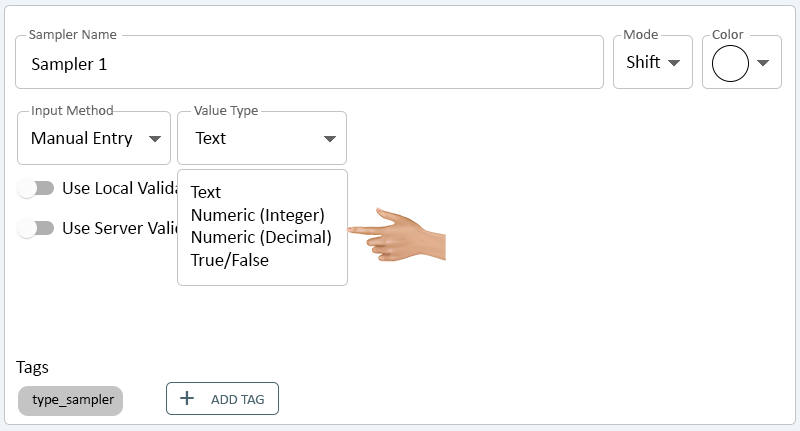
There will be 4 options available, select the best option for the Sampler being created.
- Text - the Sampler will accept any character as the input.
- Numeric (Integer) - the Sampler will only accept whole numbers as the input. The operator will be presented with a Number Pad only, no keyboard function.
- Numeric (Decimal) - the Sampler will only accept a number with a decimal as the input. The operator will be presented with a Number Pad only, no keyboard function.
- True/False - this is a custom feature, please contact VersaCall Support for assistance.
By default, the Use Local Validation will be Off. Toggle the switch to turn this feature On.
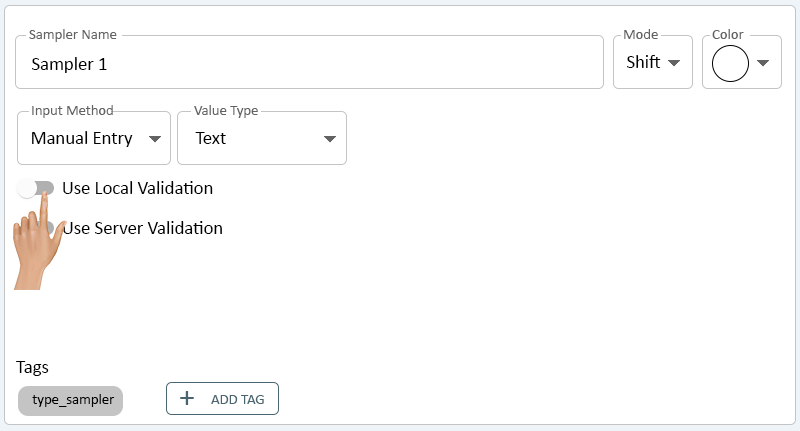
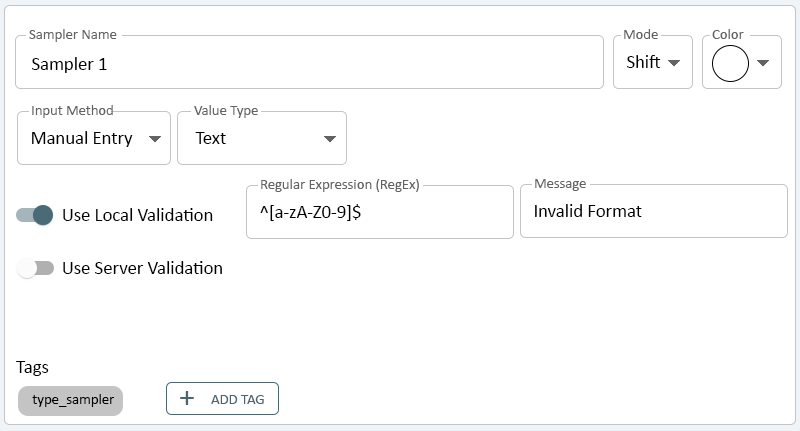
When the Local Validation is On, there will be 2 options:
- Regular Expression (RegEx) - this allows the user to enter a RegEx code that will evaluate the entry made on the Sampler.
- If the correct entry should be a Date, the user can enter a RegEx code that will only accept a Date in a specific format. Please contact VersaCall Support for assistance.
- Message - enter the error message that the operator will see when their entry does not conform to the validation setup.
- Regular Expression (RegEx) - this allows the user to enter a RegEx code that will evaluate the entry made on the Sampler.
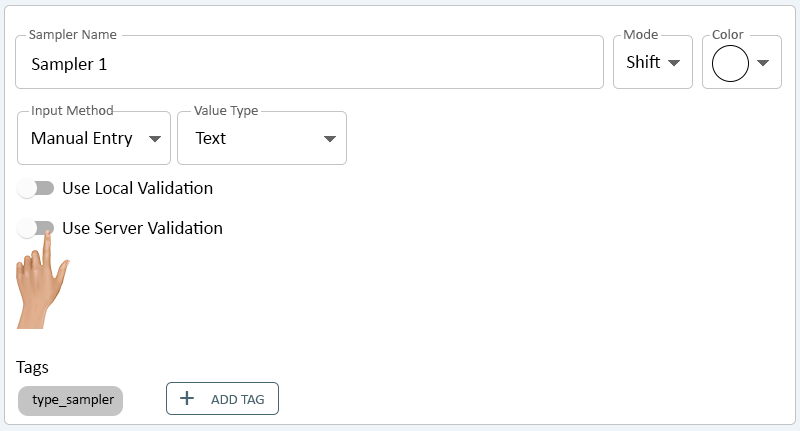
By default, the Use Server Validation will be Off. Toggle the switch to turn this feature On.
This validation is used by checking information contained in a Table or Database.
Example: If an operator is only allowed to work at a specific station, the system can reject an ID or Name if the operator attempts to log an entry.
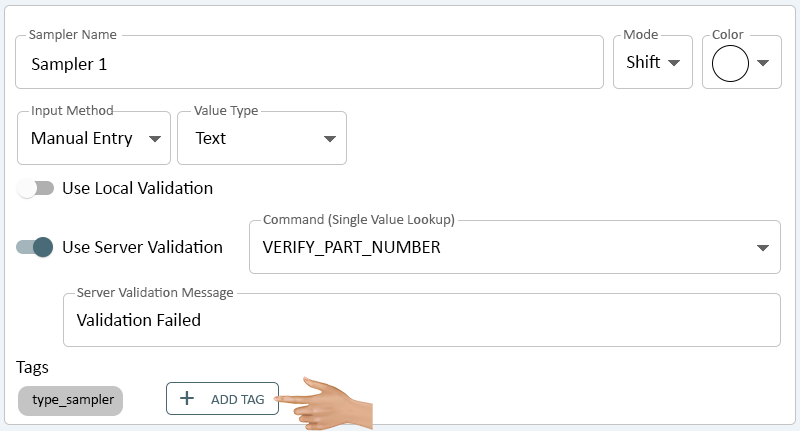
When the Server Validation is On, there will be 2 options:
- Command (Single Value Lookup) - the user will click on the down arrow in the field and select the Command being used.
- Depending on the Command that is selected, there can be 1 or more Parameter fields presented.
- Please contact VersaCall Support for assistance with setting up Commands.
- Server Validation Message - enter the error message that the operator will see when their entry does not exist in the table/database being used.
- Command (Single Value Lookup) - the user will click on the down arrow in the field and select the Command being used.

By default the Sampler will have a "type_sampler" tag assigned - click on the Add Tag button to create a Custom Tag.
- Click Here for information on setting up a Tag.
Click on the Add Actions button in the Actions section to setup an Action for the Sampler.
- Click Here for information on setting up an Action.

|
|

|