Software Install - Package Upload
From VersaVision Support
Revision as of 08:00, 11 April 2024 by VVSupportAdmin (talk | contribs)

OVERVIEW
- VersaVision consists of multiple applications that run inside the Core.
- These applications are referred to as Packages.
- This guide will show you how to Upload Packages to the system.
- NOTE: There is a specific order in which the Packages need to be Uploaded, please follow the guide in the order presented.
REQUIREMENTS
- Computer on the same network as the Computer/Server/VM hosting the VersaVision software installation.
- A VersaVision Log In with the Administrator Role assigned.
- Link to the Packages Zip folder from a VersaCall Technician that contains all relevant Packages needed on your system.
| ||||||||||||||||||||||||||||
INSTRUCTIONS
- Download the Packages zip folder provided by the VersaCall Technician.
- Ensure that you download the zip file to the same computer you will be using to log in to the VersaVision web interface.
- We suggest saving the zip file to your Downloads folder.
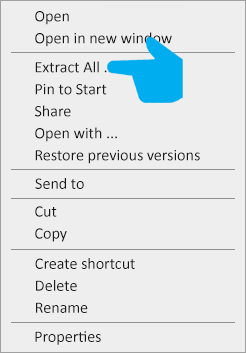
- After the file has been downloaded, right click on the file.
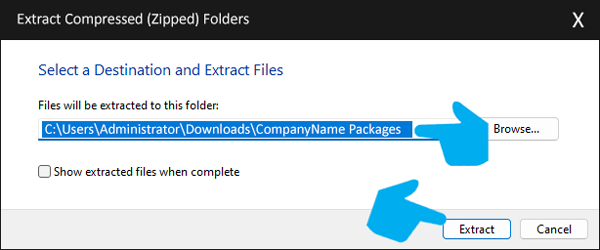
- Select Extract All from the pop-up menu.
- On the location window that loads, leave the location as default (makes a folder inside the Downloads folder).
- Select the Extract button.
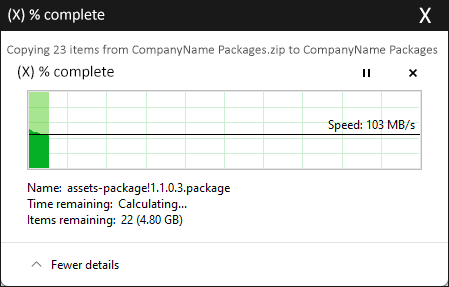
- An unzip progress monitor will be displayed.
- Allow the extraction process to complete, the Window will automatically close when completed.
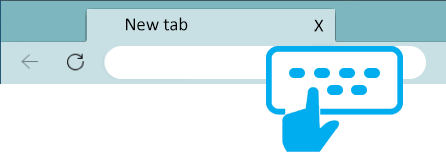
- Open a new browser tab in any web browser (Chrome, Edge, Firefox, etc.) on your computer.
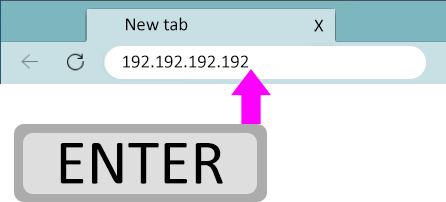
- Type in the IP Address of the VersaVision server - 192.192.192.192 is our example IP Address.
- After entering the IP Address select the Enter key on your keyboard.
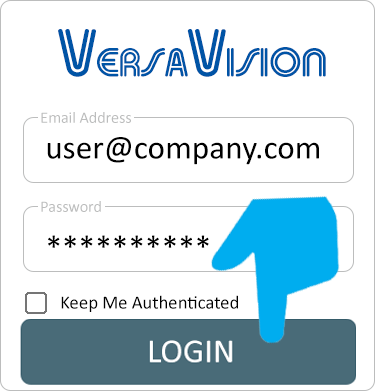
- Enter your username and password either from the Initialization or another log in that has the Administrator Role assigned to it.
- After entering the username and password, select the Login button.
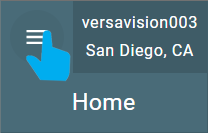
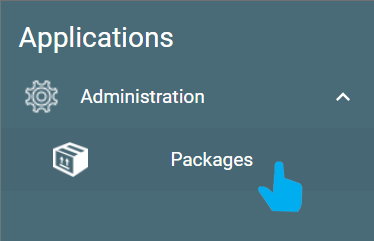
- On the VersaVision home page, select the Menu icon in the top left corner of the page.
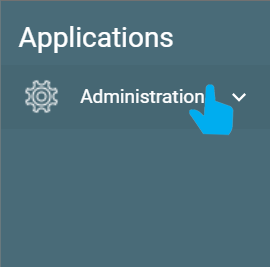
- Select Administration from the Applications menu.
- Select Packages from the Administration menu.
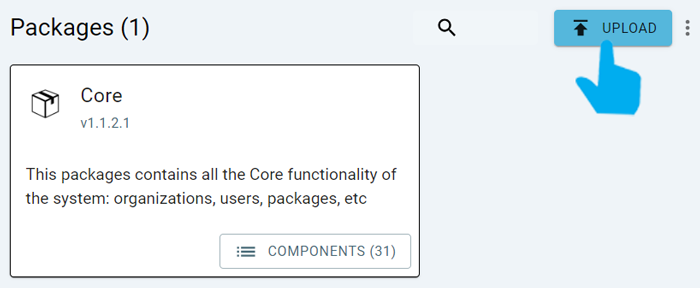
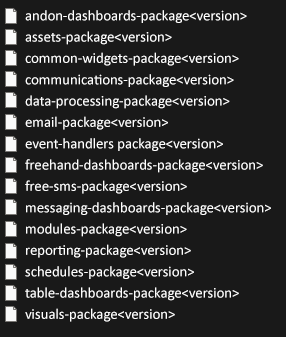
- The new system will only show the Core Package listed.
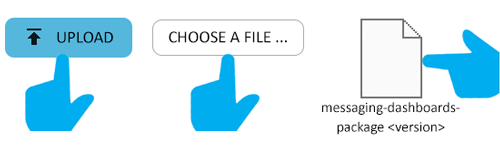
- Select the Upload button in the top right corner of the page.
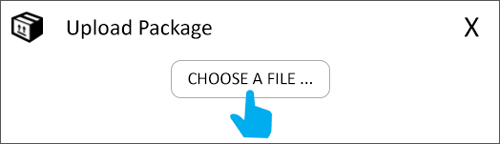
- Select the Choose A File button on the Upload pop-up.
- Navigate to the unzipped Packages folder that you downloaded.
- For our example, this will be the Downloads – Company Name Packages folder.
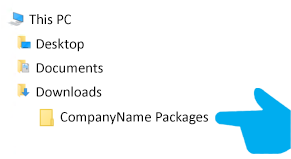
- Double click on the Packages folder.
- Depending on the type of system that was purchased, you may have more packages than shown in the image below.
- Please follow the upload sequence in this guide as it will be the same starting point for all systems.
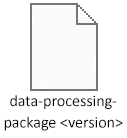
- Double click on the Data Processing package.
- You will be returned to the Packages page – select the Upload button.

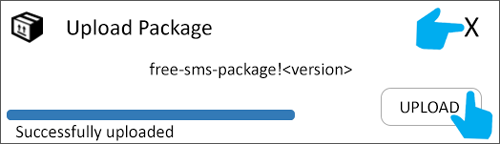
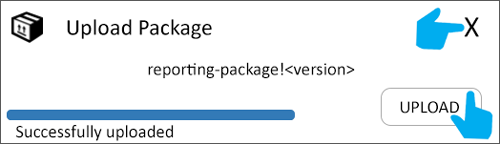
- A progress bar will be displayed, wait until it is complete.
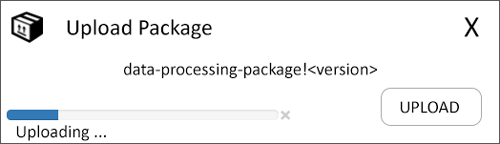
- When the upload is complete, the progress window will show as Successfully uploaded.
- Close this window with the X in the top right corner.

- Select the Upload button – select Choose file – double click the Event Handlers package.

- Select the Upload button and allow the package to upload successfully – close the Upload window after the upload is completed.

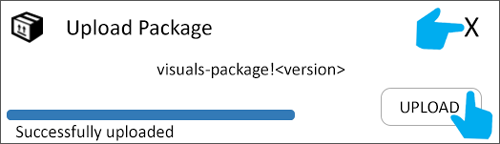
- Select the Upload button – select Choose file – double click the Visuals package.

- Select the Upload button and allow the package to upload successfully – close the Upload window after the upload is completed.
- Select the Upload button – select Choose file – double click the Table Dashboards package.

- Select the Upload button and allow the package to upload successfully – close the Upload window after the upload is completed.

- Select the Upload button – select Choose file – double click the Messaging Dashboards package.
- Select the Upload button and allow the package to upload successfully – close the Upload window after the upload is completed.

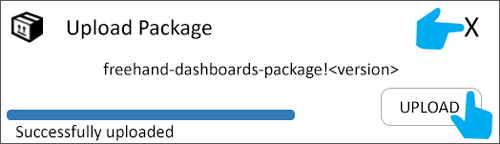
- Select the Upload button – select Choose file – double click the Freehand Dashboards package.

- Select the Upload button and allow the package to upload successfully – close the Upload window after the upload is completed.
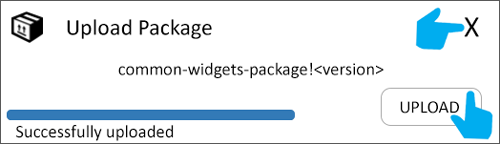
- Select the Upload button – select Choose file – double click the Common Widgets package.

- Select the Upload button and allow the package to upload successfully – close the Upload window after the upload is completed.
- Select the Upload button – select Choose file – double click the Andon Dashboards package.
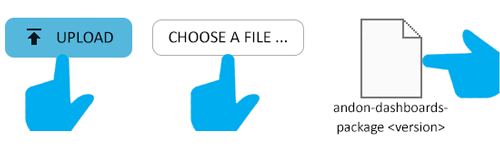
- Select the Upload button and allow the package to upload successfully – close the Upload window after the upload is completed

- Select the Upload button – select Choose file – double click the Assets package.
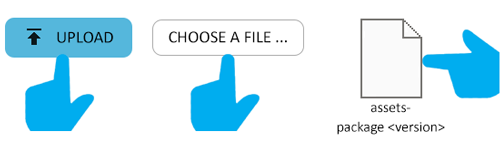
- Select the Upload button and allow the package to upload successfully – close the Upload window after the upload is completed.

- Select the Upload button – select Choose file – double click the Communications package.

- Select the Upload button and allow the package to upload successfully – close the Upload window after the upload is completed.

- Select the Upload button – select Choose file – double click the Email package.

- Select the Upload button and allow the package to upload successfully – close the Upload window after the upload is completed.

- Select the Upload button – select Choose file – double click the Free SMS package.
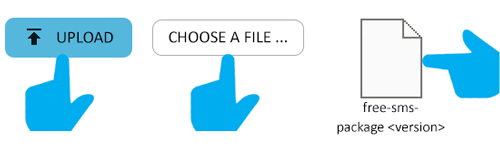
- Select the Upload button and allow the package to upload successfully – close the Upload window after the upload is completed.
- Select the Upload button – select Choose file – double click the Modules package.

- Select the Upload button and allow the package to upload successfully – close the Upload window after the upload is completed.

- Select the Upload button – select Choose file – double click the Reporting package.

- Select the Upload button and allow the package to upload successfully – close the Upload window after the upload is completed.
- Select the Upload button – select Choose file – double click the Schedules package.

- Select the Upload button and allow the package to upload successfully – close the Upload window after the upload is completed.

- Once all of these Packages have been installed, upload all remaining Packages found in the folder.
- Repeat the same steps shown for all the previous Packages.
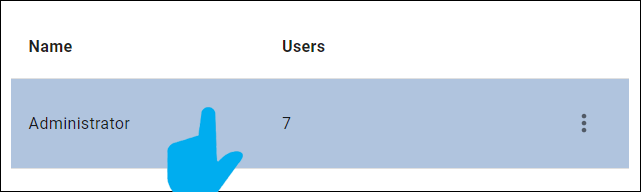
- After ALL Packages have been uploaded, select Roles from the Applications Menu on the left side of the window.

- Select the Administrator Role from the list by clicking on it.
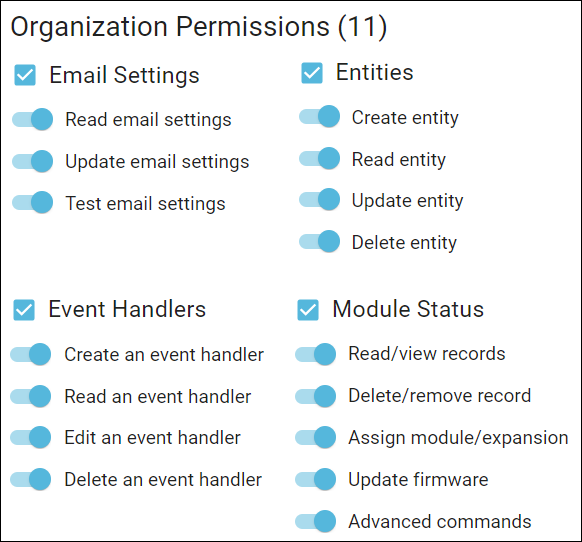
- All of the Packages that you have uploaded will show on the right side of the Roles menu.
- The will all be blank like the image below.
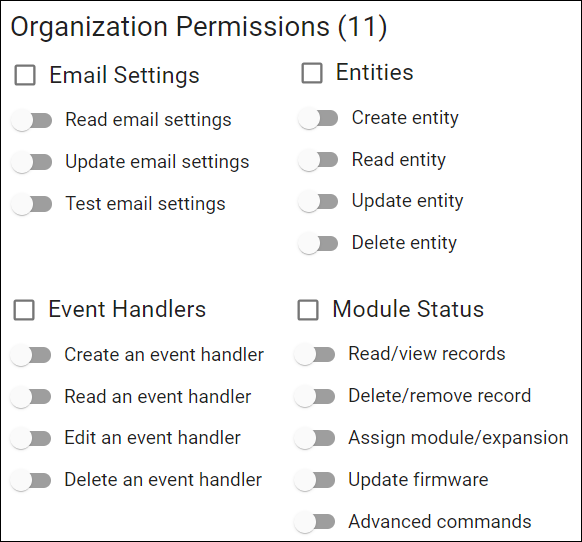
- All Packages must be Enabled/Turned On so that they can be used in the software by the user.
- As this is the Administrator Role, ALL Packages should be enabled.
- Click on the Checkbox next to the Package Name.
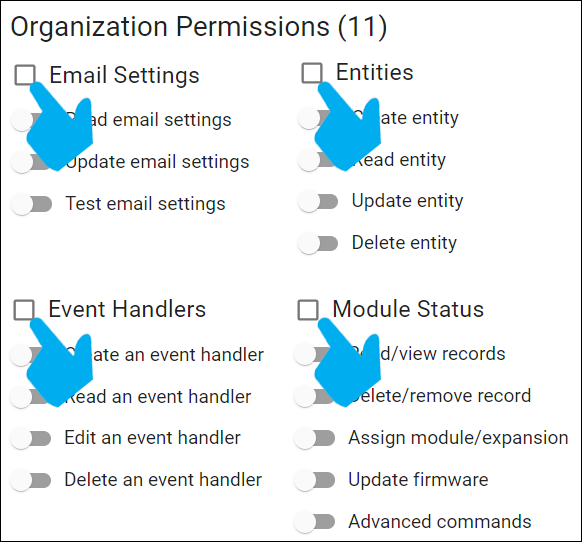
- The box will update to show a checkmark and all of the Sub-Categories will be enabled.
- Repeat this process for ALL the Packages that were uploaded in the previous steps
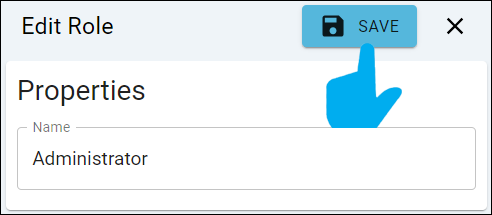
- After all of the packages have been enabled - select the Save button in the top right corner of the window.
- In order for the Packages to start running and your permissions to be enabled, you will need to Log Out and Log In.
- Click on the Person/Profile icon at the bottom left corner of the window.

- Select Log Out.
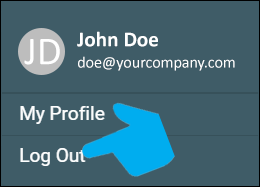
- You will be returned to the VersaVision Log In page.
- Log in using your email address and password.
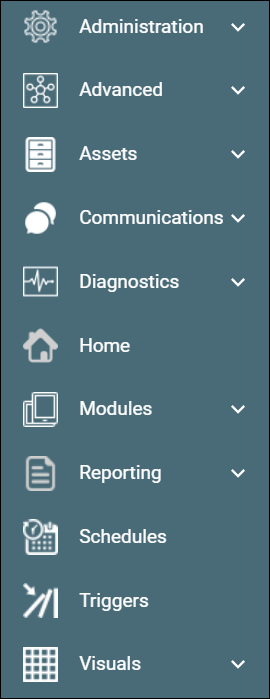
- Click on the Menu icon in the top left corner of the page
- All of the Packages/Applications the you uploaded will show in the Menu.
- Return to the Software Install Main page and continue with the next Guide/Step.
| ||||||||||||||||||||||||||||

|