Windows Install - Docker Installation
From VersaVision Support

OVERVIEW
- VersaVision runs in the Docker (Container) environment. This means Docker must be installed on WSL for VersaVision to operate successfully.
- Docker is an open source software platform used to create, deploy and manage virtualized application containers on a common operating system (OS).
REQUIREMENTS
- Log In: Installer/User must have a Windows Log In with Administrator permissions. This Account must remain active after the installation.
- Access: When using a VM, Installer/User must have Remote PC Access to the Windows instance.
- Internet Access: Server must have full internet access. Access can be removed after the installation is complete.
- Pre-Requisites: WSL must be installed before attempting to install Docker.
- NOTE: The instructions below will work for Windows Server 2022, Windows Pro 10 & Windows Pro 11.
TOOL TIP
- There is specific Code that needs to be entered in on the steps below. The Paste function in Power Shell and WSL works differently from Windows.
- To Copy - select the Code/Text in the cell so that it is highlighted. Press the Control Key & C Key on your keyboard at the same time. Alternatively, you can right click on the highlighted text and select Copy from the pop-up menu.
- To Paste - Right Click on the Cursor next to the User Prompt. The copied text will fill in automatically.
- There is specific Code that needs to be entered in on the steps below. The Paste function in Power Shell and WSL works differently from Windows.
INSTRUCTIONS
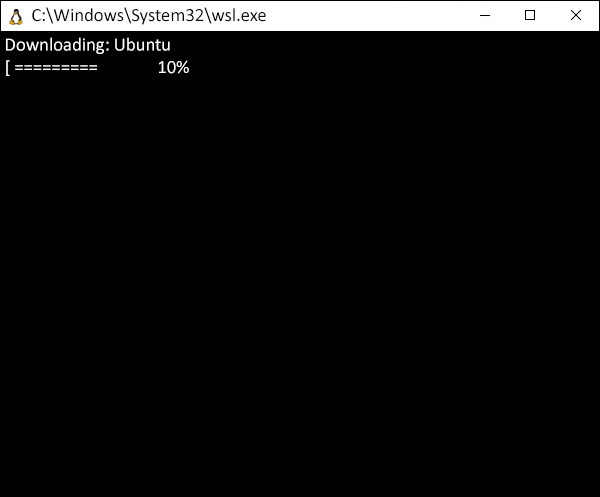
- This is a carry-over from the WSL Installation.
- After the Computer/Server/VM has rebooted from the WSL Installation, a pop-up WSL Window will load on the screen. The status of the Ubuntu installation will be displayed.
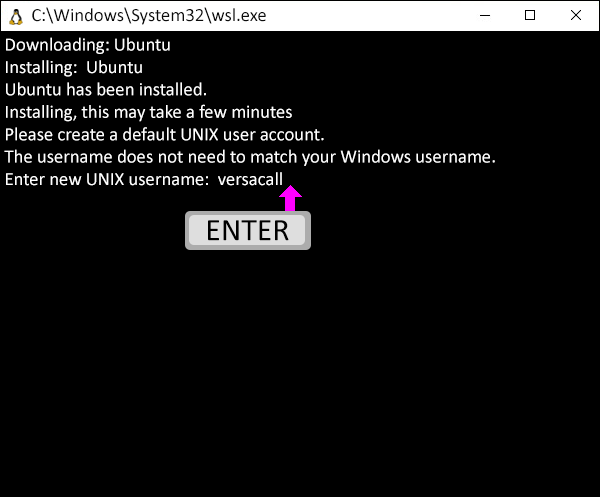
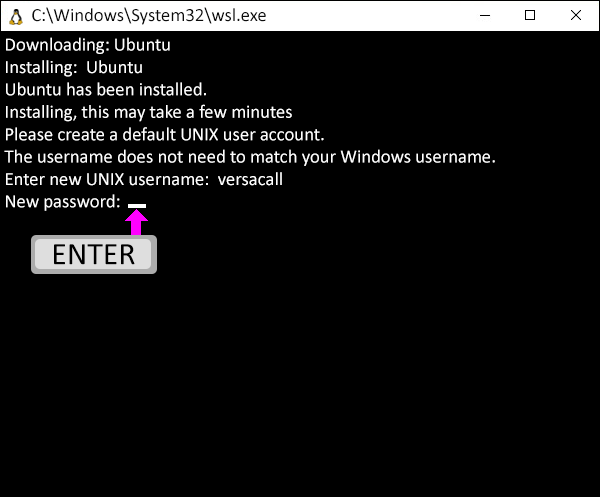
- After the installation is complete, the Terminal will ask for a "Username" for the Linux system.
- This is up to the user, we generally use versacall as the username and that is what will be shown going forward in the instructions.
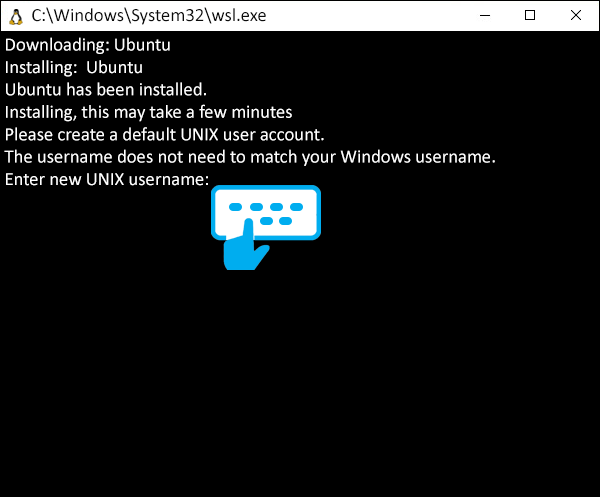
- After entering your username, select the Enter key on your keyboard.
- The Terminal will now ask you for a "password" for the Linux user created.
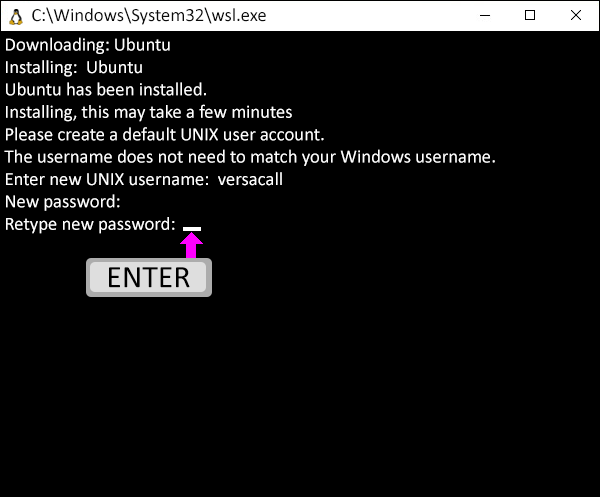
- This is up to the user, we generally use 6676776 and this is what will be shown going forward in the instructions.
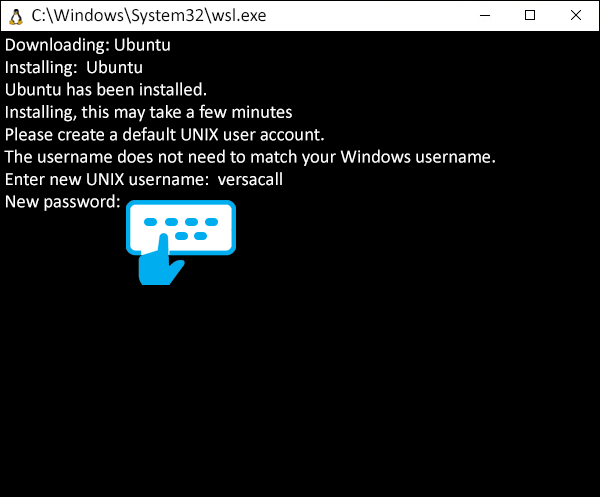
- The Password typed in will not be displayed on the screen. Enter the Password completely and press the Enter key on your keyboard.
- The Terminal will ask you to "Retype" the password. Enter the Password completely and press the Enter key on your keyboard.
- The Password typed in will not be displayed on the screen.
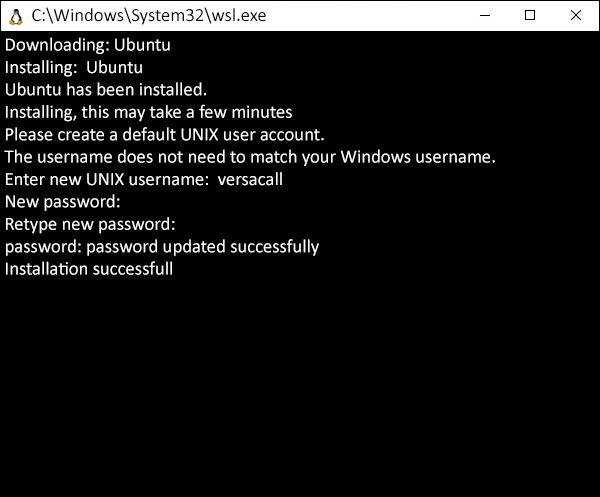
- If the Password(s) was entered correctly both times, an "Installation Successful" message will display on the Terminal.
- If the Password(s) did NOT match, repeat the process.
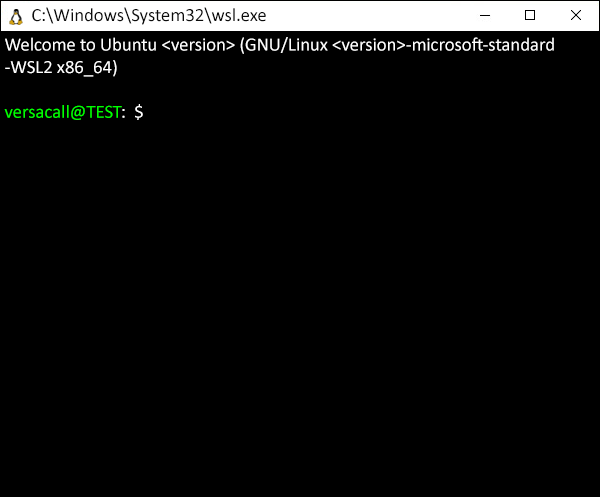
- After a few moments the "Welcome to Ubuntu" message will display on the Terminal.
- You will now see a user prompt with your "Username" along with the "Server Name".
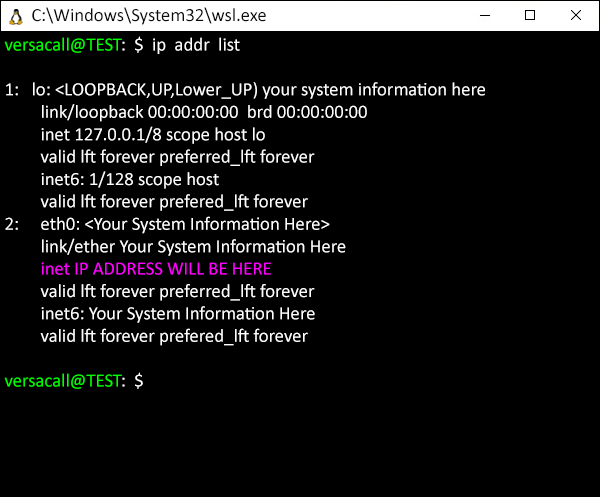
- Windows will assign the Ubuntu system a specific IP Address that we will need during the setup later in the instructions.
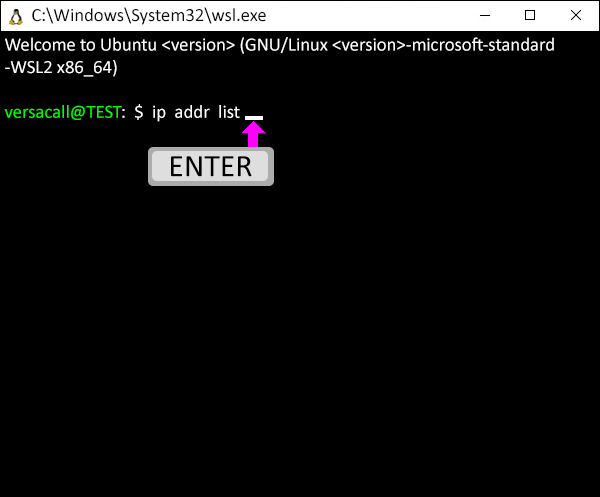
- Copy the Code/Text from the cell below.
- ip addr list
- Paste the Code/Text into the WSL Terminal.
- Press the Enter key on your keyboard after the Code/Text is pasted in.
- The Terminal will load a Loopback and Ethernet settings file.
- Take a screenshot of this information or write down the IP Address in the inet section on the eth0 option.
- This is highlighted in purple in the screenshot.
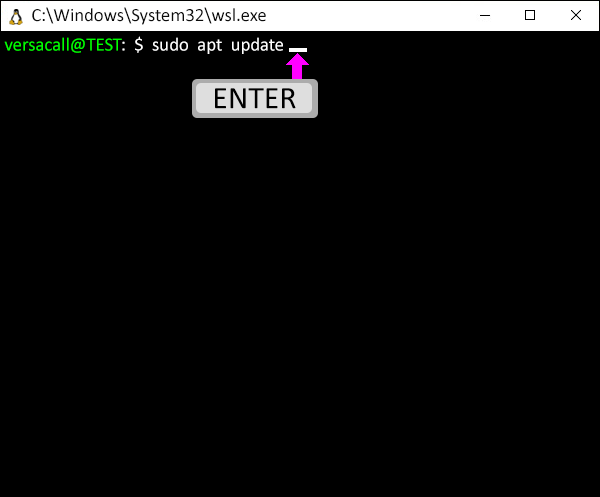
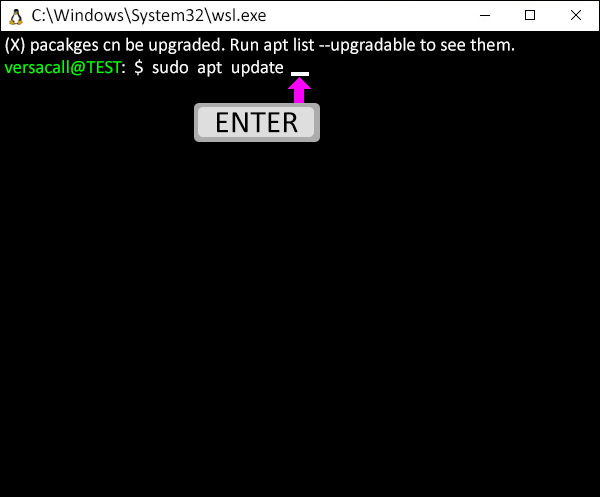
- Copy the Code/Text from the cell below.
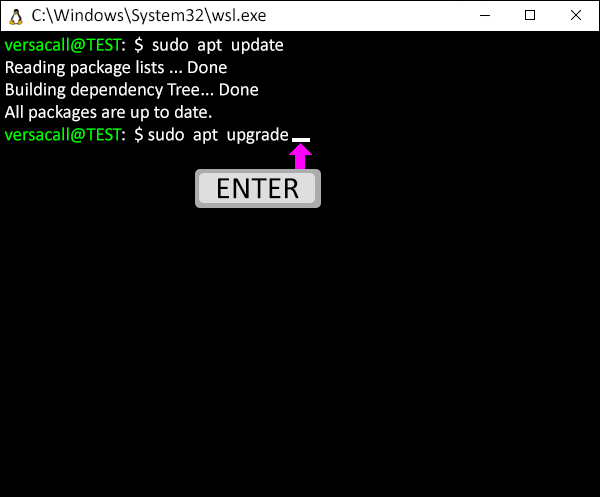
- sudo apt update
- Paste the Code/Text into the WSL Terminal.
- Press the Enter key on your keyboard after the Code/Text is pasted in.
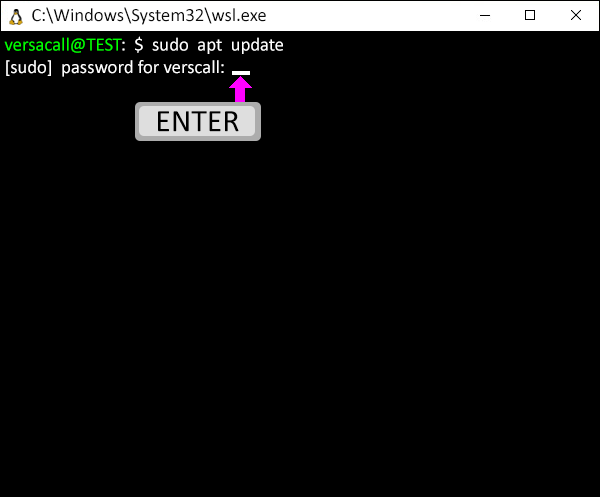
- The Terminal will request the Password - enter the Password completely and press the Enter key on your keyboard.
- The Password typed in will not be displayed on the screen.
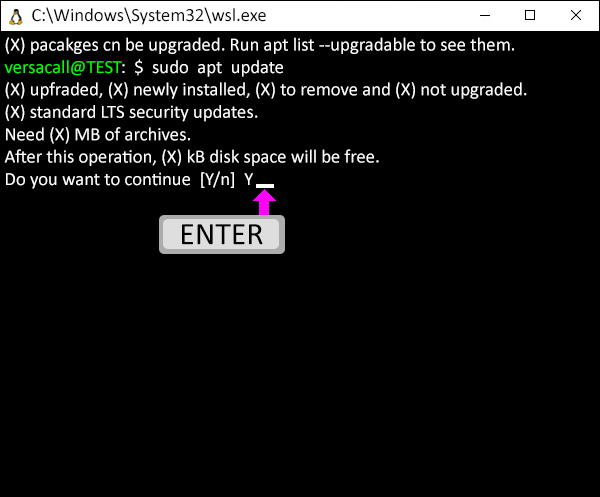
- Copy the Code/Text from the cell below.
- sudo apt upgrade
- Paste the Code/Text into the WSL Terminal.
- Press the Enter key on your keyboard after the Code/Text is pasted in.
- You will be prompted for a Y or N response - type Y - press the Enter key.
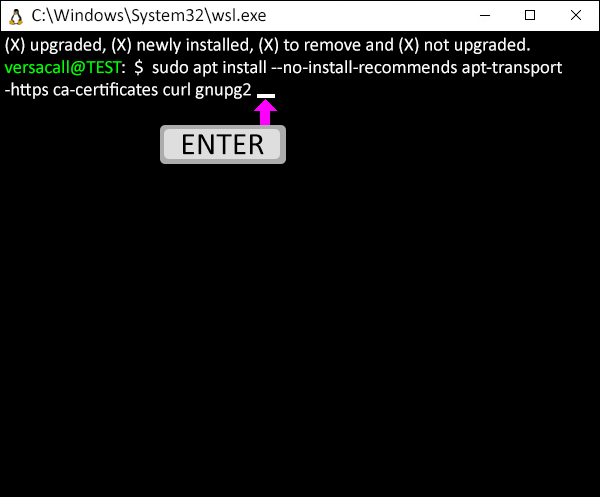
- Copy the Code/Text from the cell below.
- sudo apt install --no-install-recommends apt-transport-https ca-certificates curl gnupg2
- Paste the Code/Text into the WSL Terminal.
- Press the Enter key on your keyboard after the Code/Text is pasted in.
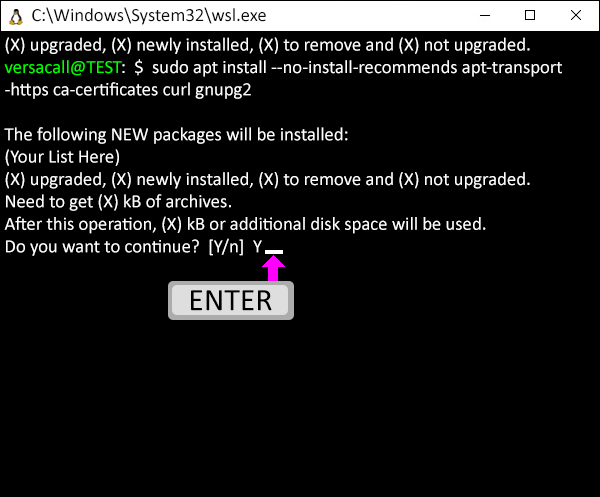
- You will be prompted for a Y or N response - - type Y - press the Enter key.
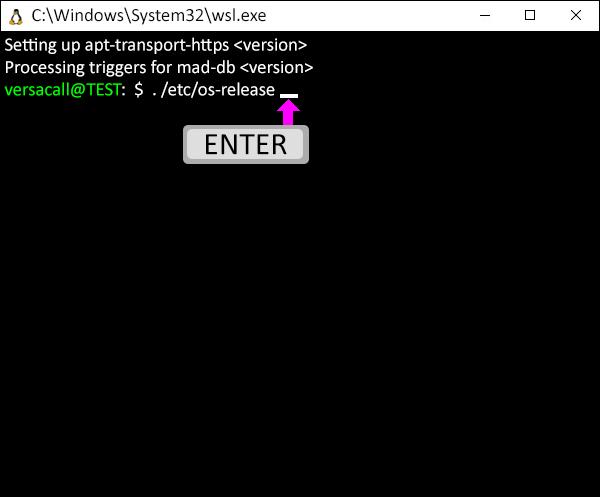
- Copy the Code/Text from the cell below.
- . /etc/os-release
- Paste the Code/Text into the WSL Terminal.
- Press the Enter key on your keyboard after the Code/Text is pasted in.
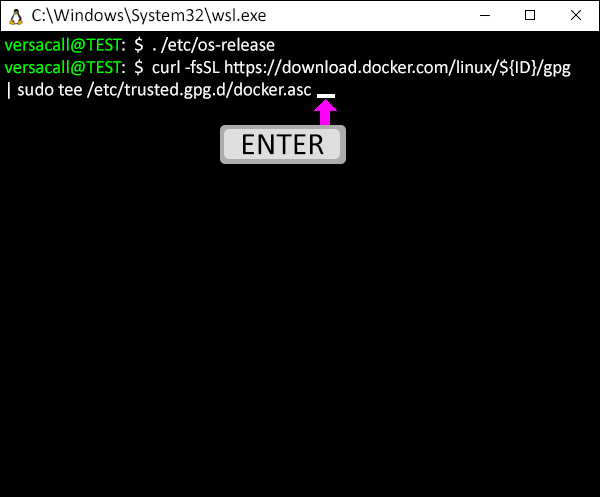
- Copy the Code/Text from the cell below.
- curl -fsSL https://download.docker.com/linux/${ID}/gpg | sudo tee /etc/trusted.gpg.d/docker.asc
- Paste the Code/Text into the WSL Terminal.
- Press the Enter key on your keyboard after the Code/Text is pasted in.
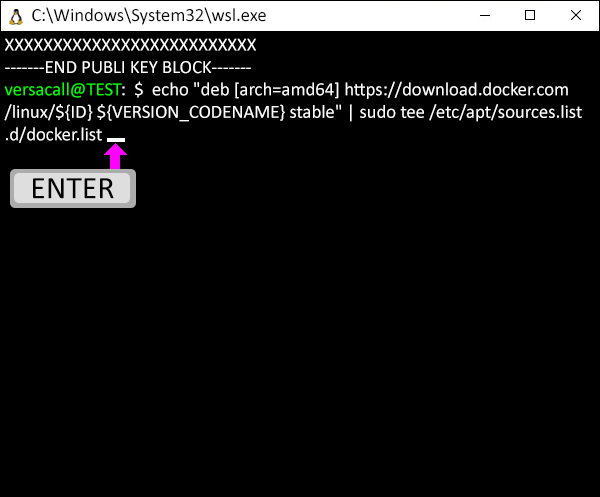
- Copy the Code/Text from the cell below.
- echo "deb [arch=amd64] https://download.docker.com/linux/${ID} ${VERSION_CODENAME} stable" | sudo tee /etc/apt/sources.list.d/docker.list
- Paste the Code/Text into the WSL Terminal.
- Press the Enter key on your keyboard after the Code/Text is pasted in.
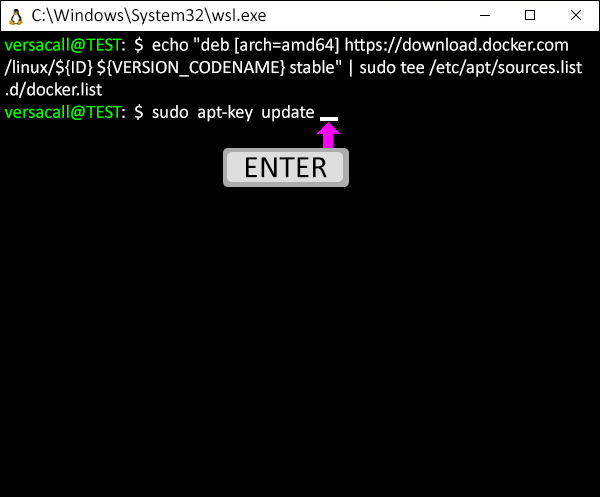
- Copy the Code/Text from the cell below.
- sudo apt-key update
- Paste the Code/Text into the WSL Terminal.
- Press the Enter key on your keyboard after the Code/Text is pasted in.
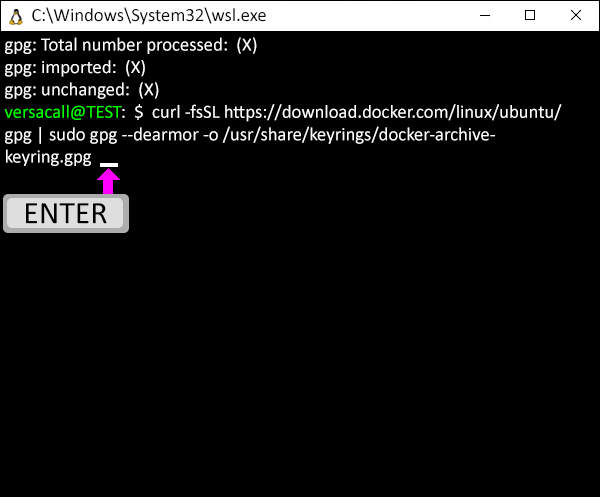
- Copy the Code/Text from the cell below.
- curl -fsSL https://download.docker.com/linux/ubuntu/gpg | sudo gpg --dearmor -o /usr/share/keyrings/docker-archive-keyring.gpg
- Paste the Code/Text into the WSL Terminal.
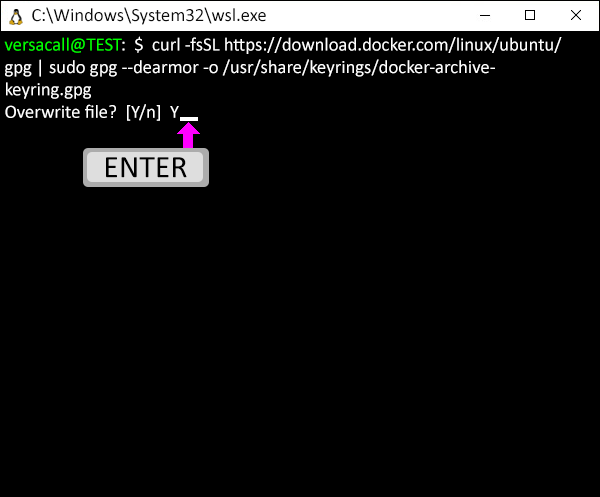
- Press the Enter key on your keyboard after the Code/Text is pasted in.
- You will be prompted for a Y or N response to overwrite - type Y - press the Enter key.
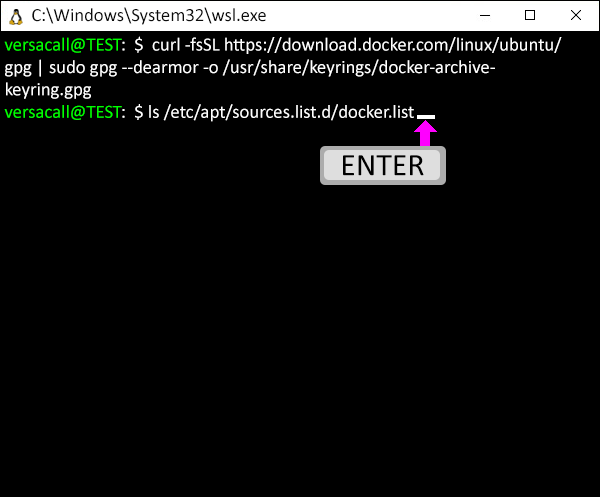
- Copy the Code/Text from the cell below.
- ls /etc/apt/sources.list.d/docker.list
- Paste the Code/Text into the WSL Terminal.
- Press the Enter key on your keyboard after the Code/Text is pasted in.
- Copy the Code/Text from the cell below.
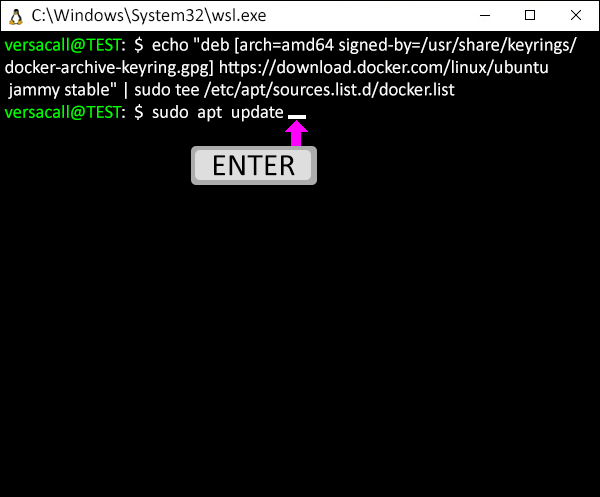
- echo "deb [arch=amd64 signed-by=/usr/share/keyrings/docker-archive-keyring.gpg] https://download.docker.com/linux/ubuntu jammy stable" | sudo tee /etc/apt/sources.list.d/docker.list
- Paste the Code/Text into the WSL Terminal.
- Press the Enter key on your keyboard after the Code/Text is pasted in.

- Copy the Code/Text from the cell below.
- sudo apt update
- Paste the Code/Text into the WSL Terminal.
- Press the Enter key on your keyboard after the Code/Text is pasted in.
- Copy the Code/Text from the cell below.
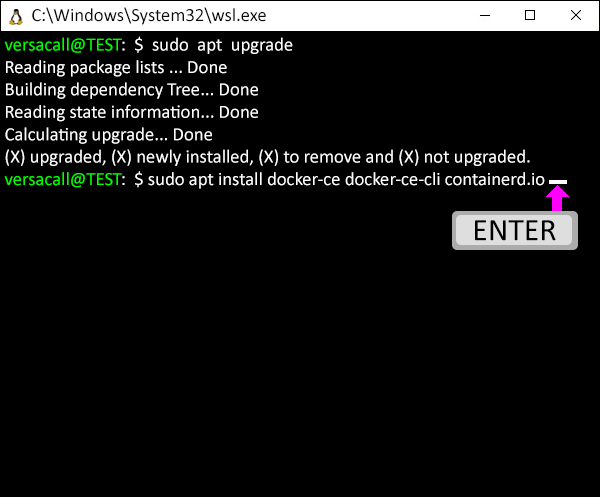
- sudo apt upgrade
- Paste the Code/Text into the WSL Terminal.
- Press the Enter key on your keyboard after the Code/Text is pasted in.
- Copy the Code/Text from the cell below.
- sudo apt install docker-ce docker-ce-cli containerd.io
- Paste the Code/Text into the WSL Terminal.
- Press the Enter key on your keyboard after the Code/Text is pasted in.
- You will be prompted for a Y or N response - - type Y - press the Enter key.

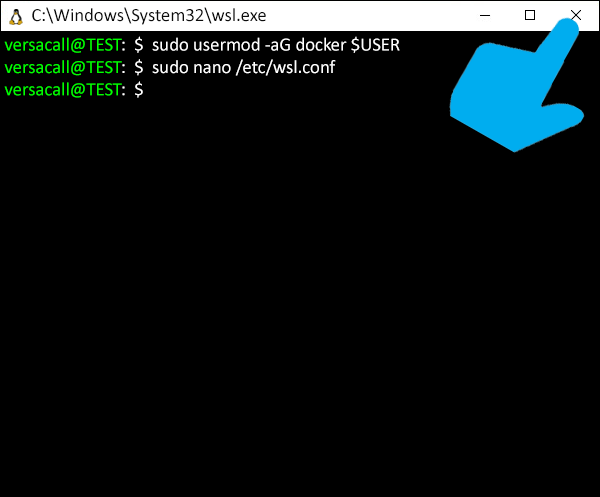
- Copy the Code/Text from the cell below.
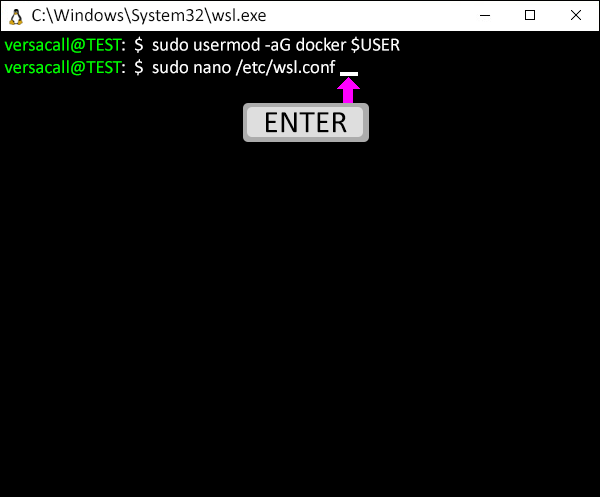
- sudo usermod -aG docker $USER
- Paste the Code/Text into the WSL Terminal.
- Press the Enter key on your keyboard after the Code/Text is pasted in.

- Copy the Code/Text from the cell below.
- sudo nano /etc/wsl.conf
- Paste the Code/Text into the WSL Terminal.
- Press the Enter key on your keyboard after the Code/Text is pasted in.
- The GNU nano file interface will load.
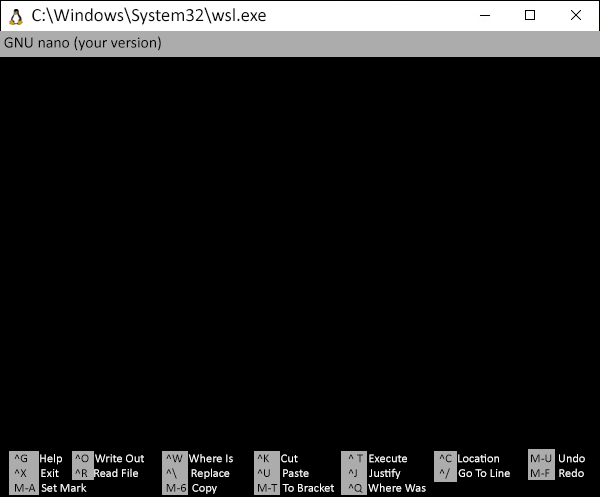
- Copy the Code/Text from the cell below.
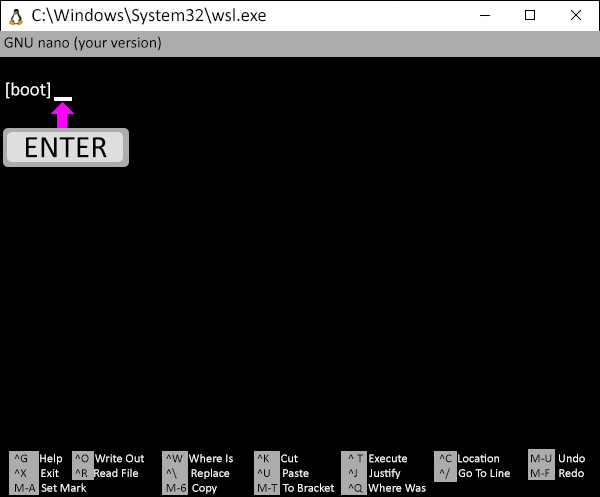
- [boot]
- Paste the Code/Text into the WSL Terminal.
- Press the Enter key on your keyboard after the Code/Text is pasted in.
- Copy the Code/Text from the cell below.
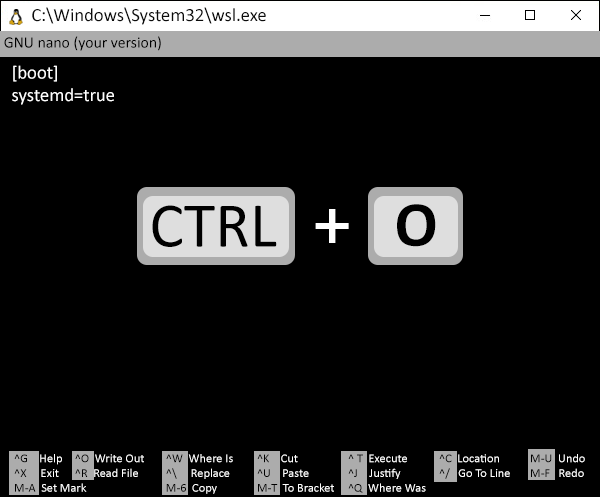
- systemd=true
- Paste the Code/Text into the WSL Terminal.
- Press the CTRL key on your keyboard and press the letter O key.
- A message will show at the bottom of the interface above the Key Shortcuts, confirming the file location.
- Select the Enter key on your keyboard.
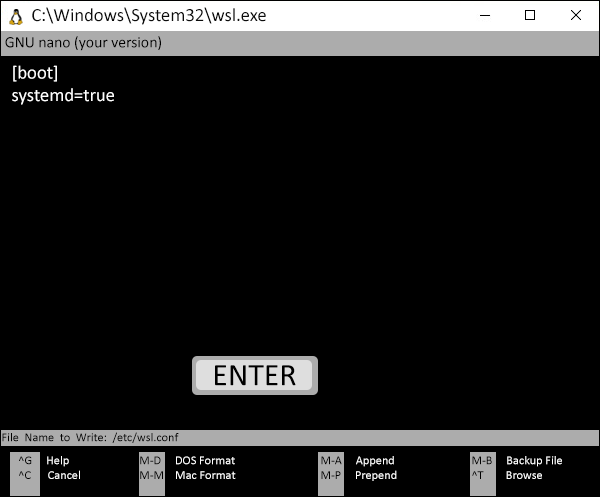
- The message line will refresh confirming that 2 Lines were written to the file.
- Press and hold the CTRL key on your keyboard and press the letter X key.
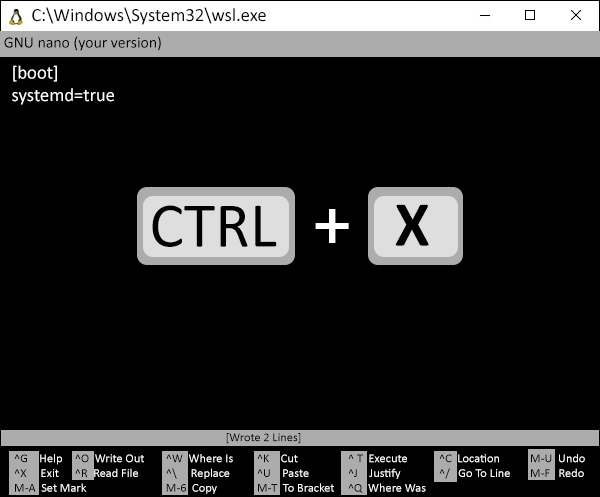
- The GNU Nano interface will close, and you will be returned to the Terminal command prompt.
- Click on the “X” in the top right corner of the Terminal window to close the interface.
- Return to the Software Install Main page and continue with the next Guide/Step.

|