Windows Install - File Uploads
From VersaVision Support

OVERVIEW
- Before the installation can be started, the user will need to create a folder on the C: drive and place files into it.
- If these files are not added, the installation will fail.
REQUIREMENTS
- Log In: Installer/User must have a Windows Log In with Administrator permissions. This Account must remain active after the installation.
- Access: When using a VM, Installer/User must have Remote PC Access to the Windows 10 or 11 Pro instance.
- Files: Must have downloaded the files listed below. The link to these files is provided by a VersaCall Technician.
- core-package!<version>.package
- packages-api!<version>.tar
- VersaVisionWindowsService.zip
- NOTE: The instructions below will work for Windows Server 2022, Windows Pro 10 & Windows Pro 11.
INSTRUCTIONS
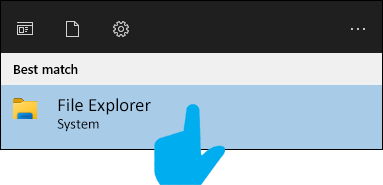
- Click in the Search field next to the Windows Start button. Type "File Explorer into the Search field.

- Select the File Explorer application from the list.
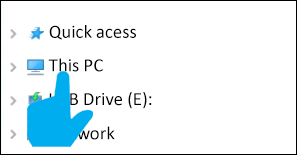
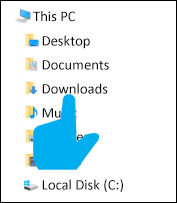
- Select This PC from the root menu.
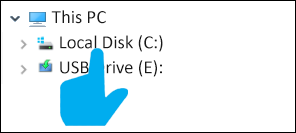
- Double click on the C: drive.
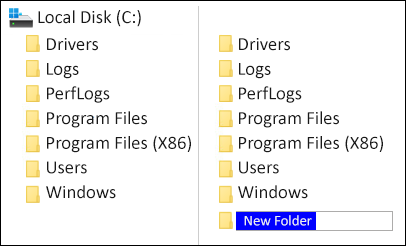
- On the C: drive right click, on an empty area, on the right side of the root menu.
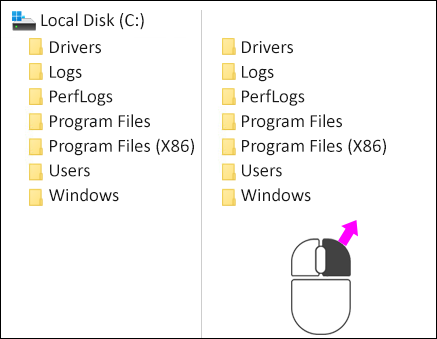
- Select New from the pop-up menu. Select Folder from the pop-out menu.

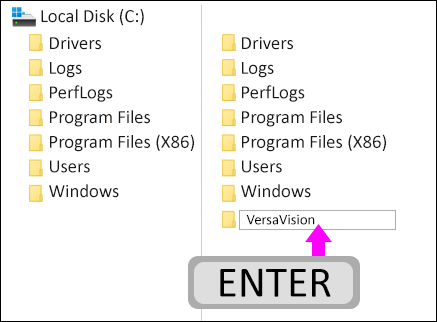
- Name the new folder "VersaVision".
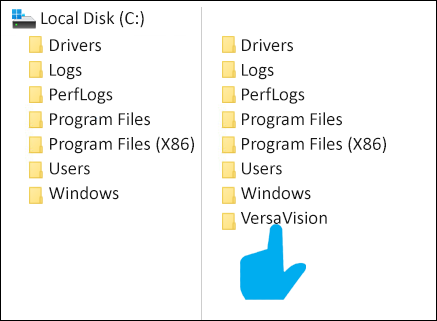
- Press the Enter key after entering the name.
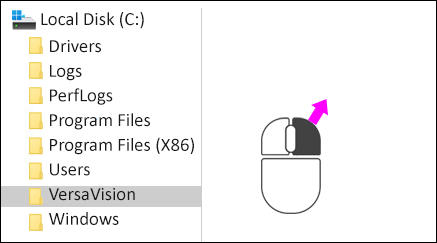
- Double click on the VersaVision folder.
- Right click on the right side of the root menu.
- Select New from the pop-up menu. Select Folder from the pop-out menu.
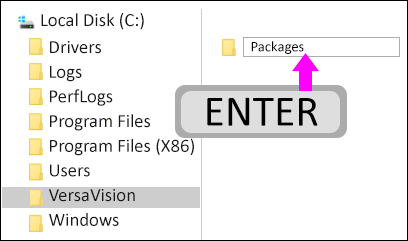
- Name the new folder "Packages".

- Press the Enter key after naming the folder.
- Using the root, left side navigation, go to the location where the 2 files were downloaded. Generally, this would be the Downloads folder.
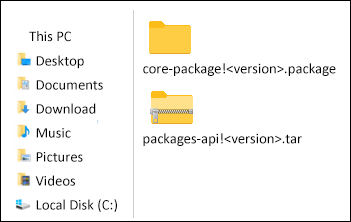
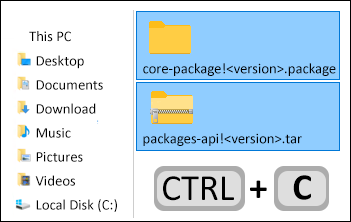
- Find the "core-package!<version>.package" file and the "packages-api!<version>.tar" file.
- Select both files.
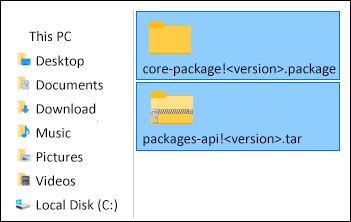
- Press and hold down the Ctrl key + the Letter C key.
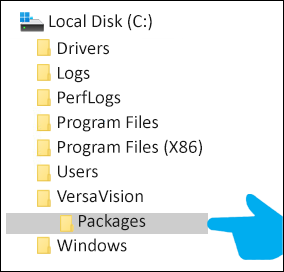
- Using the root, left side navigation, return to the C:\VersaVision\Packages folder.
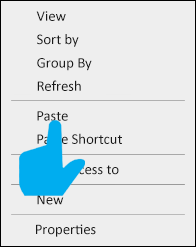
- Right click on the right side of the root menu.

- Select Paste from the pop-up menu
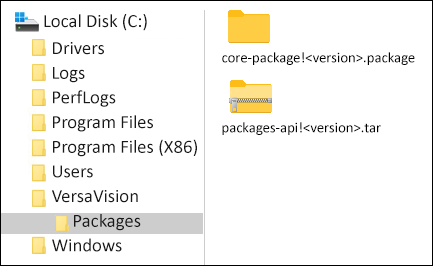
- The "core-package!<version>.package" file and the "packages-api!<version>.tar" file will upload to the folder.
- Using the root, left side navigation, go to the location where the <nowiki>"VersaVisionWindowsServer.zip"<nowiki> file was downloaded. Generally, this would be the Downloads folder.
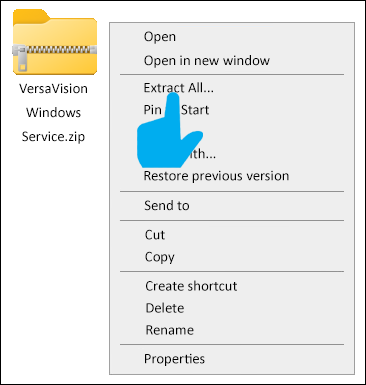
- Right click on the “VersaVisionWindowsService.zip” file.
- Select Extract All from the menu.
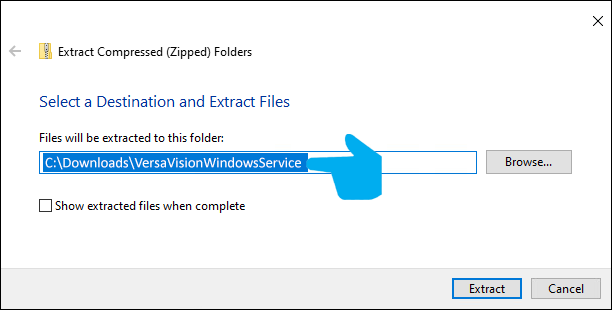
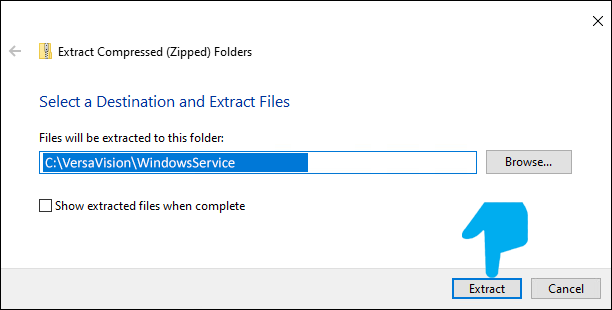
- On the “Select a Destination and Extract Files” window, change the folder to "C:\VersaVision\WindowsService".
- Select the Extract button after changing the destination folder.
- Close the File Explorer Window.

|