Windows Install - VersaVision Service
From VersaVision Support

OVERVIEW
- WSL by default requires a user to log into the Windows Computer/Server/VM in order for WSL to run/start.
- The disadvantage of this is when a Computer/Server/VM is updated or restarted. WSL will stop running and VersaVision will stop running until the user manually logs in on the Computer/Server/VM.
- To prevent this issue, we have a Service that runs inside Windows that keeps WSL running without a user having to log in.
- This guide will explain how to install and setup this Windows Service.
REQUIREMENTS
- Log In: Installer/User must have a Windows Log In with Administrator permissions. This Account must remain active after the installation.
- Access: When using a VM, Installer/User must have Remote PC Access to the Windows instance.
- Internet Access: Server must have full internet access. Access can be removed after the installation is complete.
- Pre-Requisites I: User must have uploaded/extracted the VersaVision Windows Service zip file to the C:\VersaVision\WindowsService folder.
- Pre-Requisites II: User must have installed WSL, Docker and the Core/Packages API.
- NOTE: The instructions below will work for Windows Server 2022, Windows Pro 10 & Windows Pro 11.
TOOL TIP
- There is specific Code that needs to be entered in on the steps below. The Paste function in Power Shell and WSL works differently from Windows.
- To Copy - select the Code/Text in the cell so that it is highlighted. Press the Control Key & C Key on your keyboard at the same time. Alternatively, you can right click on the highlighted text and select Copy from the pop-up menu.
- To Paste - Right Click on the Cursor next to the User Prompt. The copied text will fill in automatically.
- There is specific Code that needs to be entered in on the steps below. The Paste function in Power Shell and WSL works differently from Windows.
INSTRUCTIONS
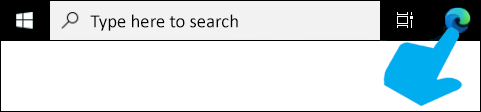
- Open Power Shell on the Computer/Server/VM – type Power Shell in the search field next to the Windows button.

- Select the Run As Administrator option for this application.
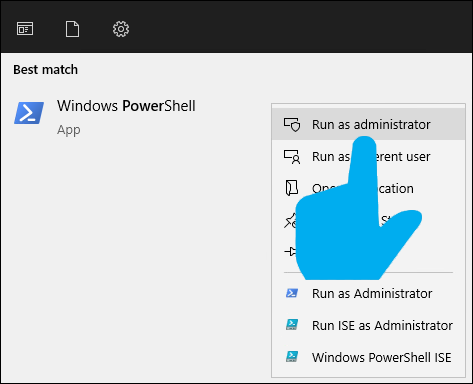
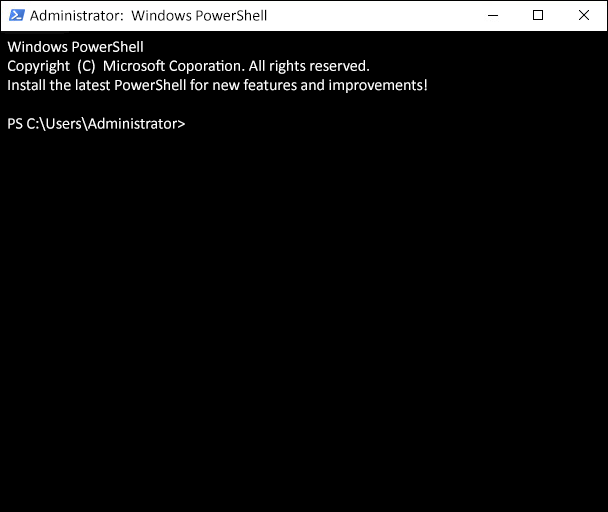
- A Power Shell Window will load on the screen with a User Prompt.
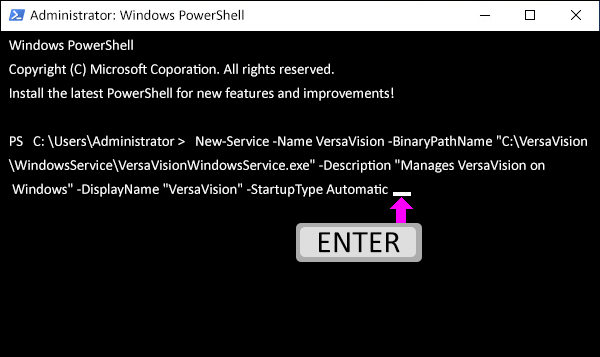
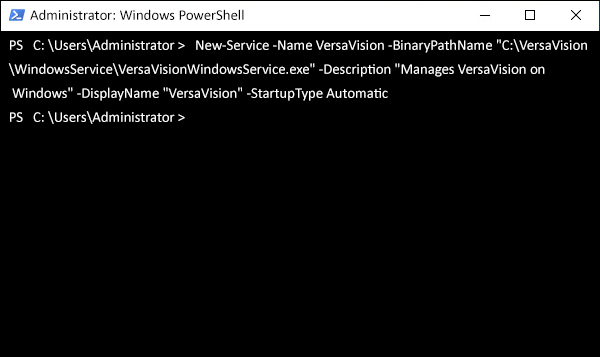
- Copy the Code/Text from the cell below.
- New-Service -Name VersaVision -BinaryPathName "C:\VersaVision\WindowsService\VersaVisionWindowsService.exe" -Description "Manages VersaVision on Windows" -DisplayName "VersaVision" -StartupType Automatic
- Paste the Code/Text into Power Shell - press the Enter key on your keyboard after the Code/Text is pasted in.
- Leave the Power Shell Window open.
- The Guide will come back to Power Shell later.
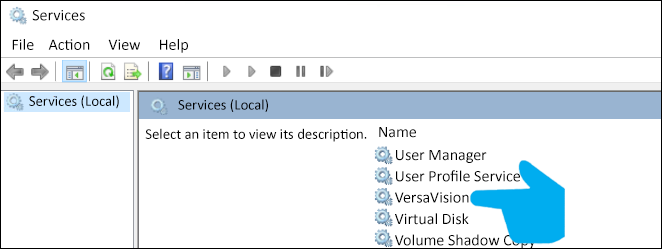
- Open Windows Services on the Computer/Server/VM – type Services in the search field next to the Windows button.

- Select the Services App from the menu.

- In the Services Window, scroll down the list until you find the VersaVision service.
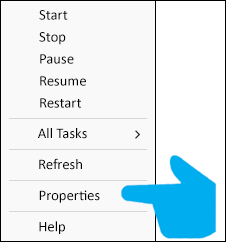
- Right Click on the VersaVision service.
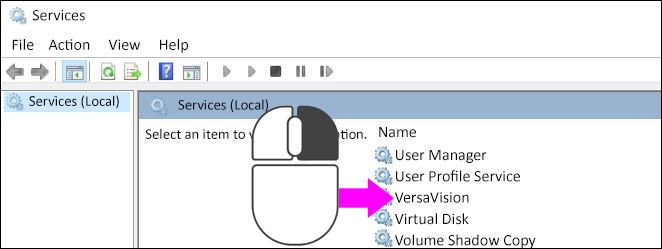
- Select Properties from the pop-up menu.
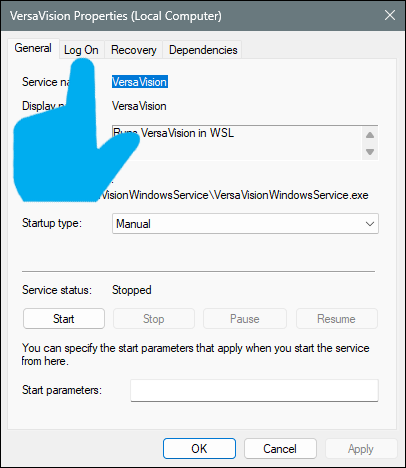
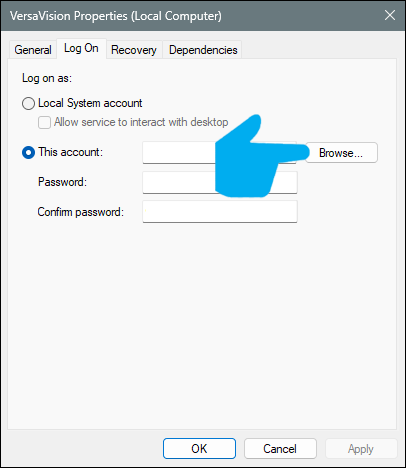
- On the Properties Window, select the Log On tab.
- Select the This Account option.
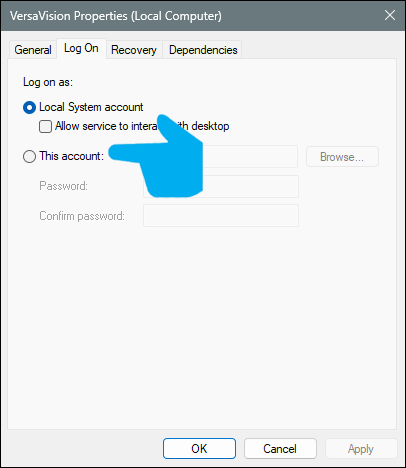
- Select the Browse button.
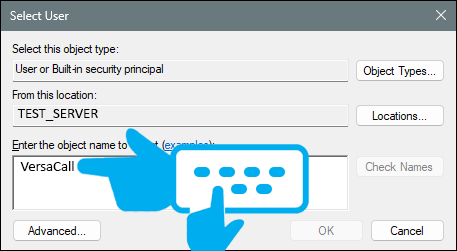
- Type in the name of the Window User account you logged in with.
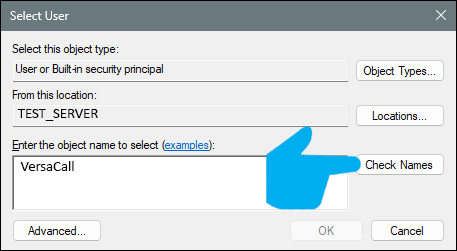
- Click on the Check Names button.
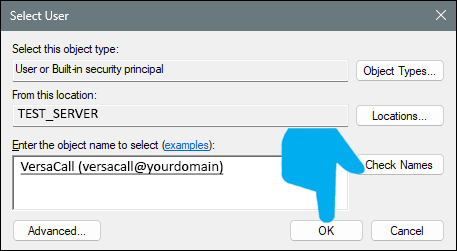
- The name typed in will be replaced with the qualified user name – click on the OK button.
- Type in the password for this user in the Password field.
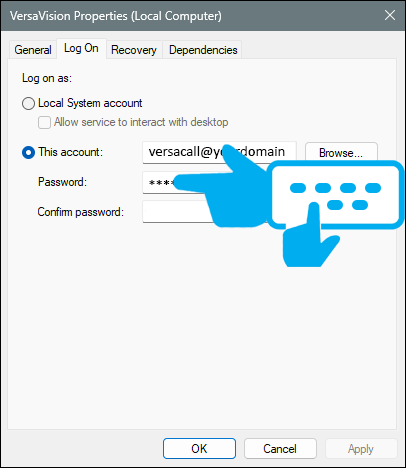
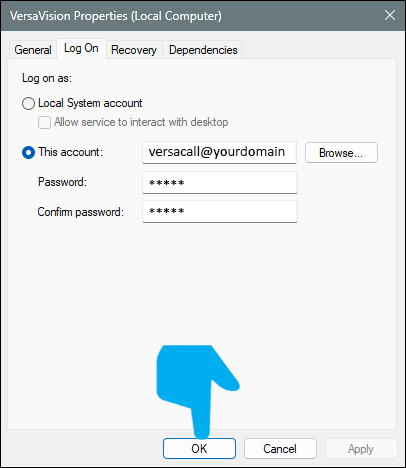
- Type in the password a second time in the Confirm Password field.

- Select the OK button.
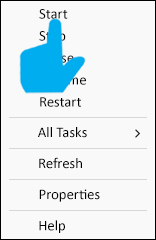
- When you are returned to the Services window, right click on the VersaVision service.
- Select Start from the pop-up menu.
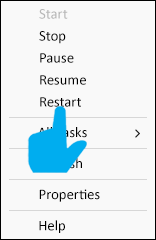
- If Start is greyed out – select the Restart option from the pop-up menu.
- Go back to the Power Shell Window that was left open in the beginning of the guide.
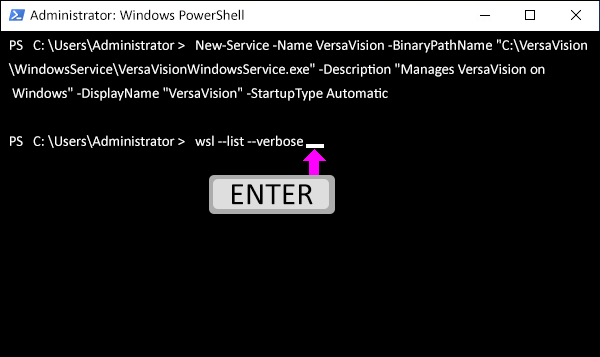
- Copy the Code/Text from the cell below.
- wsl --list --verbose</span>
- Paste the Code/Text into the WSL Terminal.
- Press the Enter key on your keyboard after the Code/Text is pasted in.
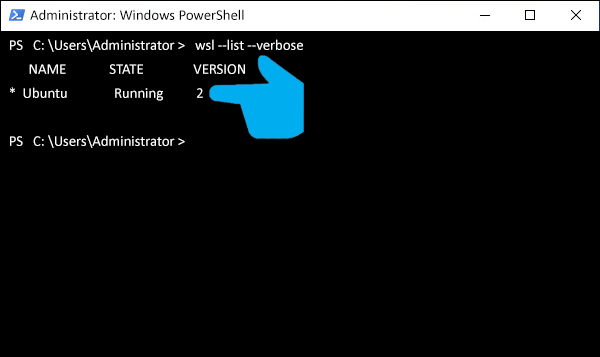
- The Ubuntu service should be shown as Running.
- If it is not Running, restart the VersaVision service from the previous steps.
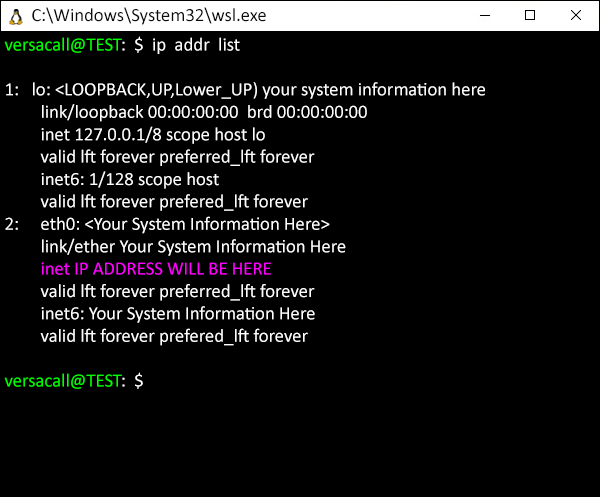
- Bring up your IP Address screen shot or notes that you made in the Server 2022/Windows 10, 11 Install – Docker Installation guide.
- This IP Address, labeled as inet, will need to be used in the commands below.
- IMPORTANT NOTE FOR THE FOLLOW STEPS.
- The next 3 Copy/Paste Code/Text steps will have an <ipaddress> field in them.
- DELETE the <ipaddress> text and replace it with your IP Address found in the step above.
- If this is not replaced, the Command will fail in Power Shell.
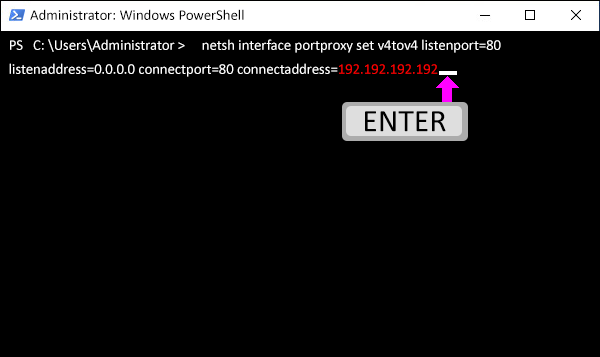
- Copy the Code/Text from the cell below.
- Replace the <ipaddress> text with your IP Address.
- netsh interface portproxy set v4tov4 listenport=80 listenaddress=0.0.0.0 connectport=80 connectaddress=<ipaddress>
- Paste the Code/Text into Power Shell.
- Our example IP is in Red.
- Press the Enter key on your keyboard after the Code/Text is pasted in.
- Copy the Code/Text from the cell below.
- Replace the <ipaddress> text with your IP Address.
- netsh interface portproxy set v4tov4 listenport=9000 listenaddress=0.0.0.0 connectport=9000 connectaddress=<ipaddress>
- Paste the Code/Text into Power Shell.
- Our example IP is in Red.
- Press the Enter key on your keyboard after the Code/Text is pasted in.

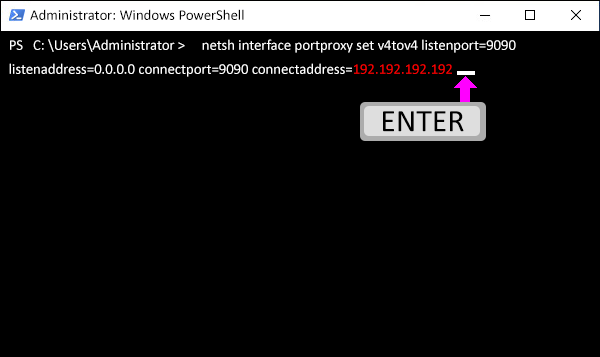
- Copy the Code/Text from the cell below.
- Replace the <ipaddress> text with your IP Address.
- netsh interface portproxy set v4tov4 listenport=9090 listenaddress=0.0.0.0 connectport=9090 connectaddress=<ipaddress>
- Paste the Code/Text into Power Shell.
- Our example IP is in Red.
- Press the Enter key on your keyboard after the Code/Text is pasted in.
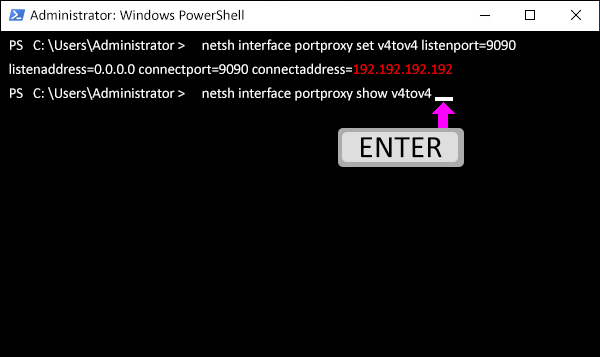
- Copy the Code/Text from the cell below.
- netsh interface portproxy show v4tov4
- Paste the Code/Text into Power Shell.
- Press the Enter key on your keyboard after the Code/Text is pasted in.
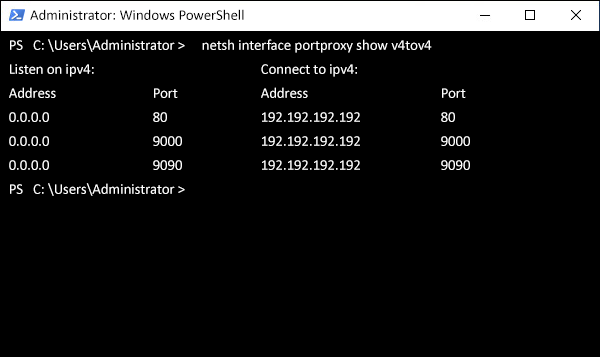
- Power Shell will display information about each of the Ports that were added in the steps above.
- Each Port will show that it is now mapped to the IP Address that was entered.
- Copy the Code/Text from the cell below.
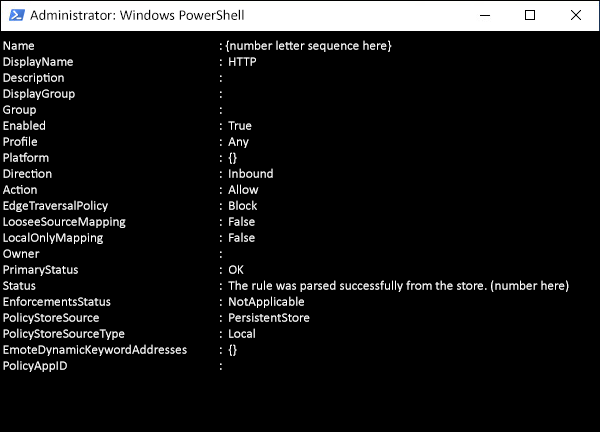
- New-NetFirewallRule -DisplayName "HTTP" -Direction Inbound -Action Allow -Protocol TCP -LocalPort 80
- Paste the Code/Text into Power Shell.
- Press the Enter key on your keyboard after the Code/Text is pasted in.
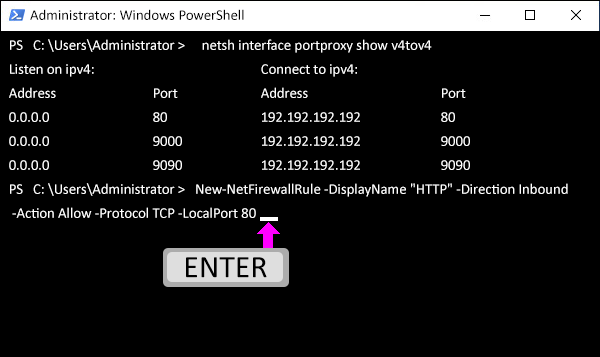
- You will get a print out on the screen the looks like the image below.
- Copy the Code/Text from the cell below.
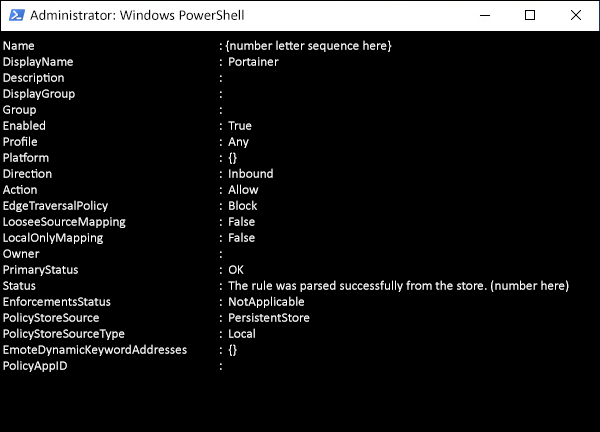
- New-NetFirewallRule -DisplayName "Portainer" -Direction Inbound -Action Allow -Protocol TCP -LocalPort 9000
- Paste the Code/Text into Power Shell.
- Press the Enter key on your keyboard after the Code/Text is pasted in.
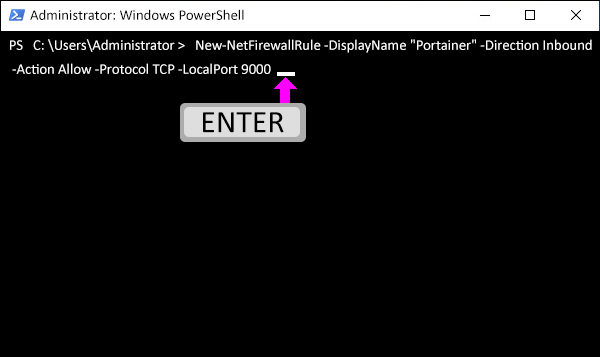
- You will get a print out on the screen the looks like the image below.
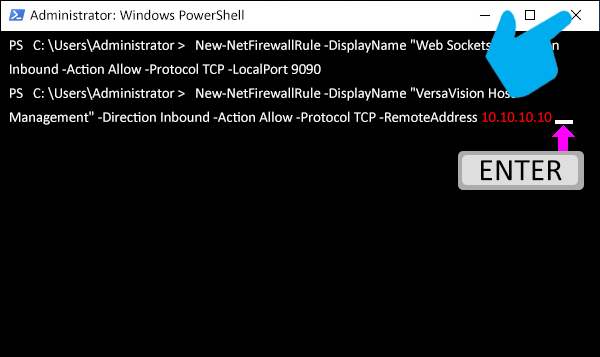
- Copy the Code/Text from the cell below.
- New-NetFirewallRule -DisplayName "Web Sockets" -Direction Inbound -Action Allow -Protocol TCP -LocalPort 9090
- Paste the Code/Text into Power Shell.
- Press the Enter key on your keyboard after the Code/Text is pasted in.
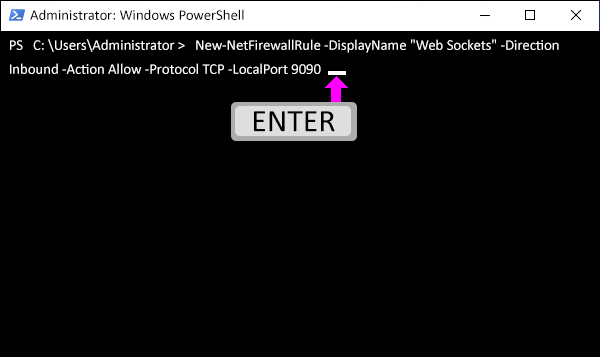
- You will get a print out on the screen the looks like the image below.

- Leave the Power Shell Window open.
- The Guide will come back to Power Shell later.
- Before executing the next command, you will need to get the IP Address of the Windows Server/Computer/VM.
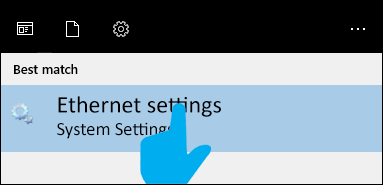
- If you do not know the IP Address, type Ethernet settings into the search field next to the Windows button.

- Select the Ethernet settings application.
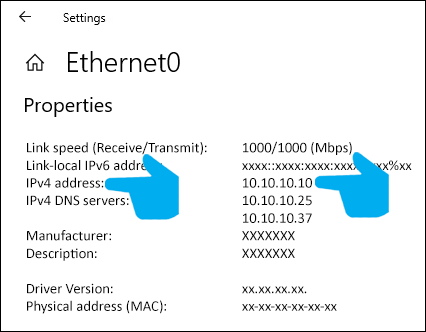
- Click on the Ethernet connection that shows as Connected.

- Scroll down to the Properties section, the IP Address needed is the one marked as IPv4 address.
- Make a note of this IP Address.
- Return to the Power Shell Window that you left open.
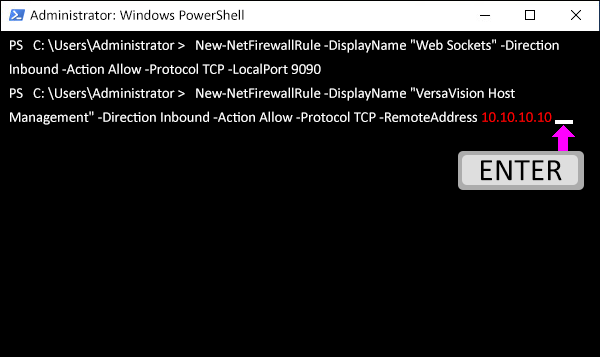
- Copy the Code/Text from the cell below.
- New-NetFirewallRule -DisplayName "VersaVision Host Management" -Direction Inbound -Action Allow -Protocol TCP -RemoteAddress <serveraddress>
- Paste the Code/Text into Power Shell.
- REPLACE the <serveraddress> field with the IP Address you noted in the step above in Ethernet Settings.
- Press the Enter key on your keyboard after the Code/Text is pasted in.
- Our example IP is in Red.
- Close the Power Shell Window.
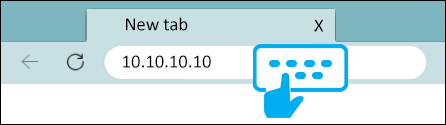
- Open a Web Browser on another computer, not the Computer/Server/VM where VersaVision has been installed, connected to your network.
- Edge is shown in the example, Chrome will work as well.
- Type in the Server IP Address, that you obtained in the previous steps, into the web browser.
- For our example this is 10.10.10.10.
- Press the Enter key on your keyboard.
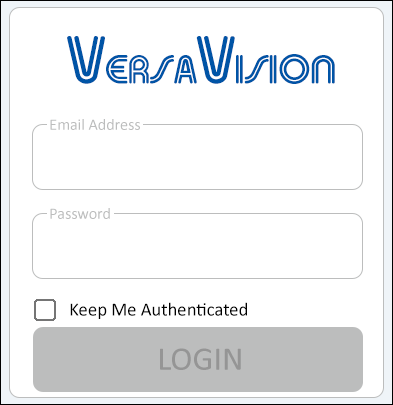
- The VersaVision log in screen should load.
- If this screen does not load, contact VersaCall for assistance.
- Return to the Computer/Server/VM that has the VersaVision installation.
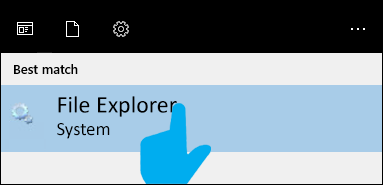
- Type File Explorer into the search field next to the Windows button.

- Select the File Explorer application from the list.
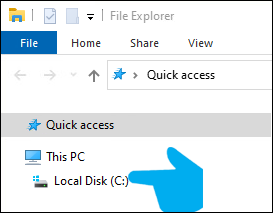
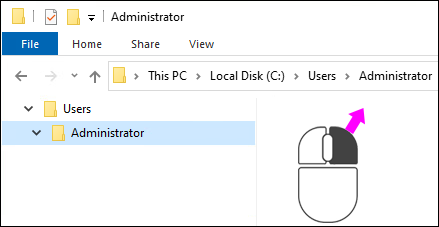
- Double click on the C: Drive.
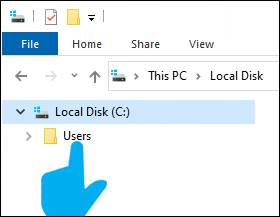
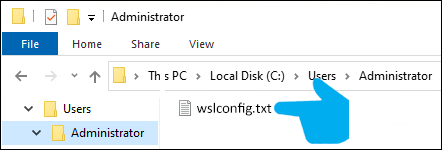
- Double click on the Users folder.
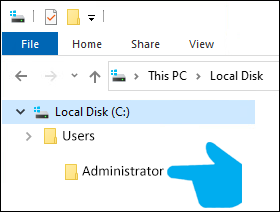
- Double click on the (Users Name) Folder.
- Our example is showing Administrator.
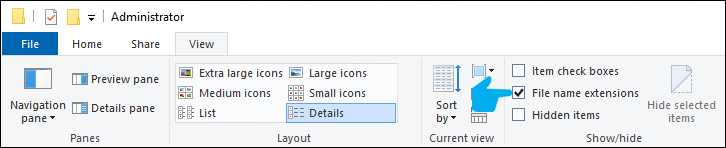
- Inside File Explorer, select the View option from the tool bar.

- Select the File name extensions option.

- There should be a check mark next to the File name extensions.
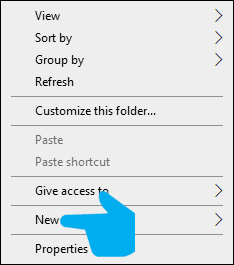
- Right click on an empty space on the right side of the root menu.
- Select New from the pop-up menu.
- Select Text Document from the New Menu
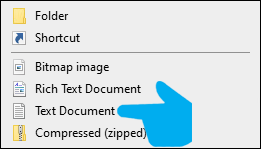
- A new text file will show on the screen named New Text Document.
- The name will be highlighted, click on the file name.
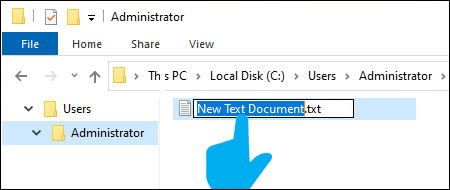
- Replace the New Text Document name with wslconfig.
- All lowercase letters with NO spaces.
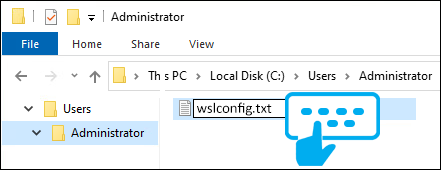
- Press the Enter key on your keyboard after entering the new file name.
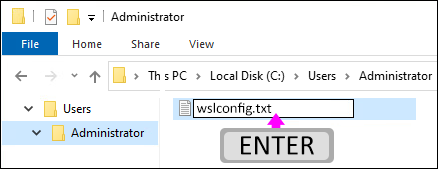
- Double click on the wslconfig.txt file you just created.
- A new Notepad Window will load on the screen.
- The document will be blank, click on the document to get a cursor.
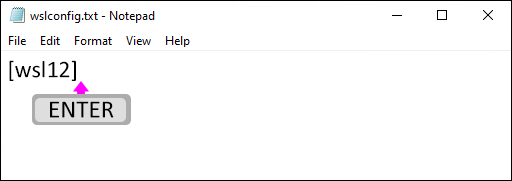
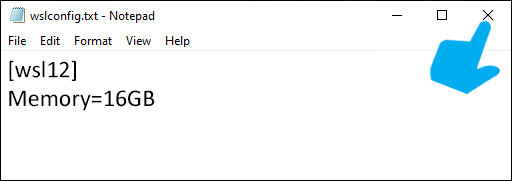
- Once the cursor appears, type in [wsl12].
- All lowercase letters NO spaces.
- Press the Enter key on your keyboard after typing in the text.
- Type in Memory=16GB exactly as it is here.
- After typing in the second line of code, select File option from the Window Tool bar.
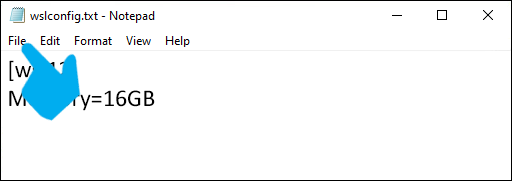
- Select Save from the File menu.

- Close the Notepad Window by clicking on the X in the top right corner.
- Close all open windows and reboot the server.
- NOTE: The Computer/Server/VM MUST be restarted for all changes to take effect.
- Return to the Software Install Main page and continue with the next Guide/Step.

|