Reporting - Automated Reports
From VersaVision Support
Reporting is where the user can generate reports based on the data collected by the VersaVision software. There are multiple components inside Reporting, this page is focused on the Automated component.
An Automated Report is a report the user will setup to run at a specific time and email the report to specfic contacts.
This page will concentrate on Adding, Editing, Running, Duplicating and Deleting an Automated Report.
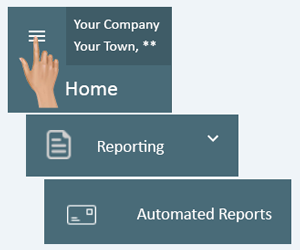
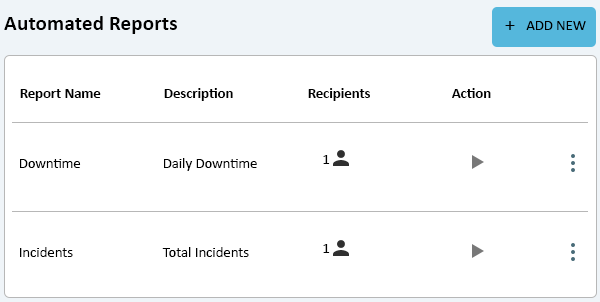
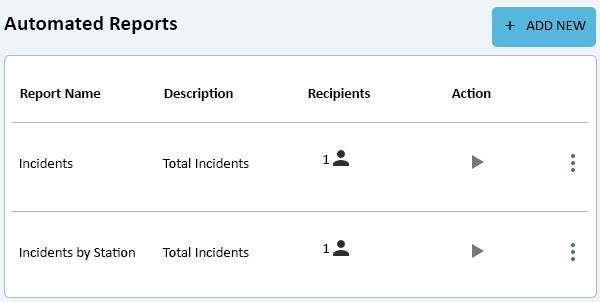
Reporting can be accessed via the Home page menu by expanding Reporting. Once Reporting has been opened - select Automated Reports from the menu.
|
|
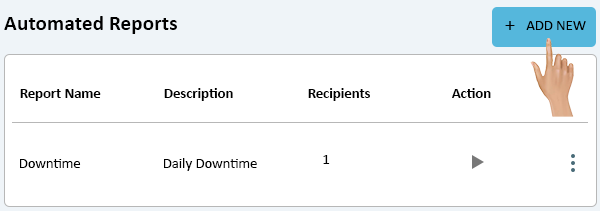
Click on the Add New button in the top right corner of the page.
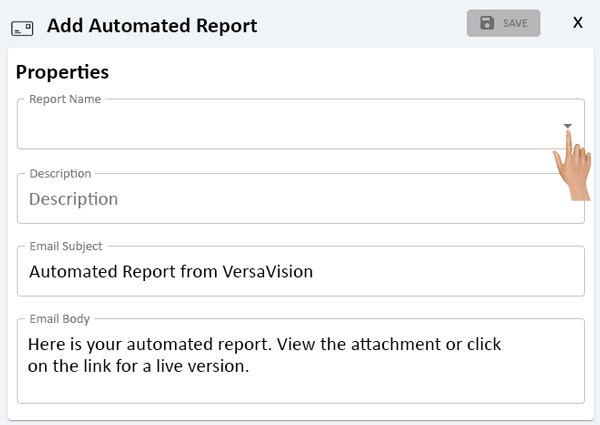
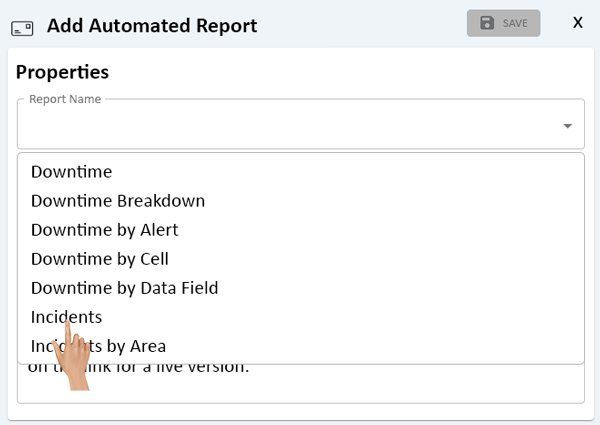
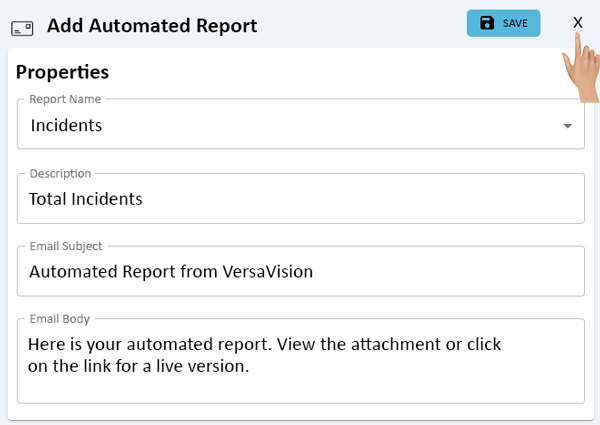
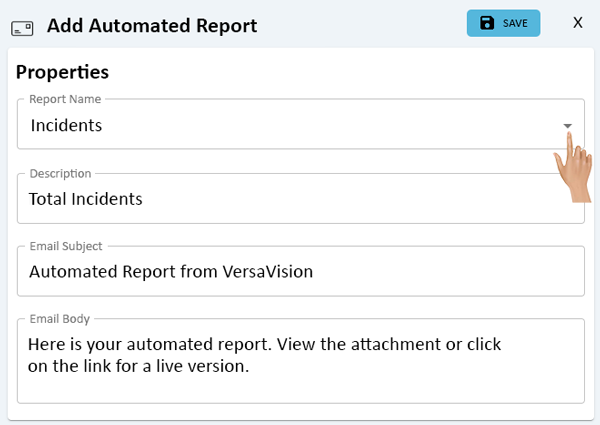
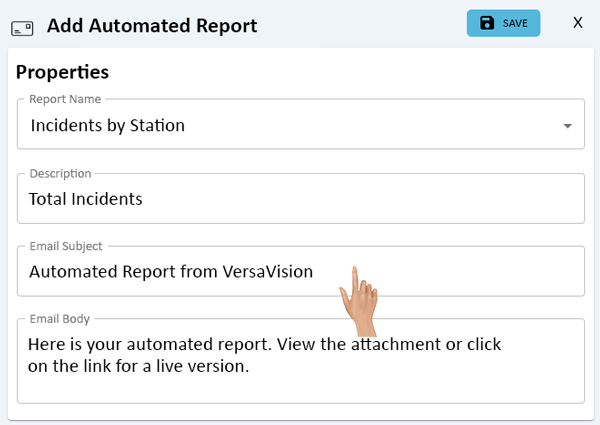
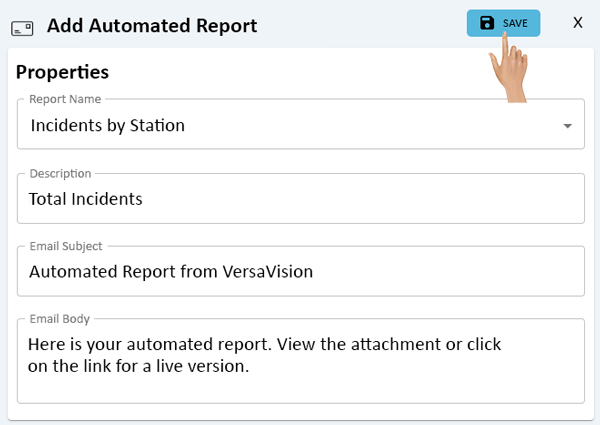
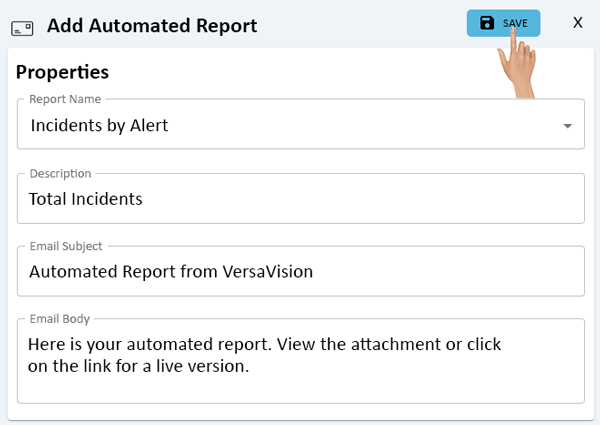
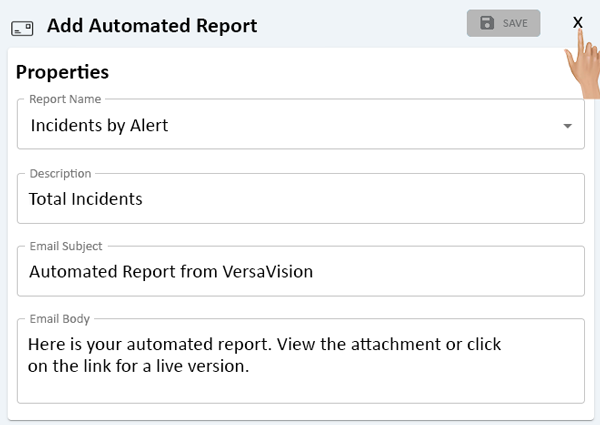
The Add Automated Report window will load to the right side of the Automated Reports list. Click on the down arrow in the Report Name field.
A list of all the Reports created/saved on the system will show. Select the Report that needs to be automated.
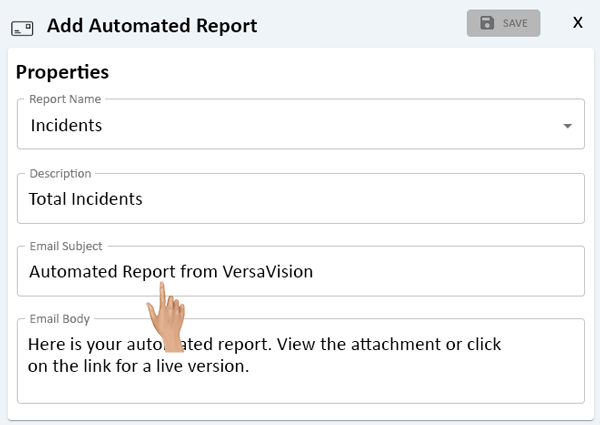
Click in the Description field. Enter a description for the report if needed, this is an optional field.
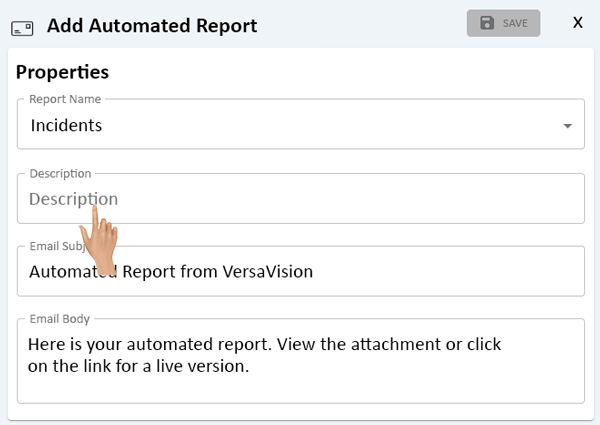
Click in the Email Subject field. Enter a subject name/description. VersaCall suggests this NOT be left blank. Recipients will see this subject line in their email.
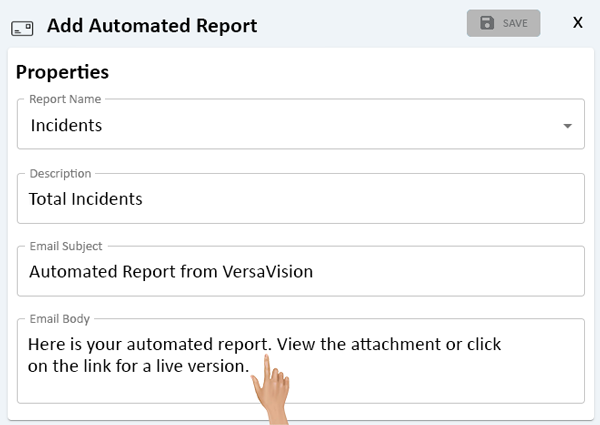
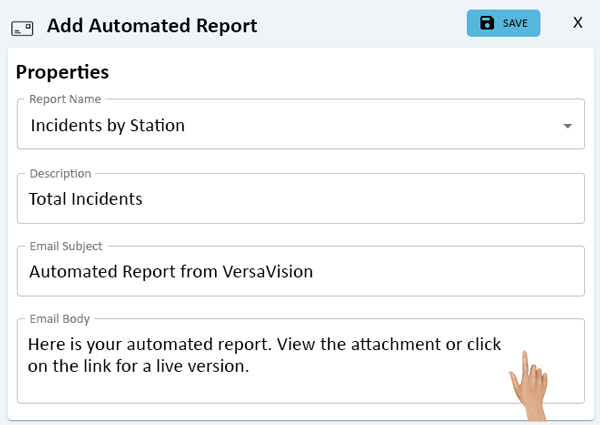
Click in the Email Body field. The Email Body field is where the user will enter what the recipient will see when opening the email.
- NOTE: All emails will receive a link to the report where the user can view the report or re-run the report with different parameters.
Once the Email Body text is filled in correctly, move to the Parameters section.
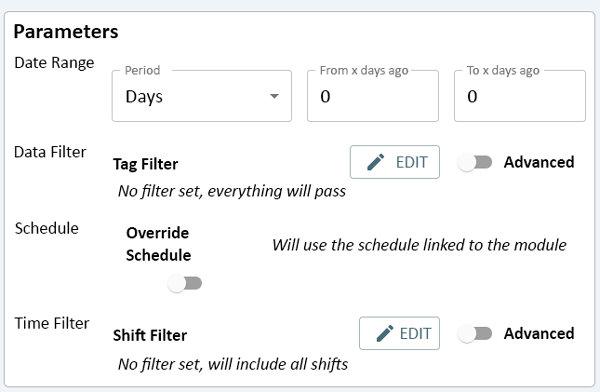
Depending on the setup of the report that was selected, the Parameters shown can vary. Up to 4 different Parameters can be available.
- Date Range - Click Here for details on setting up this option.
- Data Filter - Click Here for details on setting up this option.
- Schedule - Click Here for details on setting up this option.
- Time Filter - Click Here for details on setting up this option.

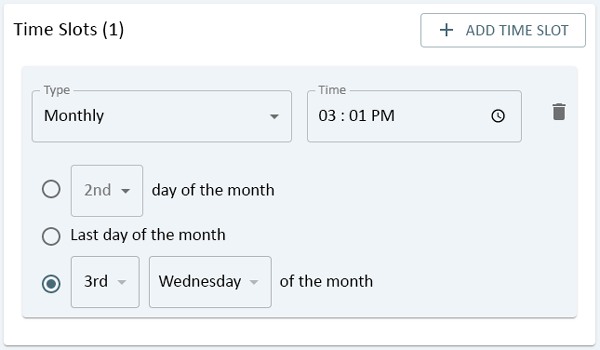
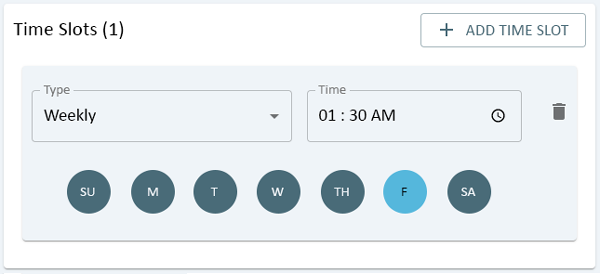
The next option that needs to be setup is Time Slots. Click on the Add Time Slot button.
This is where the user defines what time, and day the Automated Report is to be run and emailed. There are 2 options available Monthly & Weekly.
- Monthly - Click Here for details on setting up this option.
- Weekly - Click Here for details on setting up this option.

The next option that needs to be setup is Recipients that will be receiving the report.
There are 2 options available Add a User or Add Email Address.
- User - select this option if the person to receive the report is a user with a log in on the system.
- Email Address - select this option if there person to receive the report is not a user on the system.

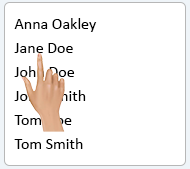
When Add User is selected a list of users will populate. Select one of the users from the list.
Multiple Users must be added individually.
All the Users that were selected will show below the Add buttons.

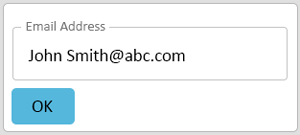
When Add Email Address is selected, a pop-up entry window will appear. Click in the Email Address field.
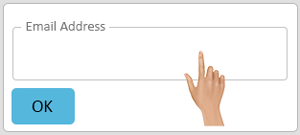
Type in the email address of the person that is to receive a copy of the report.
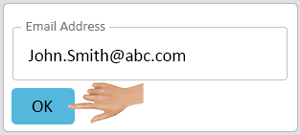
Click on the OK button to add the email address. Multiple addresses must be added individually.
All Email Addresses added will show below the Add buttons.

Once all of the options have been setup, click on the Save button at the top right corner.

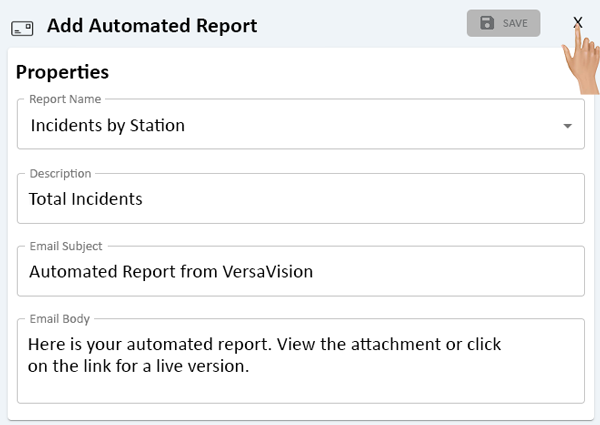
Click on the "X" next to the Save button to close the Add Automated Report window.
The new report that was added will now show in the Automated Reports list.
|
|
On the Automated Reports page, click on the Report Name in the list.
On the right side of the Automated Reports List an Edit Report window will load. Click on the down arrow in the Report Name field to select a different report.
Below the Report Name is the Description that shows on the Automated Report List. Select this field to edit.
Below the Description field is the Email Subject line. Select this field to edit.
Below the Description field is the Email Body field. Select this field to edit.
Depending on the setup of the report that was selected, the Parameters shown can vary. Up to 4 different Parameters can be available.
- Date Range - Click Here for details on this option.
- Data Filter - Click Here for details on this option.
- Schedule - Click Here for details on this option.
- Time Filter - Click Here for details on this option.
Existing Time Slots can be edited individually. There are 2 options available Monthly & Weekly.
- Monthly - Click Here for details on this option.
- Weekly - Click Here for details on this option.
Recipients can be removed by clicking on the "X" next to the email tag.

New Recipients can be added to the report by selecting the Add User or Add Email Address button.
- User - select this option if the person to receive the report is a user with a log in on the system.
- Email Address - select this option if the person to receive the report is not a user on the system.

Once all of the options have been edited, click on the Save button at the top right corner.
Click on the "X" next to the Save button to close the Add Automated Report window.
|
|
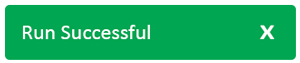
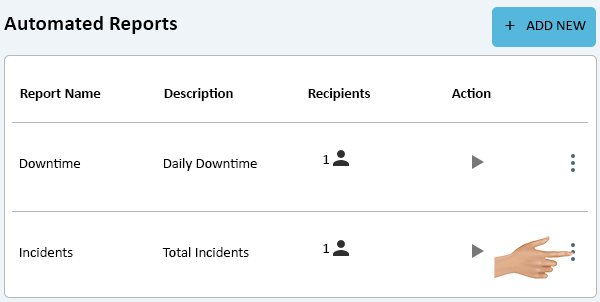
Click on the Run icon under the Action column.
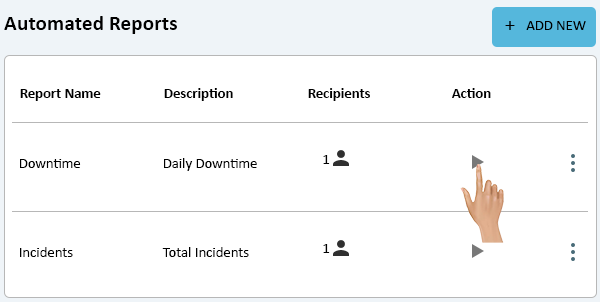
A green pop-up window will appear in the bottom left of the screen saying the report was run successfully.
|
|
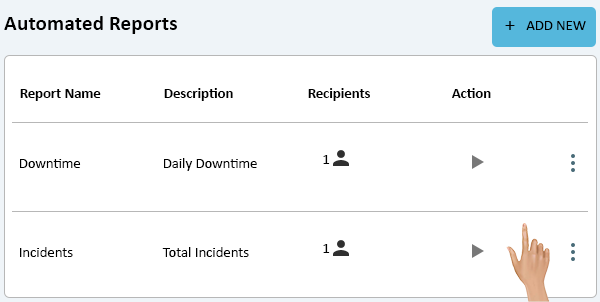
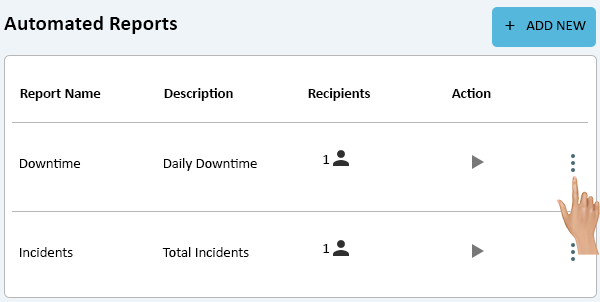
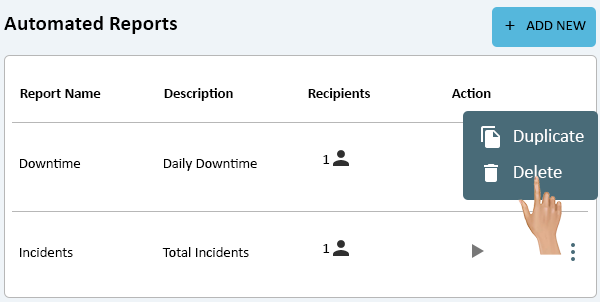
Click on the 3 dot icon on the right side of the report row.
Select Delete from the pop-up menu.
A confirmation window will show on the screen. Select Delete to remove the Automated Report. Select Cancel to keep the Automated Report.
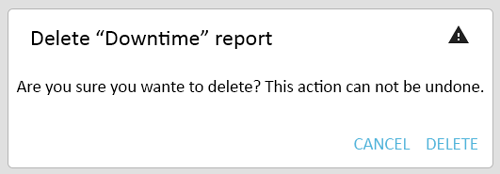
If Delete was selected, the Automated Report will no longer show in the List.
|
|
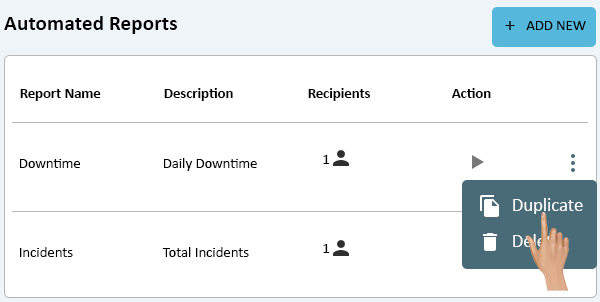
Click on the 3 dot icon on the right side of the report row.
Select Duplicate from the pop-up menu.
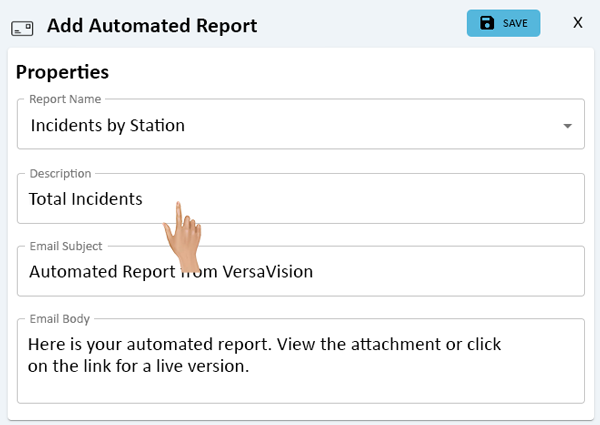
An Edit Automated Report window will load on the right side of the list. Click on the drop arrow in the Report Name field to select a different report.

Any other options or parameters can be changed. Select the appropriate option or parameter to edit.
Once all changes have been made click on the Save button at the top right corner.
Click on the "X" next to the Save button to close the edit window.
The duplicated report will show in the list.

|
|

|